
Faroe Islands Trekking Guide: A 6-Day Hiking Adventure
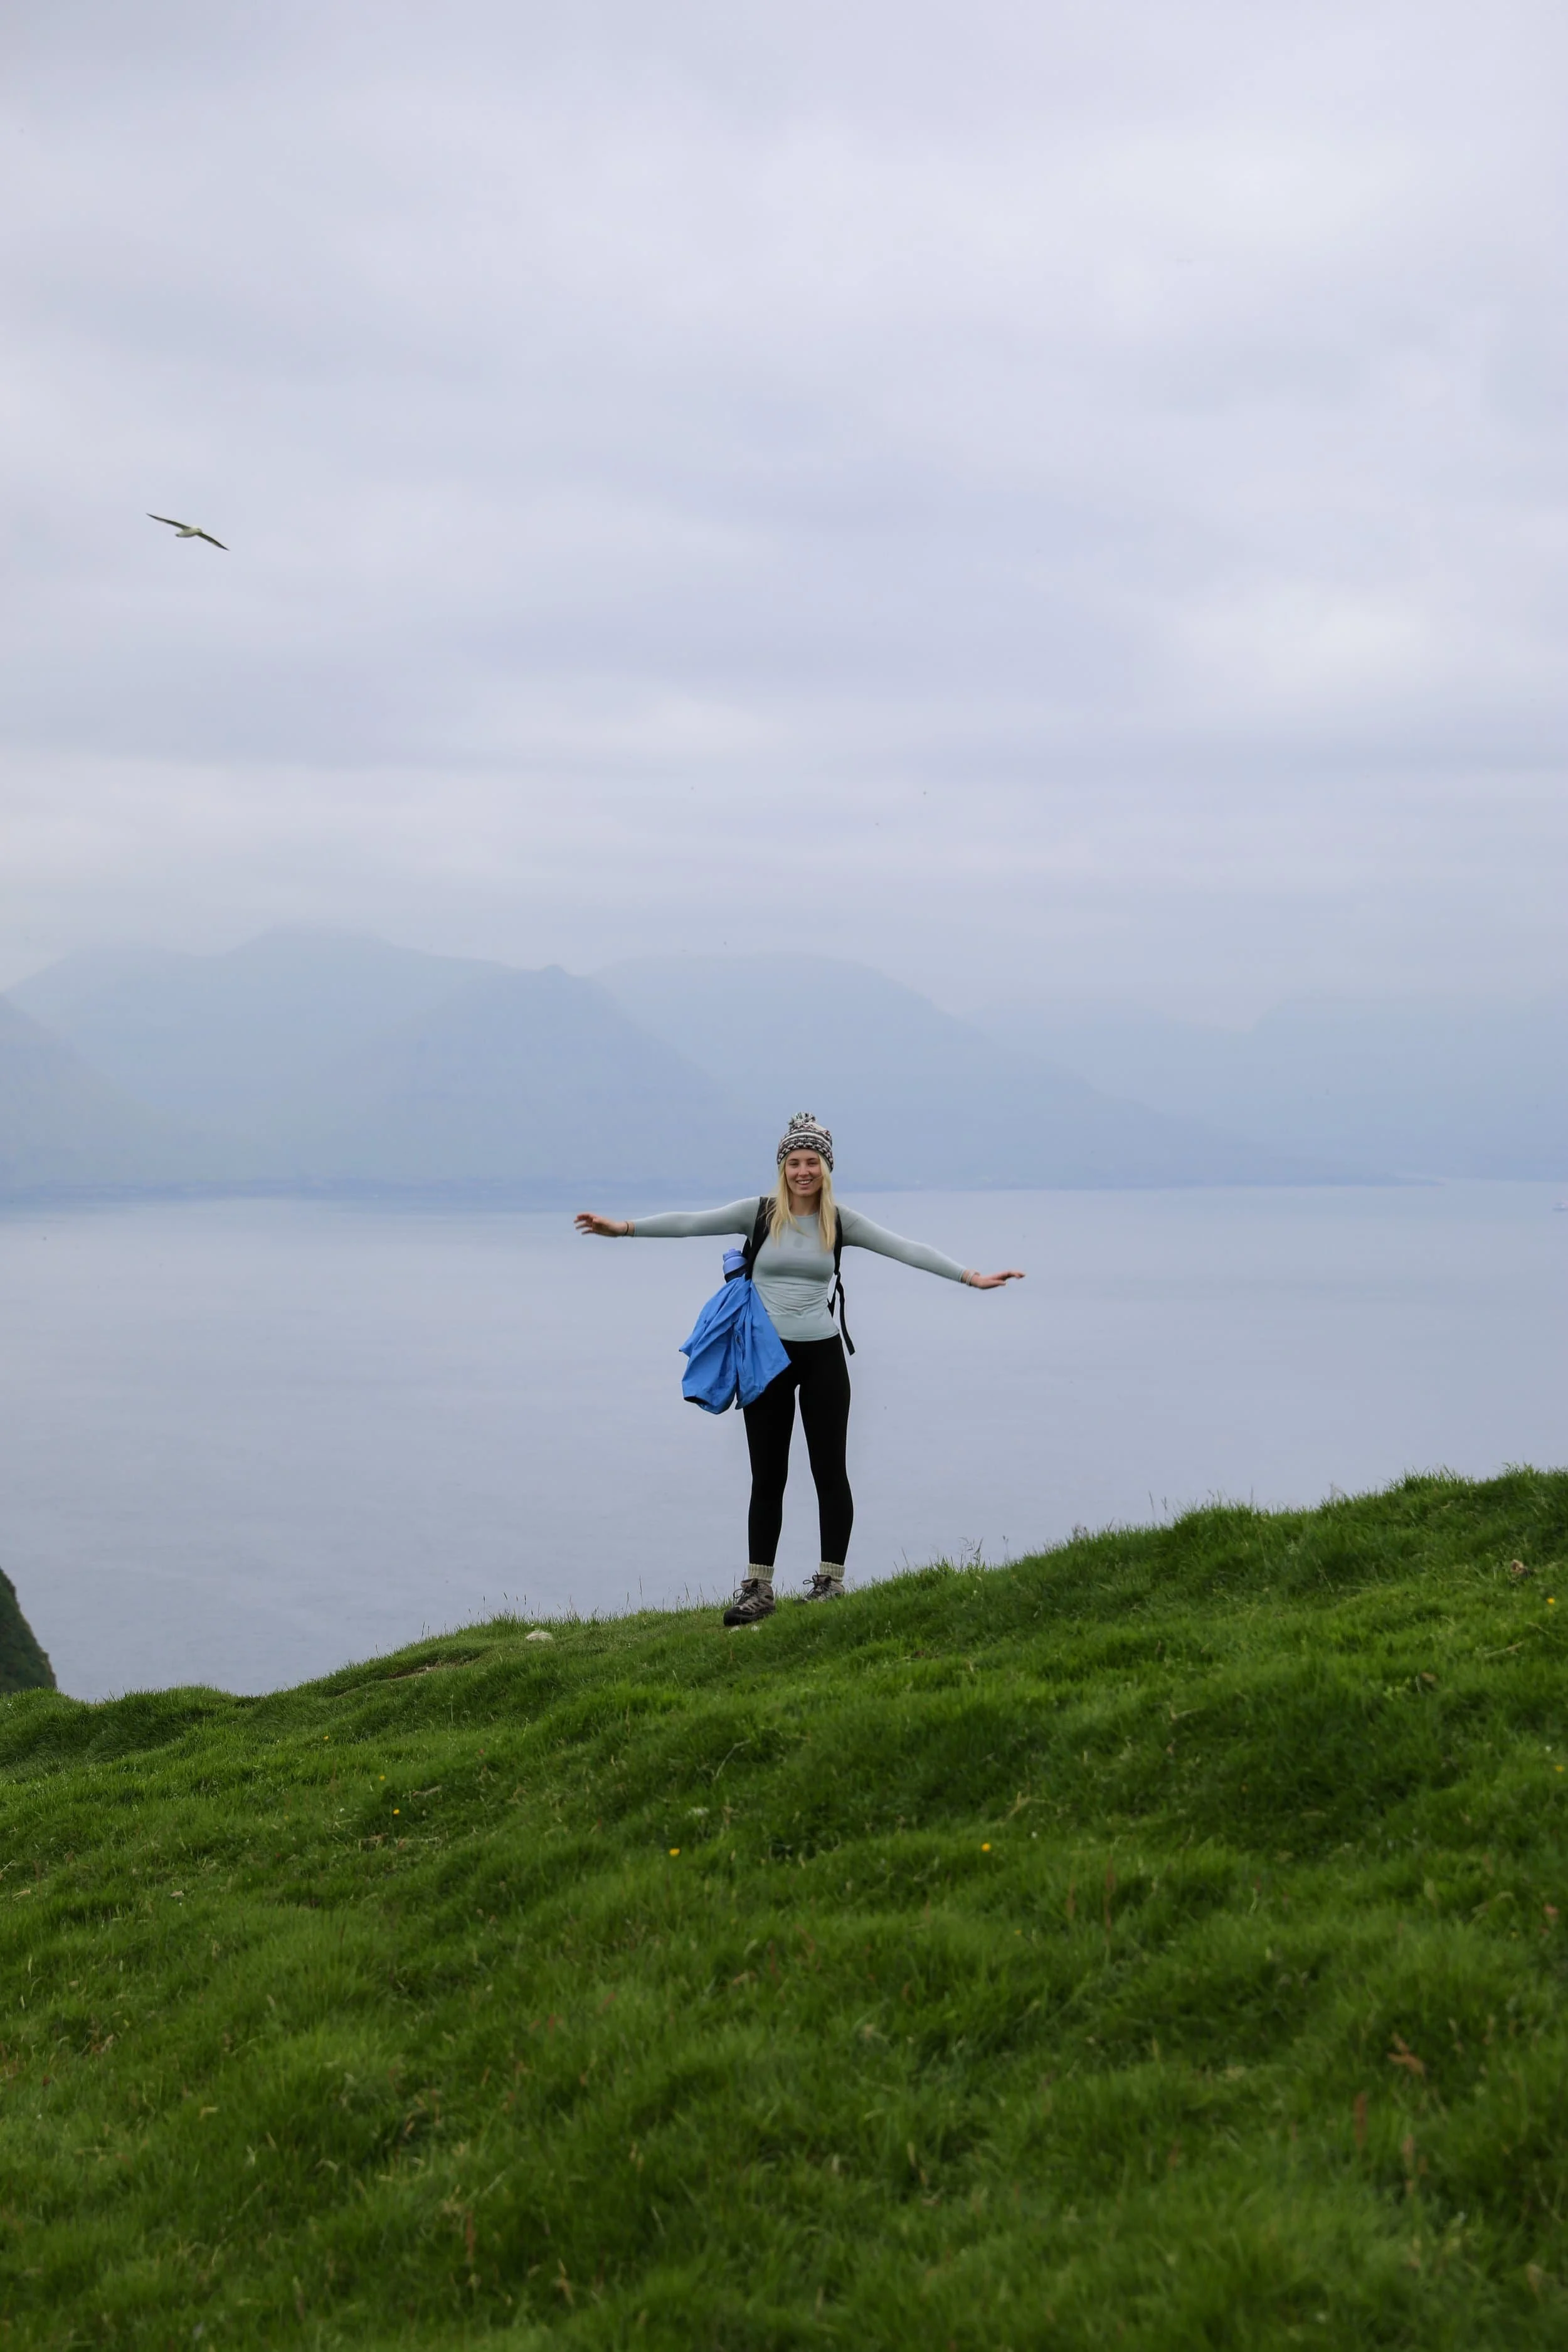
Faroe Islands trekking combines remote trails, dramatic scenery and the chance to explore some of the islands’ wildest places on foot. We crossed green ridgelines, followed valleys above the North Atlantic and often had these remarkable landscapes almost entirely to ourselves.
Planning how to connect the hikes is part of the trip: trailheads are spread across several islands, and some days depend on ferry crossings, guided tours or suitable weather. Grouping walks by location can help you make the most of your time.
I’ve mapped out a six-day itinerary that links coastal walks and mountain routes across Vágar, Streymoy, Eysturoy and the northern islands. It includes accommodation suggestions alongside each day, so you can decide whether to move between bases or stay put and drive.
This Faroe Islands trekking guide also covers how many days to allow, when to go, transport between trailheads, weather planning and what to pack. The itinerary draws on the hikes and places I visited, with practical details to help you shape the trip around your own pace and plans.
Faroe Islands Trekking Overview
Why You Should Go Trekking in the Faroe Islands
Best Treks in the Faroe Islands
How Many Days Do You Need?
When is the Best Time to Trek?
How To Get Around
6-Day Faroe Islands Trekking Itinerary
Day 1 Trøllkonufingur and Sørvágsvatn
Day 2 Drangarnir and Múlafossur
Day 3 Mýlingur
Day 4 Hvíthamar and Gjógv
Day 5 Kallur Lighthouse and Klakkur
Day 6 Return and Fly-Out
What to Pack for Trekking
Faroe Islands Trekking FAQs
Why You Should Go Trekking in the Faroe Islands?
The Faroe Islands are hands down one of the best places in the world to go trekking, and hiking is one of the most rewarding ways to experience them. There are so many incredible routes to choose from, with a real mix of short walks, steep climbs, coastal paths and longer treks through remote valleys.
Many trails also have a real sense of adventure; the terrain feels wild, the weather can shift quickly, and reaching a viewpoint often feels like an achievement.
What made Faroe Islands trekking especially memorable for me was how quiet the trails were. We often had huge stretches of the landscape entirely to ourselves, which in my experience is rare in a place this beautiful. You can spend hours walking through dramatic scenery without feeling surrounded by other visitors. That combination of outstanding trails, variety, adventure and genuine solitude is what makes trekking in the Faroe Islands so special.
Best Treks in the Faroe Islands
Faroe Islands trekking offers a mix of short viewpoint walks and more demanding routes through remote valleys and mountain terrain. The six-day itinerary in this guide brings together some of the best hikes in the Faroe Islands, each with its own character.
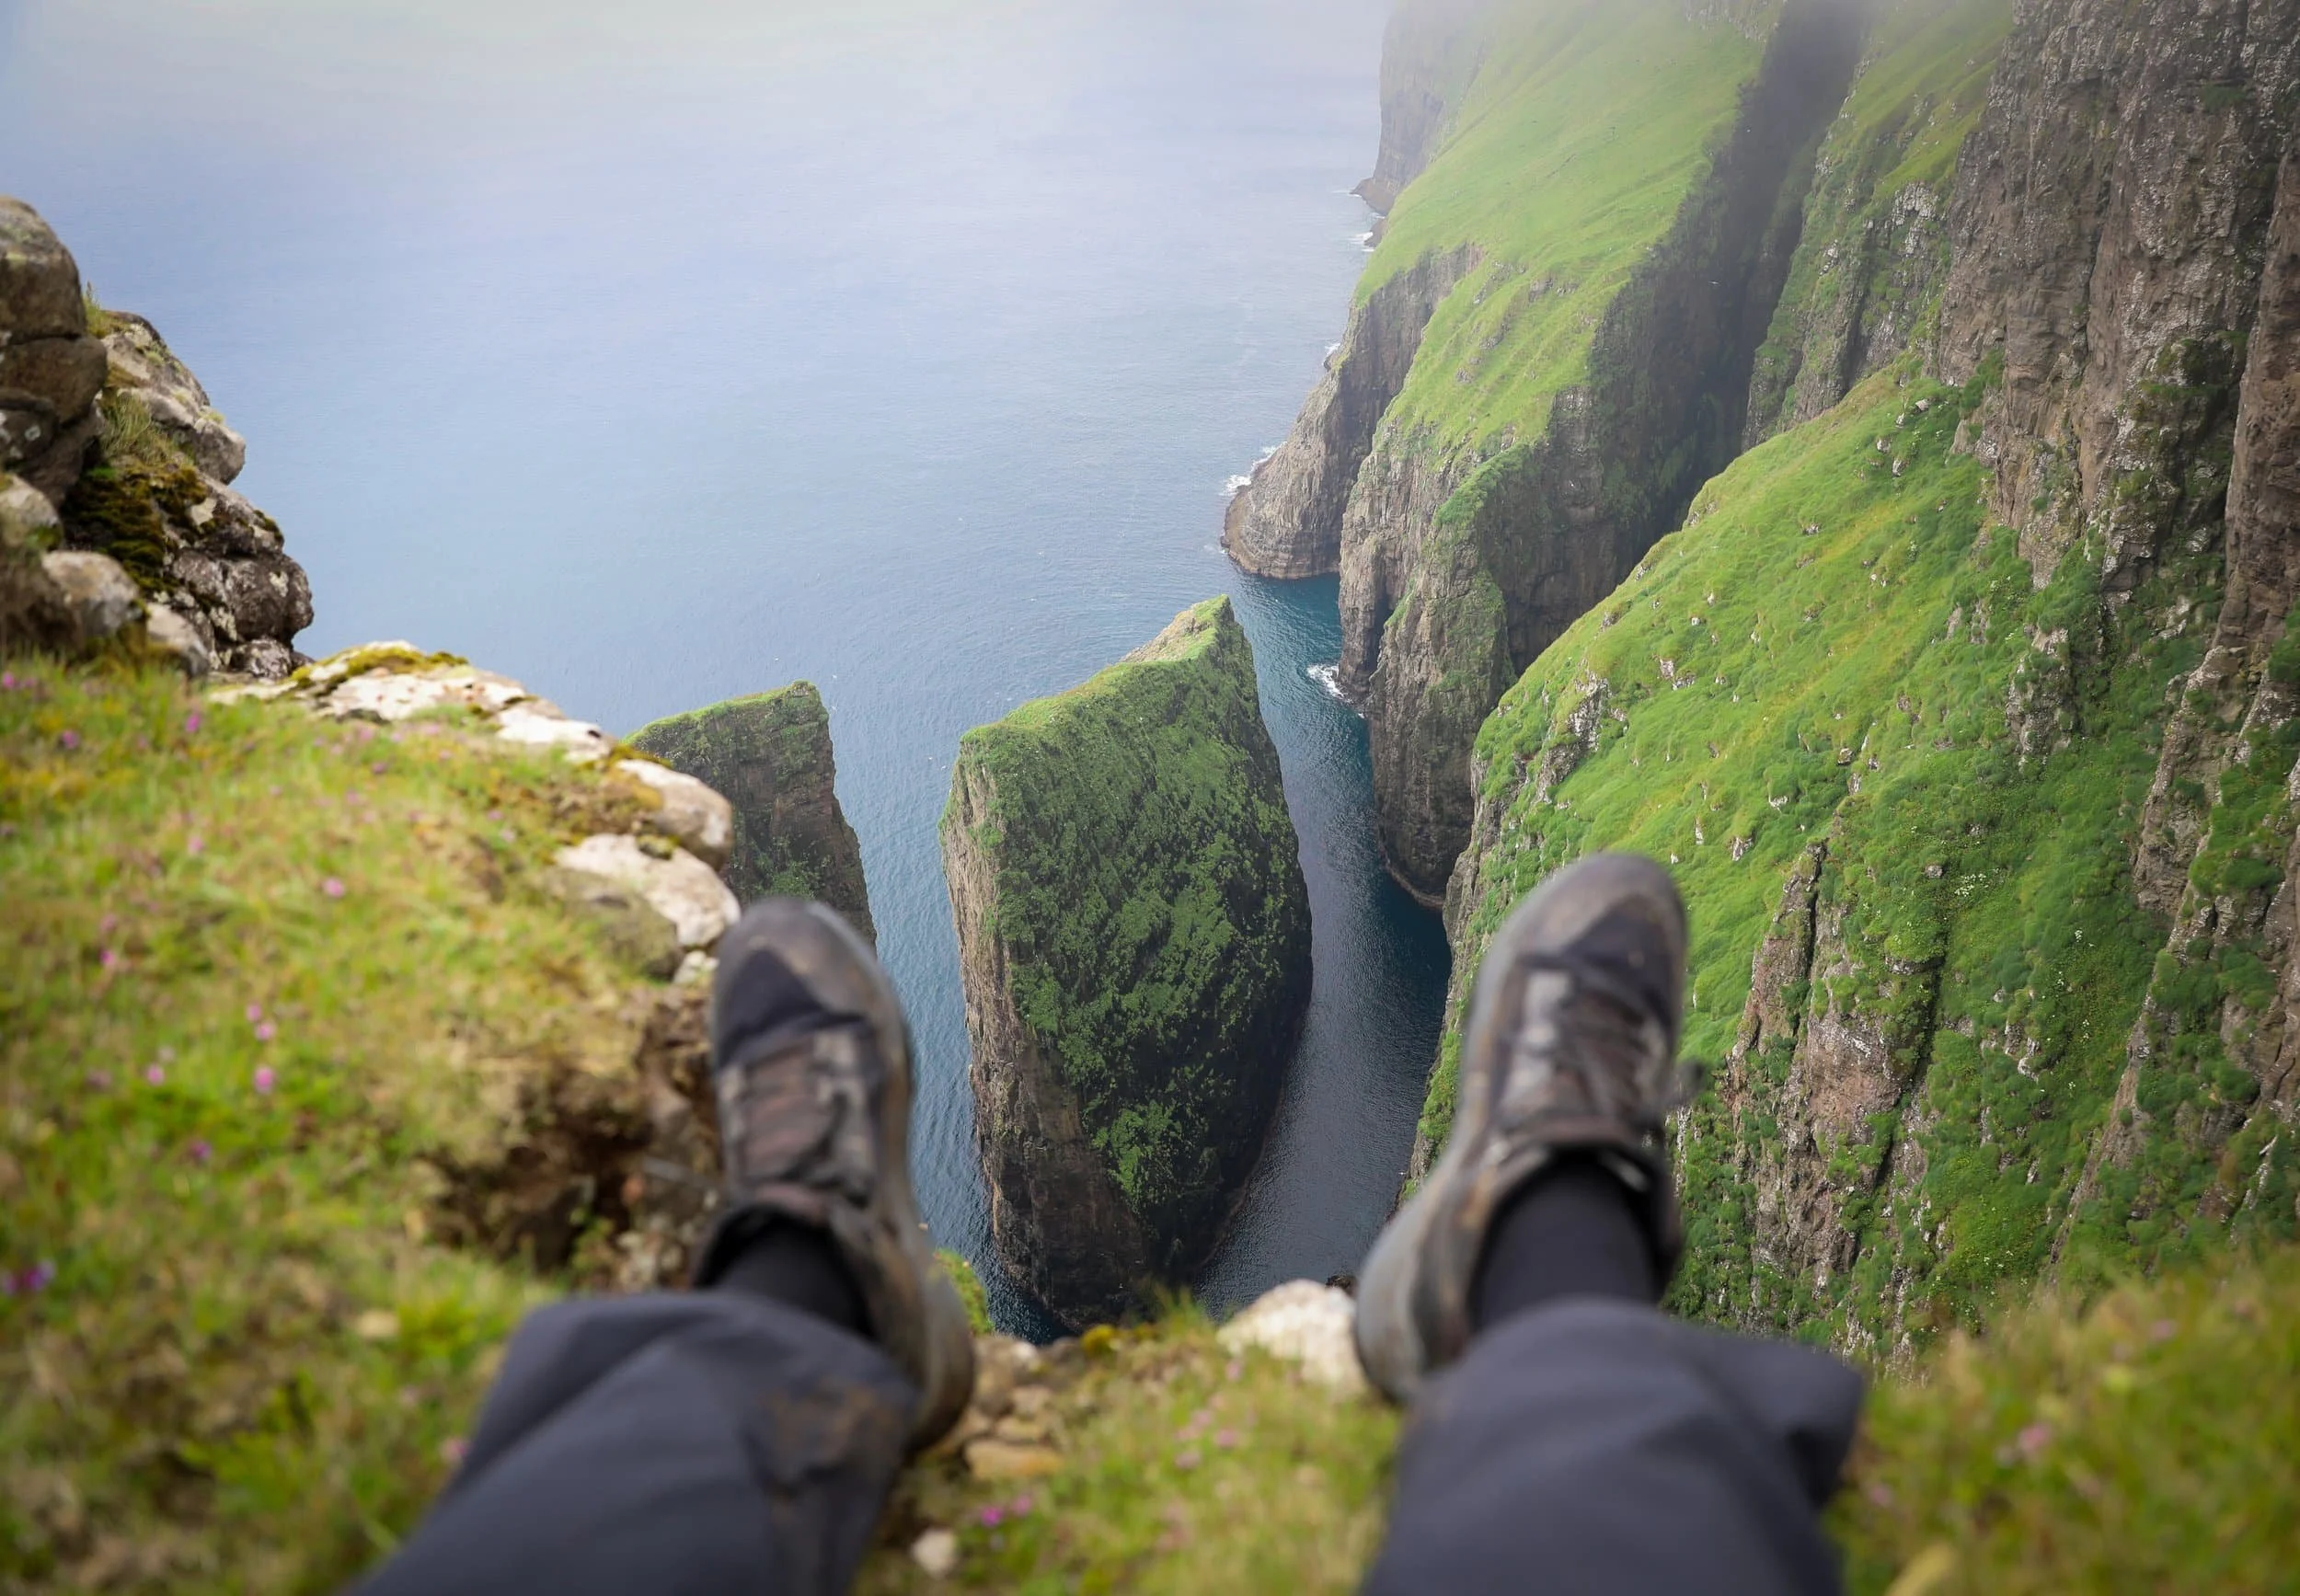
At Sørvágsvatn, the trail follows the cliffs above the lake, with views across the water towards the Atlantic. Kallur Lighthouse is one of the most picturesque places in the Faroe Islands, perched on a narrow headland above steep green cliffs and the open sea. Klakkur offers a shorter climb with sweeping views of the northern islands, while the guided Drangarnir hike follows the coast to its striking sea stacks. For a wilder challenge, Mýlingur crosses a remote valley to towering sea cliffs, and Trøllkonufingur is a shorter walk to an unforgettable coastal landmark.
If you’re choosing which routes to prioritise, I’ve shared more detail in my guide to the Five Best Hikes in the Faroe Islands. It describes what each route is like and can help you decide which ones to include in your trip.
There are also rewarding treks beyond this itinerary, particularly on Suðuroy, the southernmost island. The hike to Hvannhagi and Lake Hvannavatn leads into a secluded landscape of cliffs and a sheltered lake, while the Rituskor Bridge walk follows the coast to a striking natural rock formation. Neither is included in the six-day itinerary, but both are worth considering if you have extra time to explore.
There are also rewarding treks beyond this itinerary, including Slættaratindur, the Faroe Islands’ highest mountain, on Eysturoy. Its challenging climb leads to far-reaching views across the islands on a clear day. If you have extra time to explore further south, get the car ferry over to Suðuroy for the hike to Hvannhagi and Lake Hvannavatn, which winds into a secluded landscape of cliffs and a sheltered lake, or the coastal walk to Rituskor Bridge and its striking natural rock formation. These hikes aren’t included in the six-day itinerary, but they’re well worth considering if your trip allows.
How Many Days Do You Need?
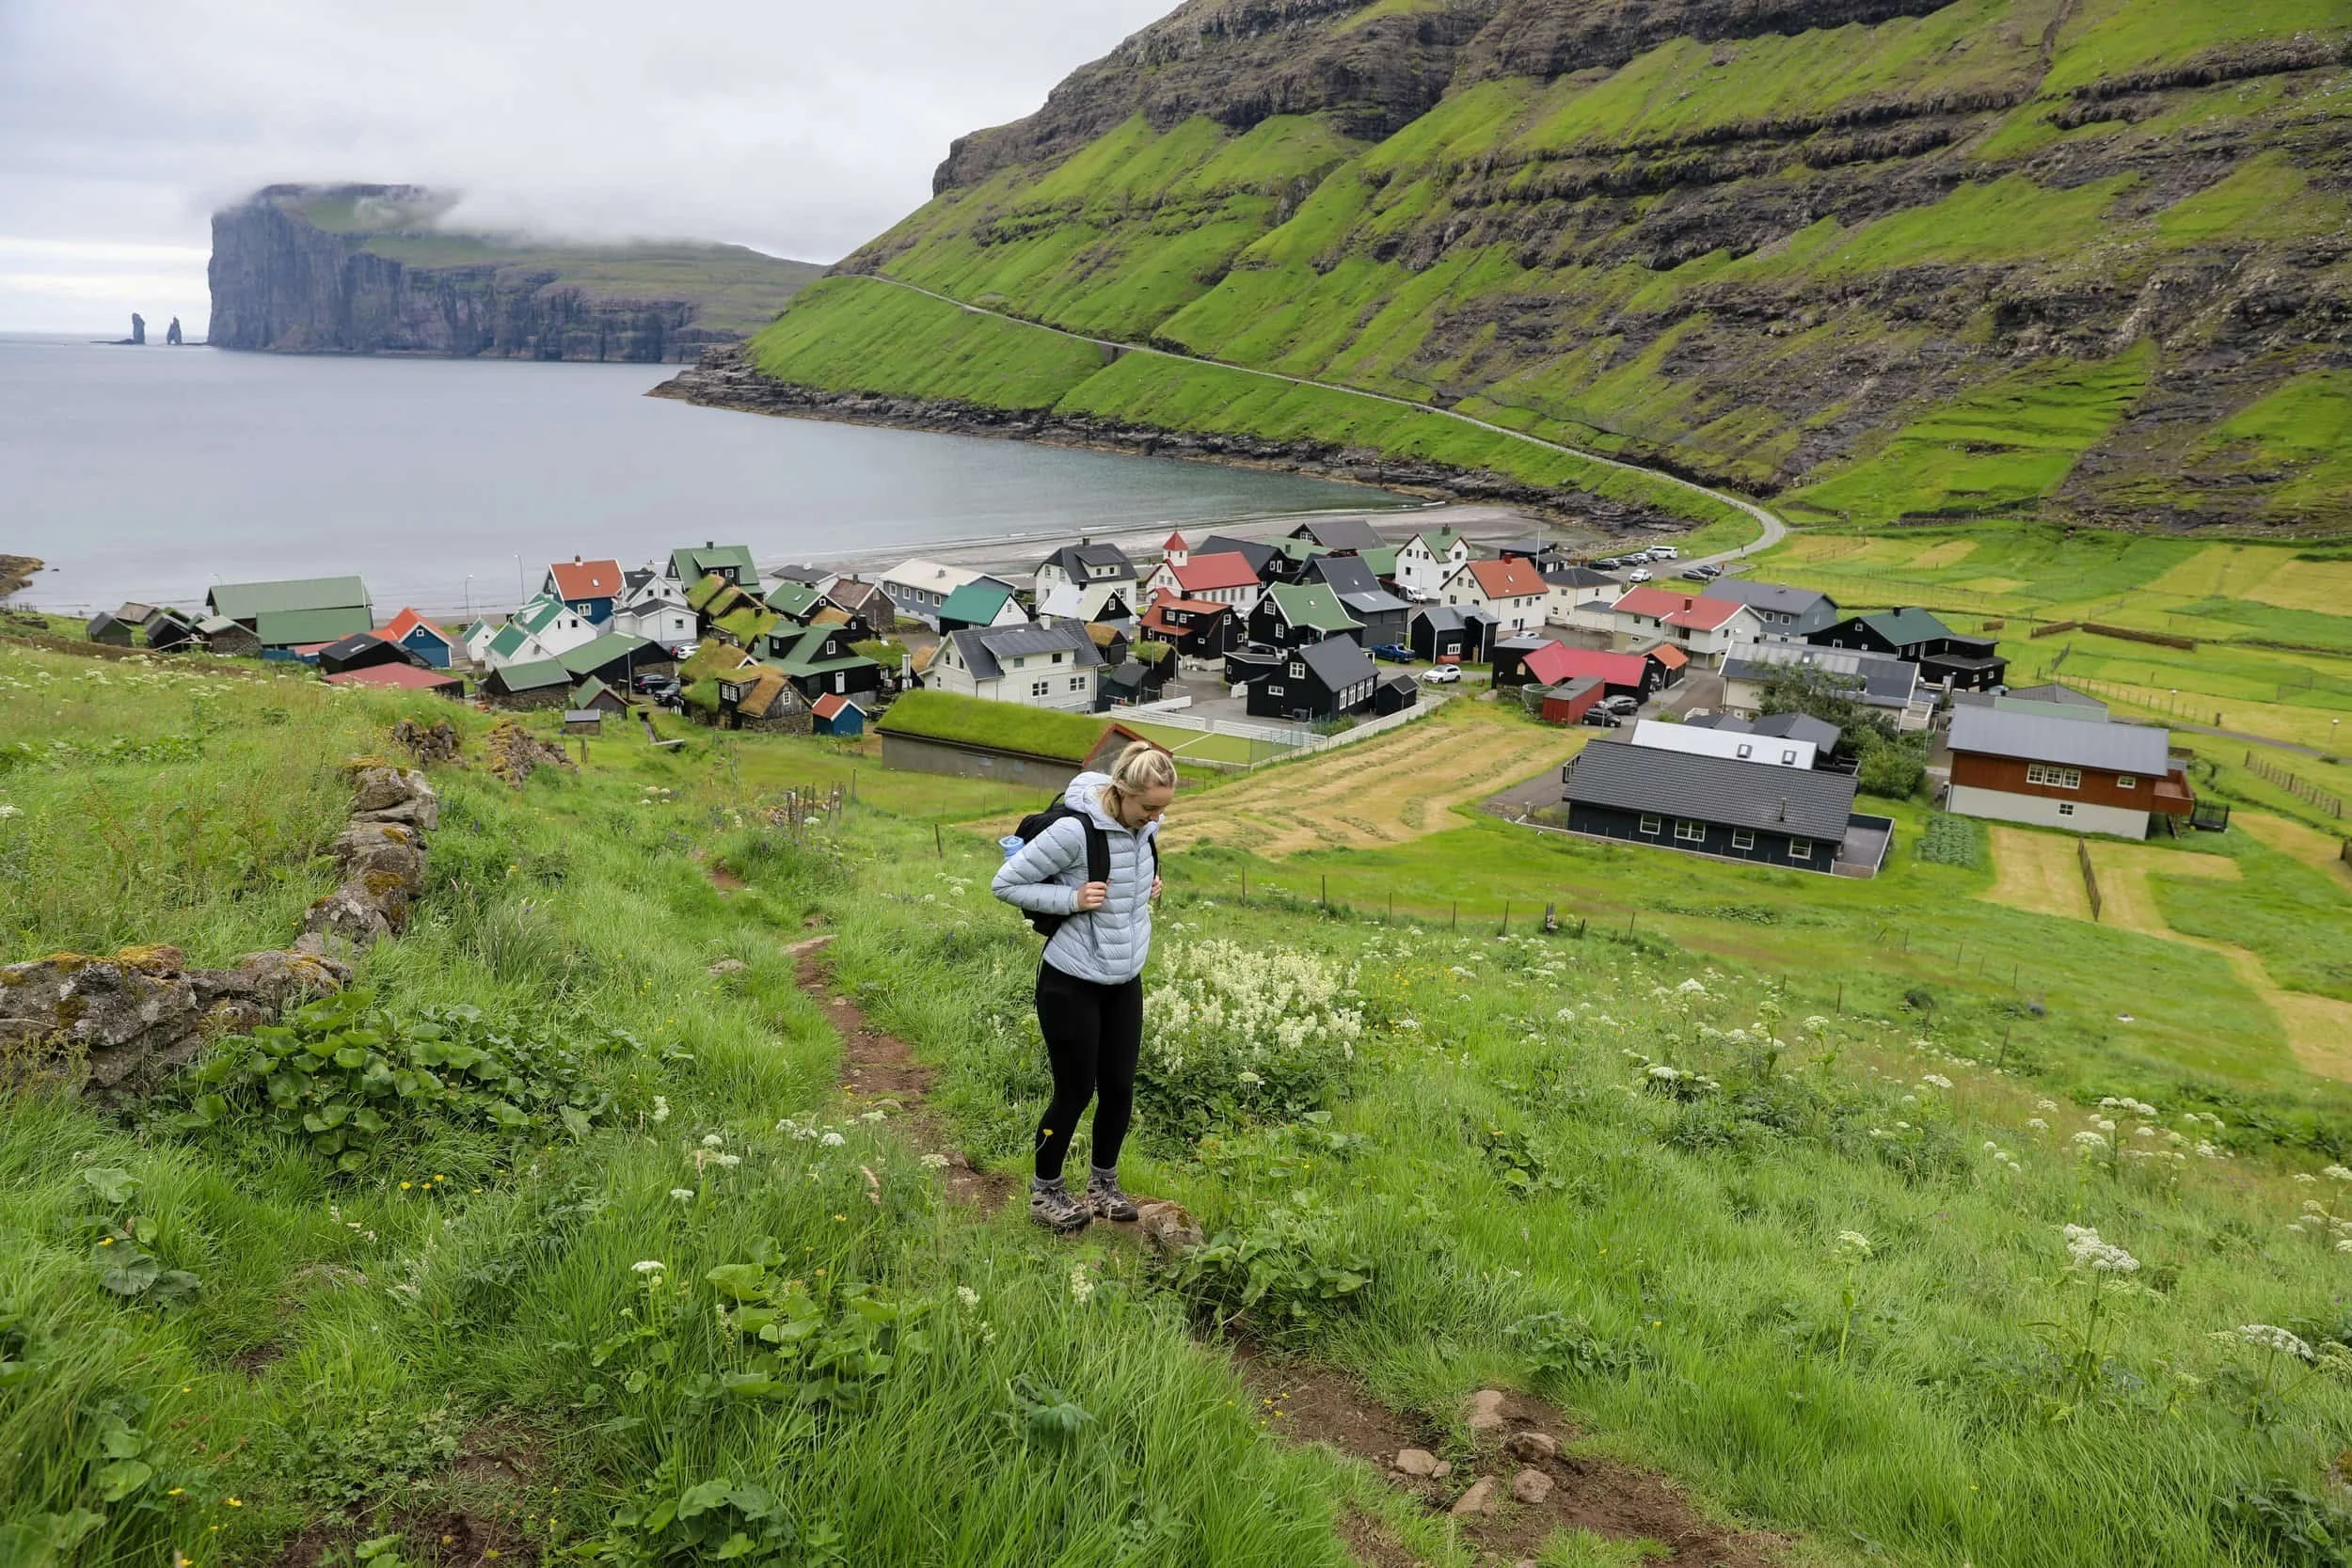
Allow at least six days for a Faroe Islands trekking trip if hiking is a major focus. This itinerary uses six days to fit in several of the islands’ best-known hikes and main sights, travelling between different areas along the way. It’s a fairly full schedule, so you’ll spend much of your time outdoors or getting between trailheads.
With seven or eight days, you can follow a similar route at a more relaxed pace and leave room to explore Tórshavn, visit villages or viewpoints, and adjust your plans if the weather makes a hike unsuitable. The extra time gives you more flexibility without needing to add another island to your trip.
If you’d also like to explore Suðuroy, I’d allow at least three additional days, bringing the trip to around ten days in total. The island is reached by car ferry from Tórshavn, and an overnight stay gives you time to explore its landscapes and hikes without making the ferry journey a rushed detour.
Best time for Faroe Islands Trekking
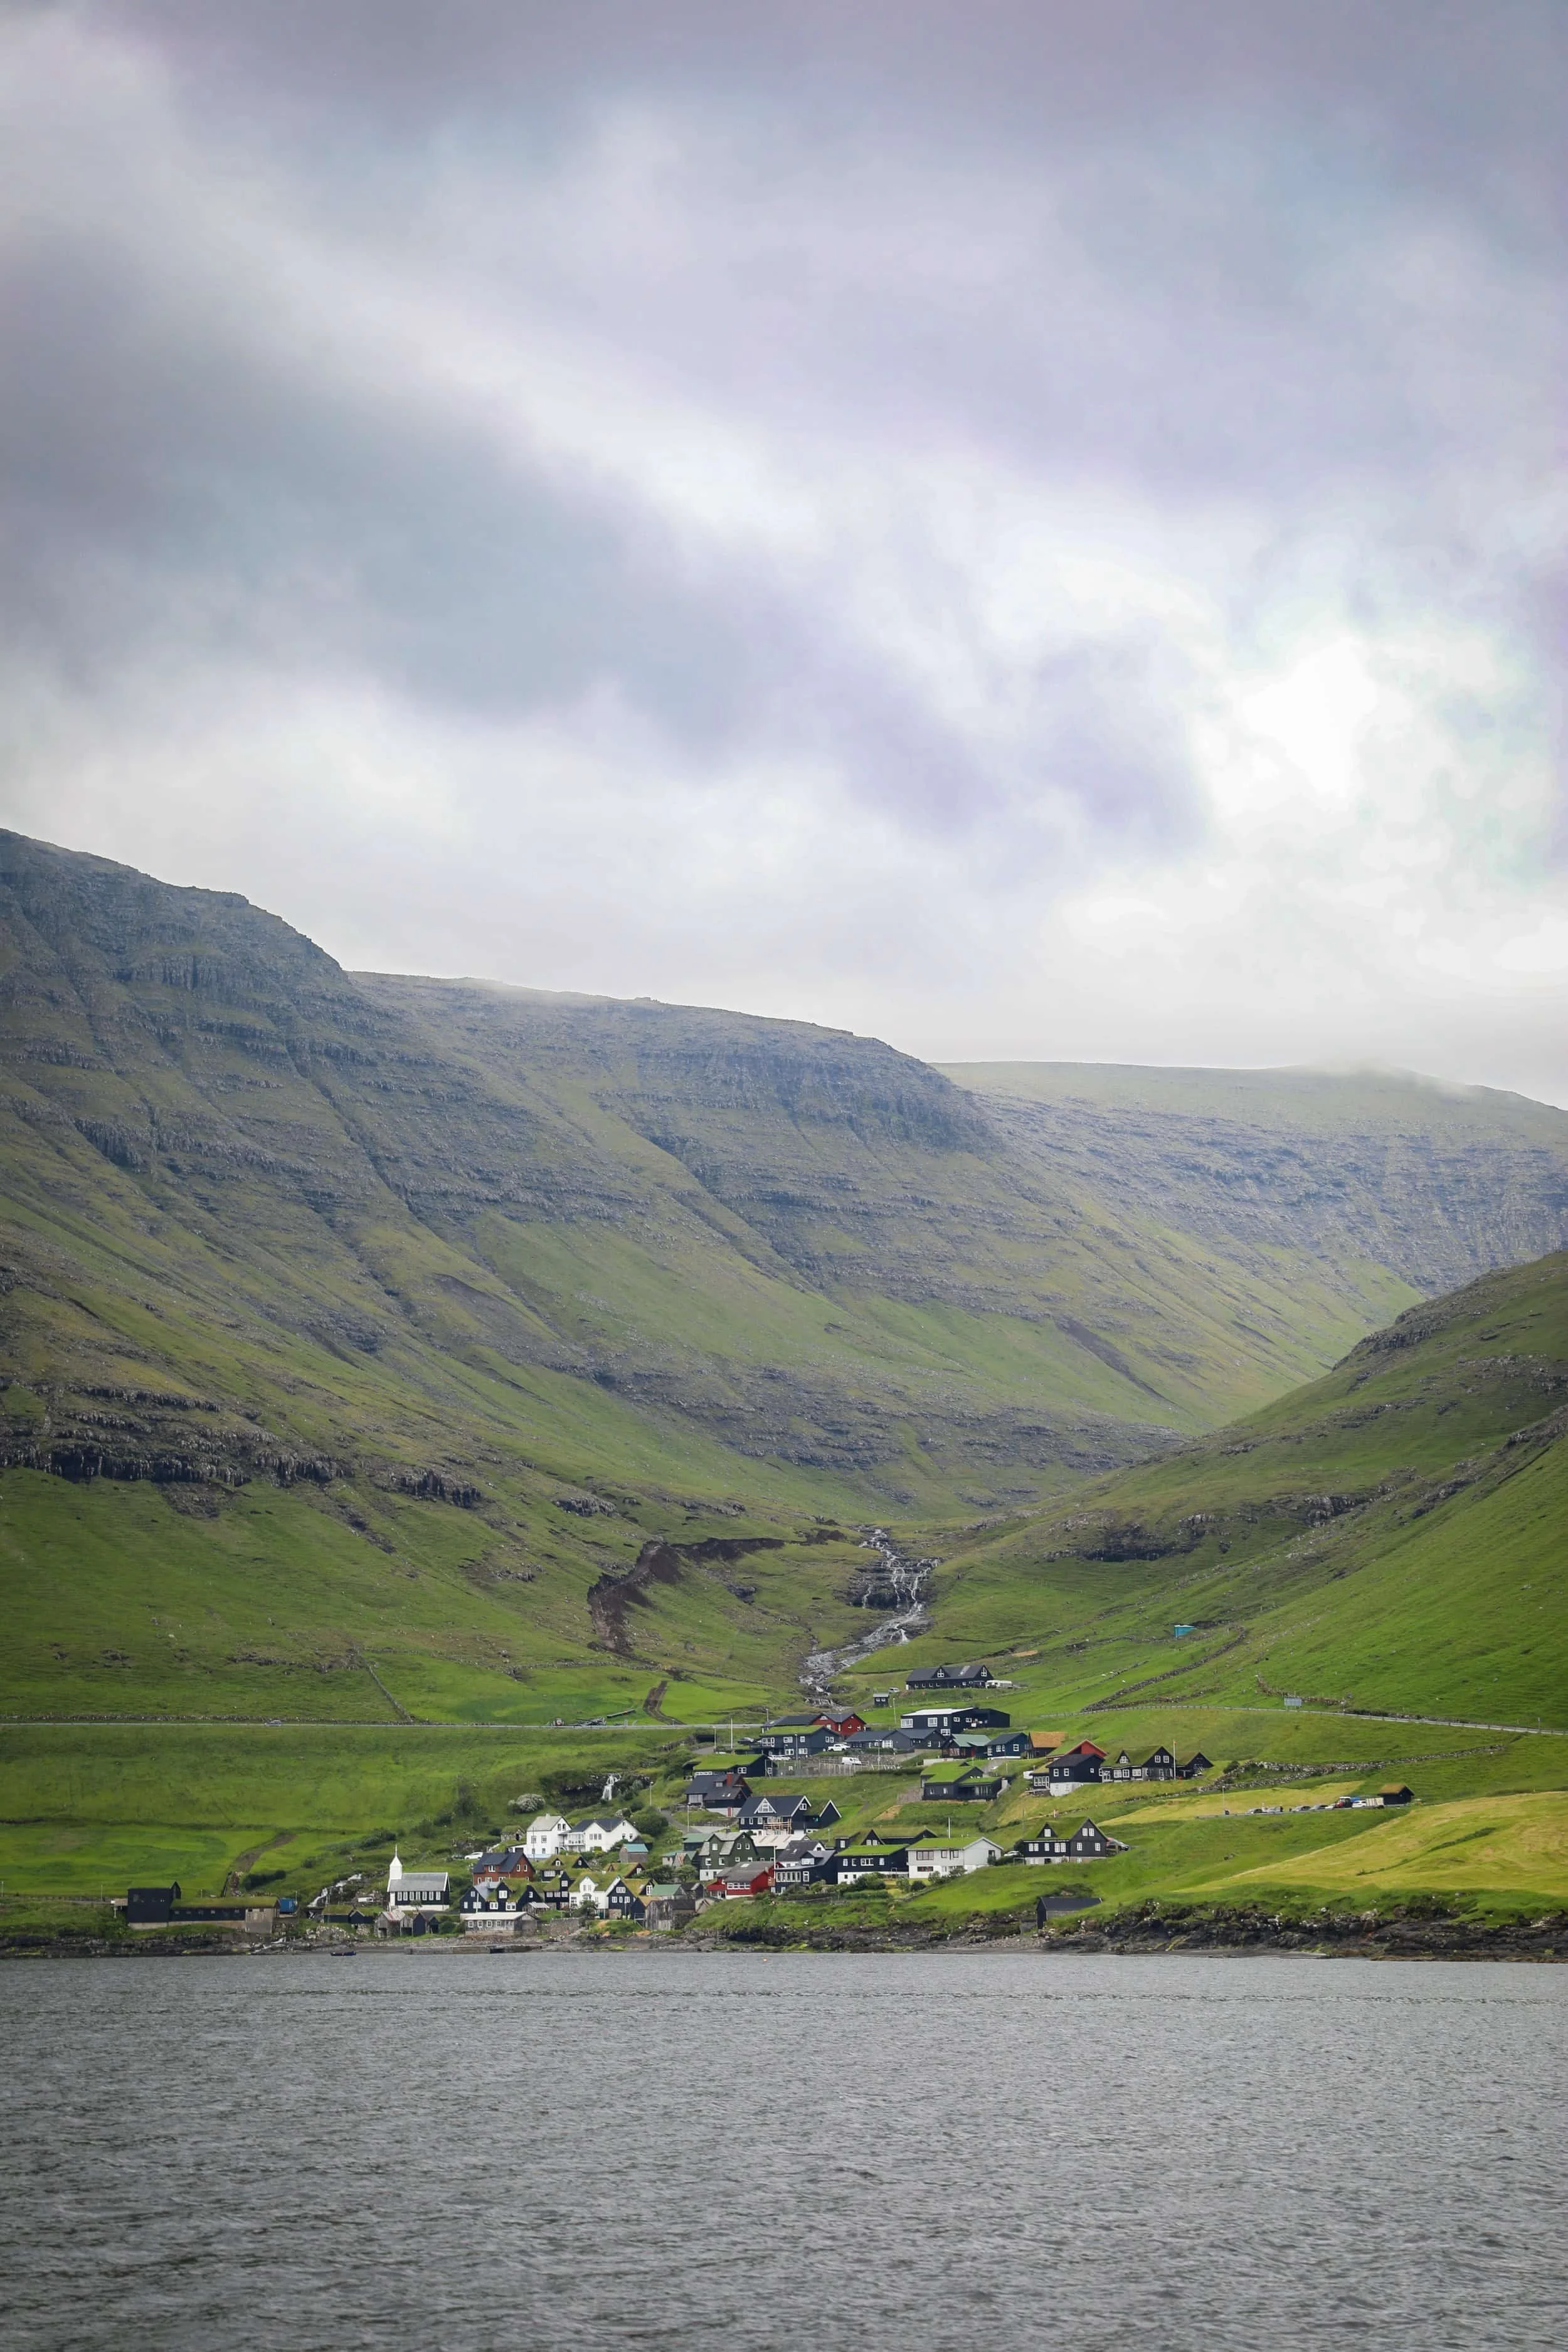
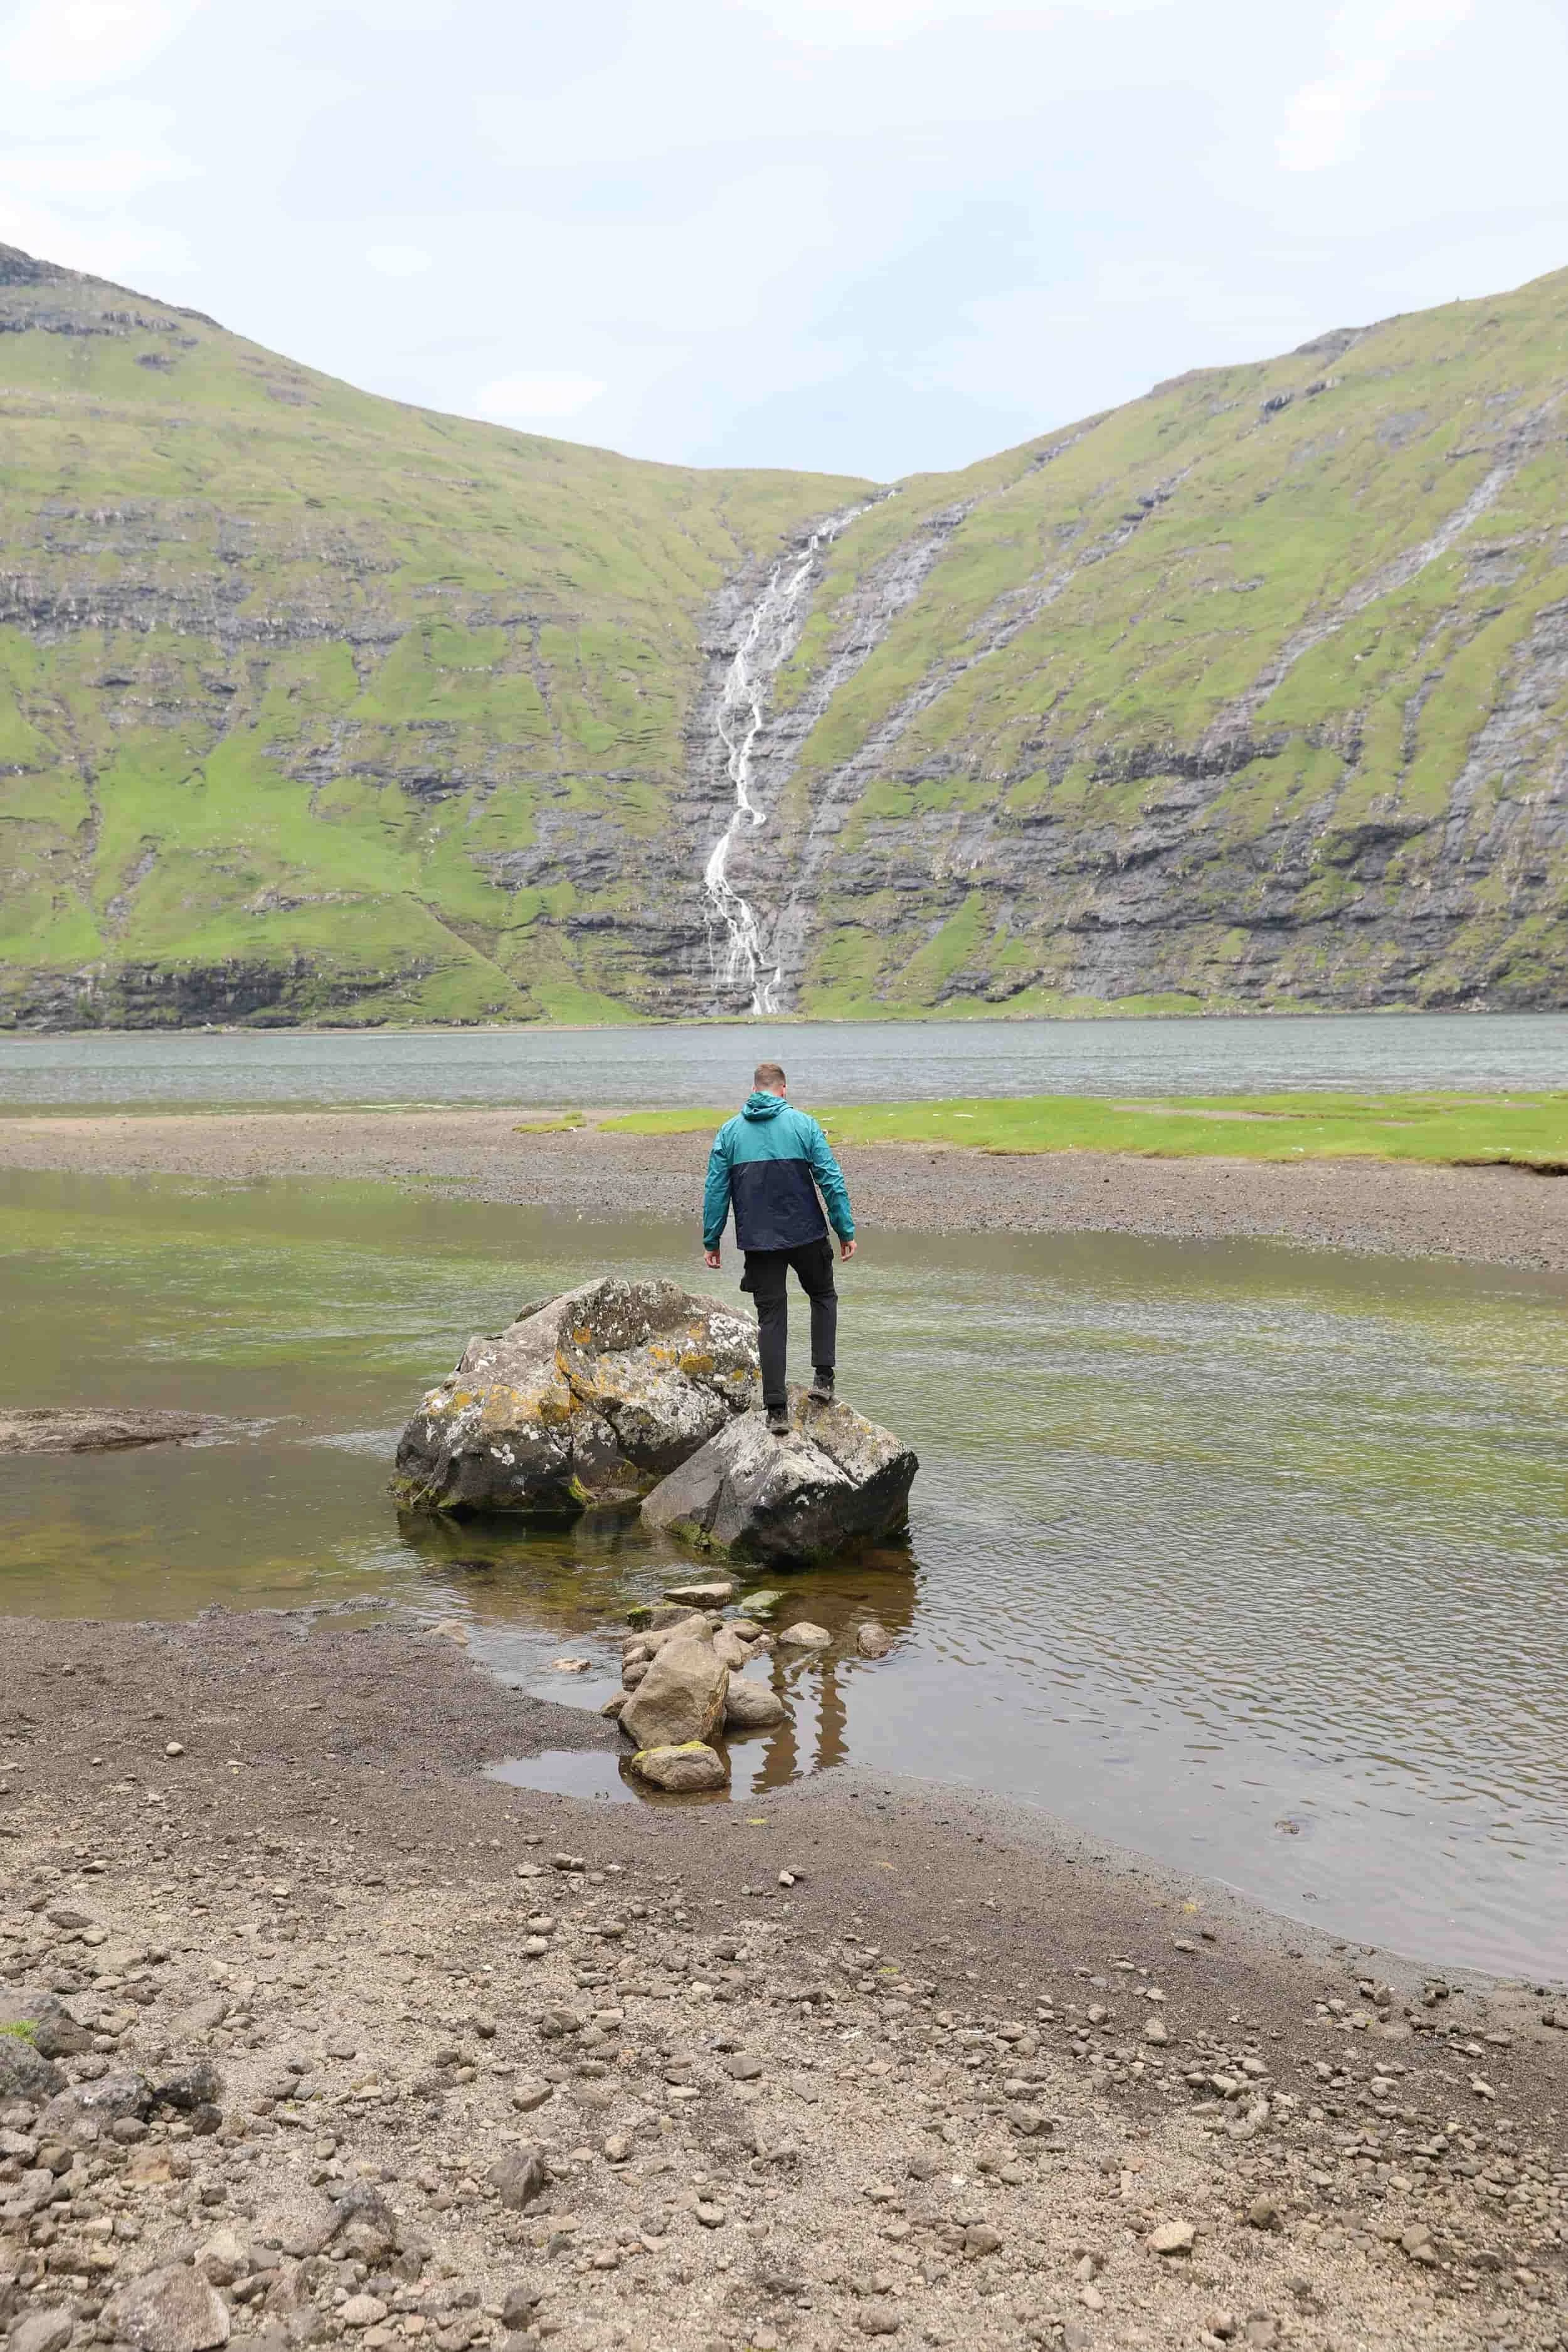
The best time for Faroe Islands trekking is generally late May to early September. This is when the days are longest, trails are more accessible and guided hikes are more widely available. Summer is still cool rather than warm, and the weather can change quickly at any time of year, so there’s no month when you can count on clear skies. The official tourism board describes summer as a mix of sunshine and fog, while rain, wind and sudden weather changes are possible year-round. This information completely matched my own experience going in July.
June to August is considered the most straightforward period for a hiking-focused trip. Around the summer solstice in June, there are close to 20 hours of daylight, giving you a generous window for longer routes and time to adjust plans around the forecast. July and August also have long days, with roughly 16 to 19 hours of daylight. These are the most popular months, but conditions can still be wet, windy or cloudy, and low cloud can obscure views or make exposed routes harder to follow. I guess the biggest thing is, just don’t just assume that because you are there in summer you are going to have nice clear days.
May and September can also work well if you want to travel outside the busiest summer period. May brings lengthening days and the start of the main hiking season, while September has autumn colours and fewer visitors; daylight drops quickly, from around 13 hours at the start of the month to about 11 hours by the end. In either month, check access and guided-tour availability for the specific hikes you want to do. To be honest even going in peak season we didn’t find the Faroe Islands to be that busy so trying to go in the shoulder months may not be required.
You can visit the Faroe Islands in winter, from roughly December to February, but I wouldn’t choose it for this trekking itinerary. Temperatures are cool, often around 3–7°C, and the combination of rain, strong winds, occasional snow and very short days makes longer hikes less predictable. Around the December solstice, there are only about five hours of daylight. Winter can be atmospheric and peaceful, but you’ll need to be selective about routes and ready to change plans if conditions are poor.
What you have to accept is that rain and cloud are part of trekking here in every season. The weather can differ between islands and change quickly, so check the local forecast before each hike, allow flexibility in your itinerary and carry waterproof, windproof layers even in summer. For the best balance of long daylight and hiking access, I’d plan a trip between June and August, with late May or early September as good alternatives.
Faroe Island Highlights:
How To Get Around the Faroe Islands
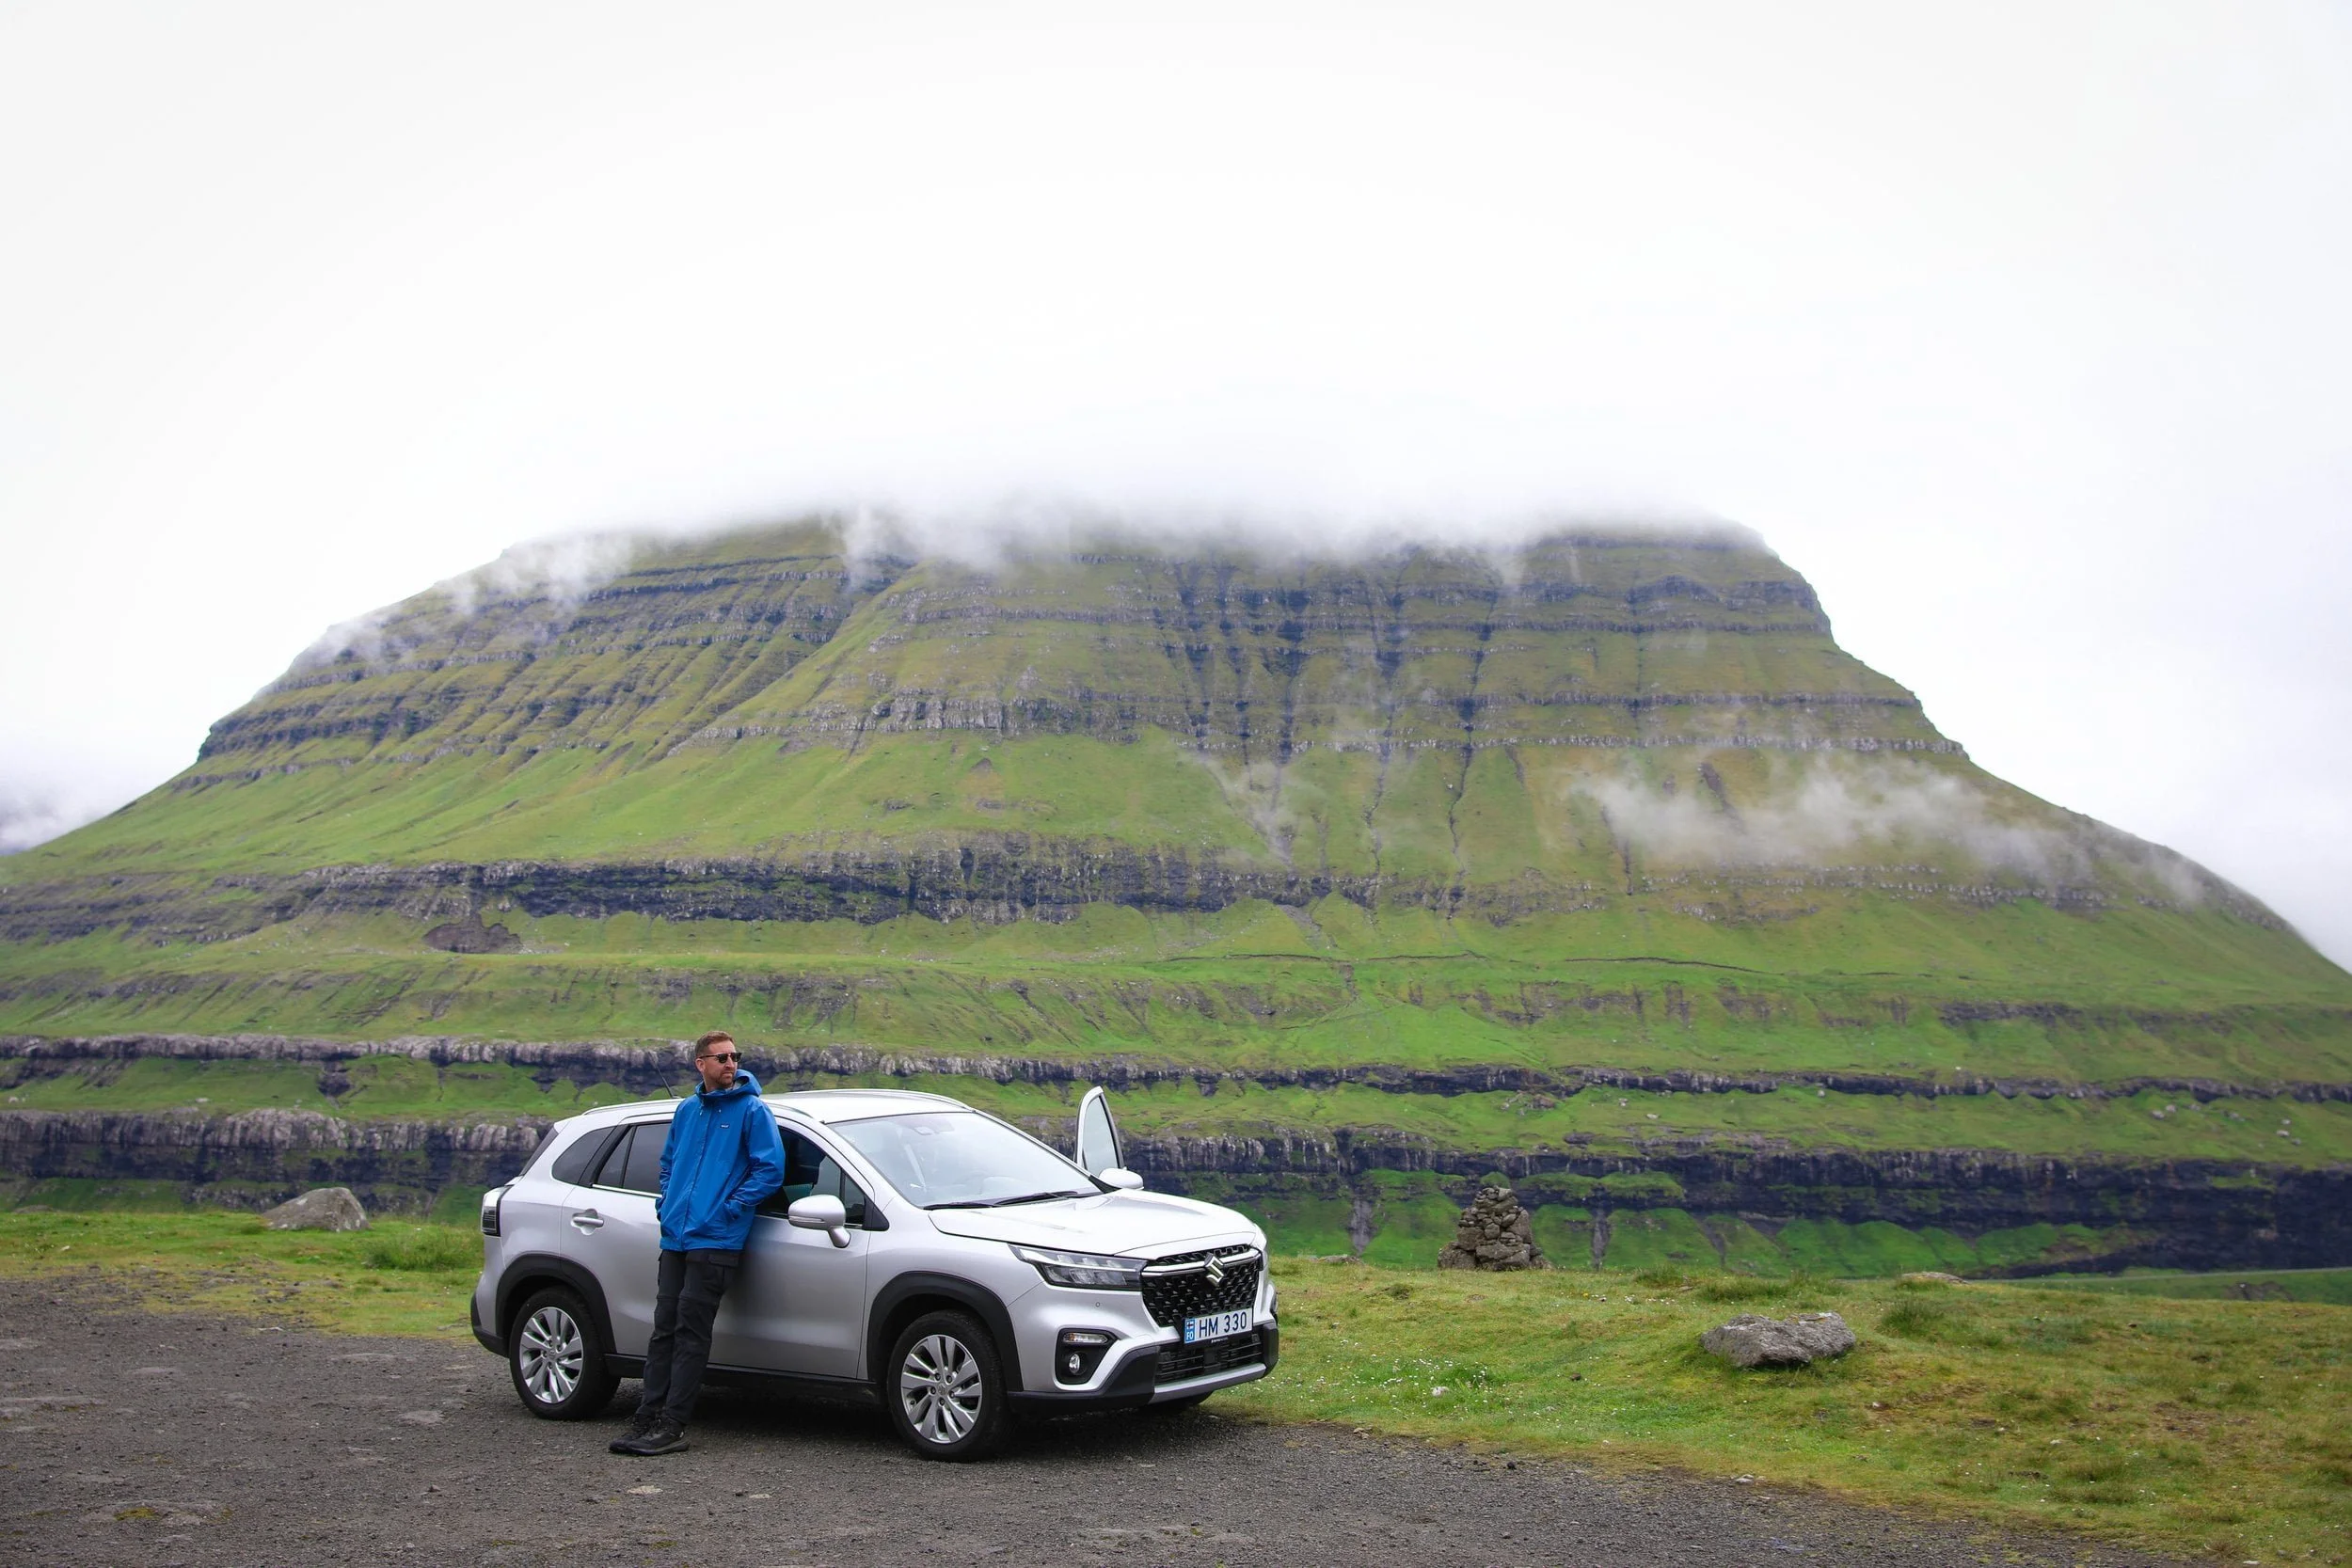
I’d absolutely recommend hiring a car for your time in the Faroe Islands.
For Faroe Islands trekking, it makes it much easier to reach trailheads, start hikes when it suits you and visit nearby villages or viewpoints along the way. You can pick up a hire car at Vágar Airport or in Tórshavn, then drive between many of the islands using bridges, subsea tunnels and mountain roads. Some subsea tunnels have tolls, so check the charges when booking your car.
Having a car is especially useful when your plans depend on the weather. If cloud or strong winds make one hike less suitable, you can adjust your plans and explore another part of the islands. It also gives you flexibility to start early or hike later in the day, which is useful during summer when long daylight hours let you avoid the busiest times on the trails. Public transport may not run at the hours you want, and after a tiring hike, driving straight back to your accommodation is much easier than waiting for a bus or arranging a connection.
Also the place is simply stunning to drive around, with plenty of places to pull over for some photos! It’s the best way to see the islands.
Buses and ferries connect many towns and villages, and can be a more affordable option if you don’t want to drive. However, services may be infrequent, and timetables don’t always line up with an early hike or a return from a remote trailhead. If you plan to use public transport, check the current SSL bus and ferry timetables carefully and build your hikes around the available connections.
Faroe Islands Trekking 6-Day Itinerary
I’ve brought together some of my favourite hikes from my time in the Faroe Islands and arranged them into a six-day road trip. This Faroe Islands trekking itinerary moves naturally between Vágar, Streymoy, Eysturoy and the northern islands, pairing each hike with nearby sights so you can make the most of each day.
I’ve planned the route around moving between accommodation, so you can stay closer to each day’s hikes and experience different villages along the way. I’ve included places to stay for each stop. If you’d rather keep one base, you could also do the hikes as day trips from Tórshavn, although that would mean more driving.
Important to note is that the weather can dramatically affect hiking plans in the Faroe Islands, so treat the schedule as a flexible guide and be prepared to switch days around if conditions change.
Day 1 Trøllkonufingur and Sørvágsvatn
After flying into Vágar Airport, pick up your hire car and start your Faroe Islands trekking itinerary on Vágar.
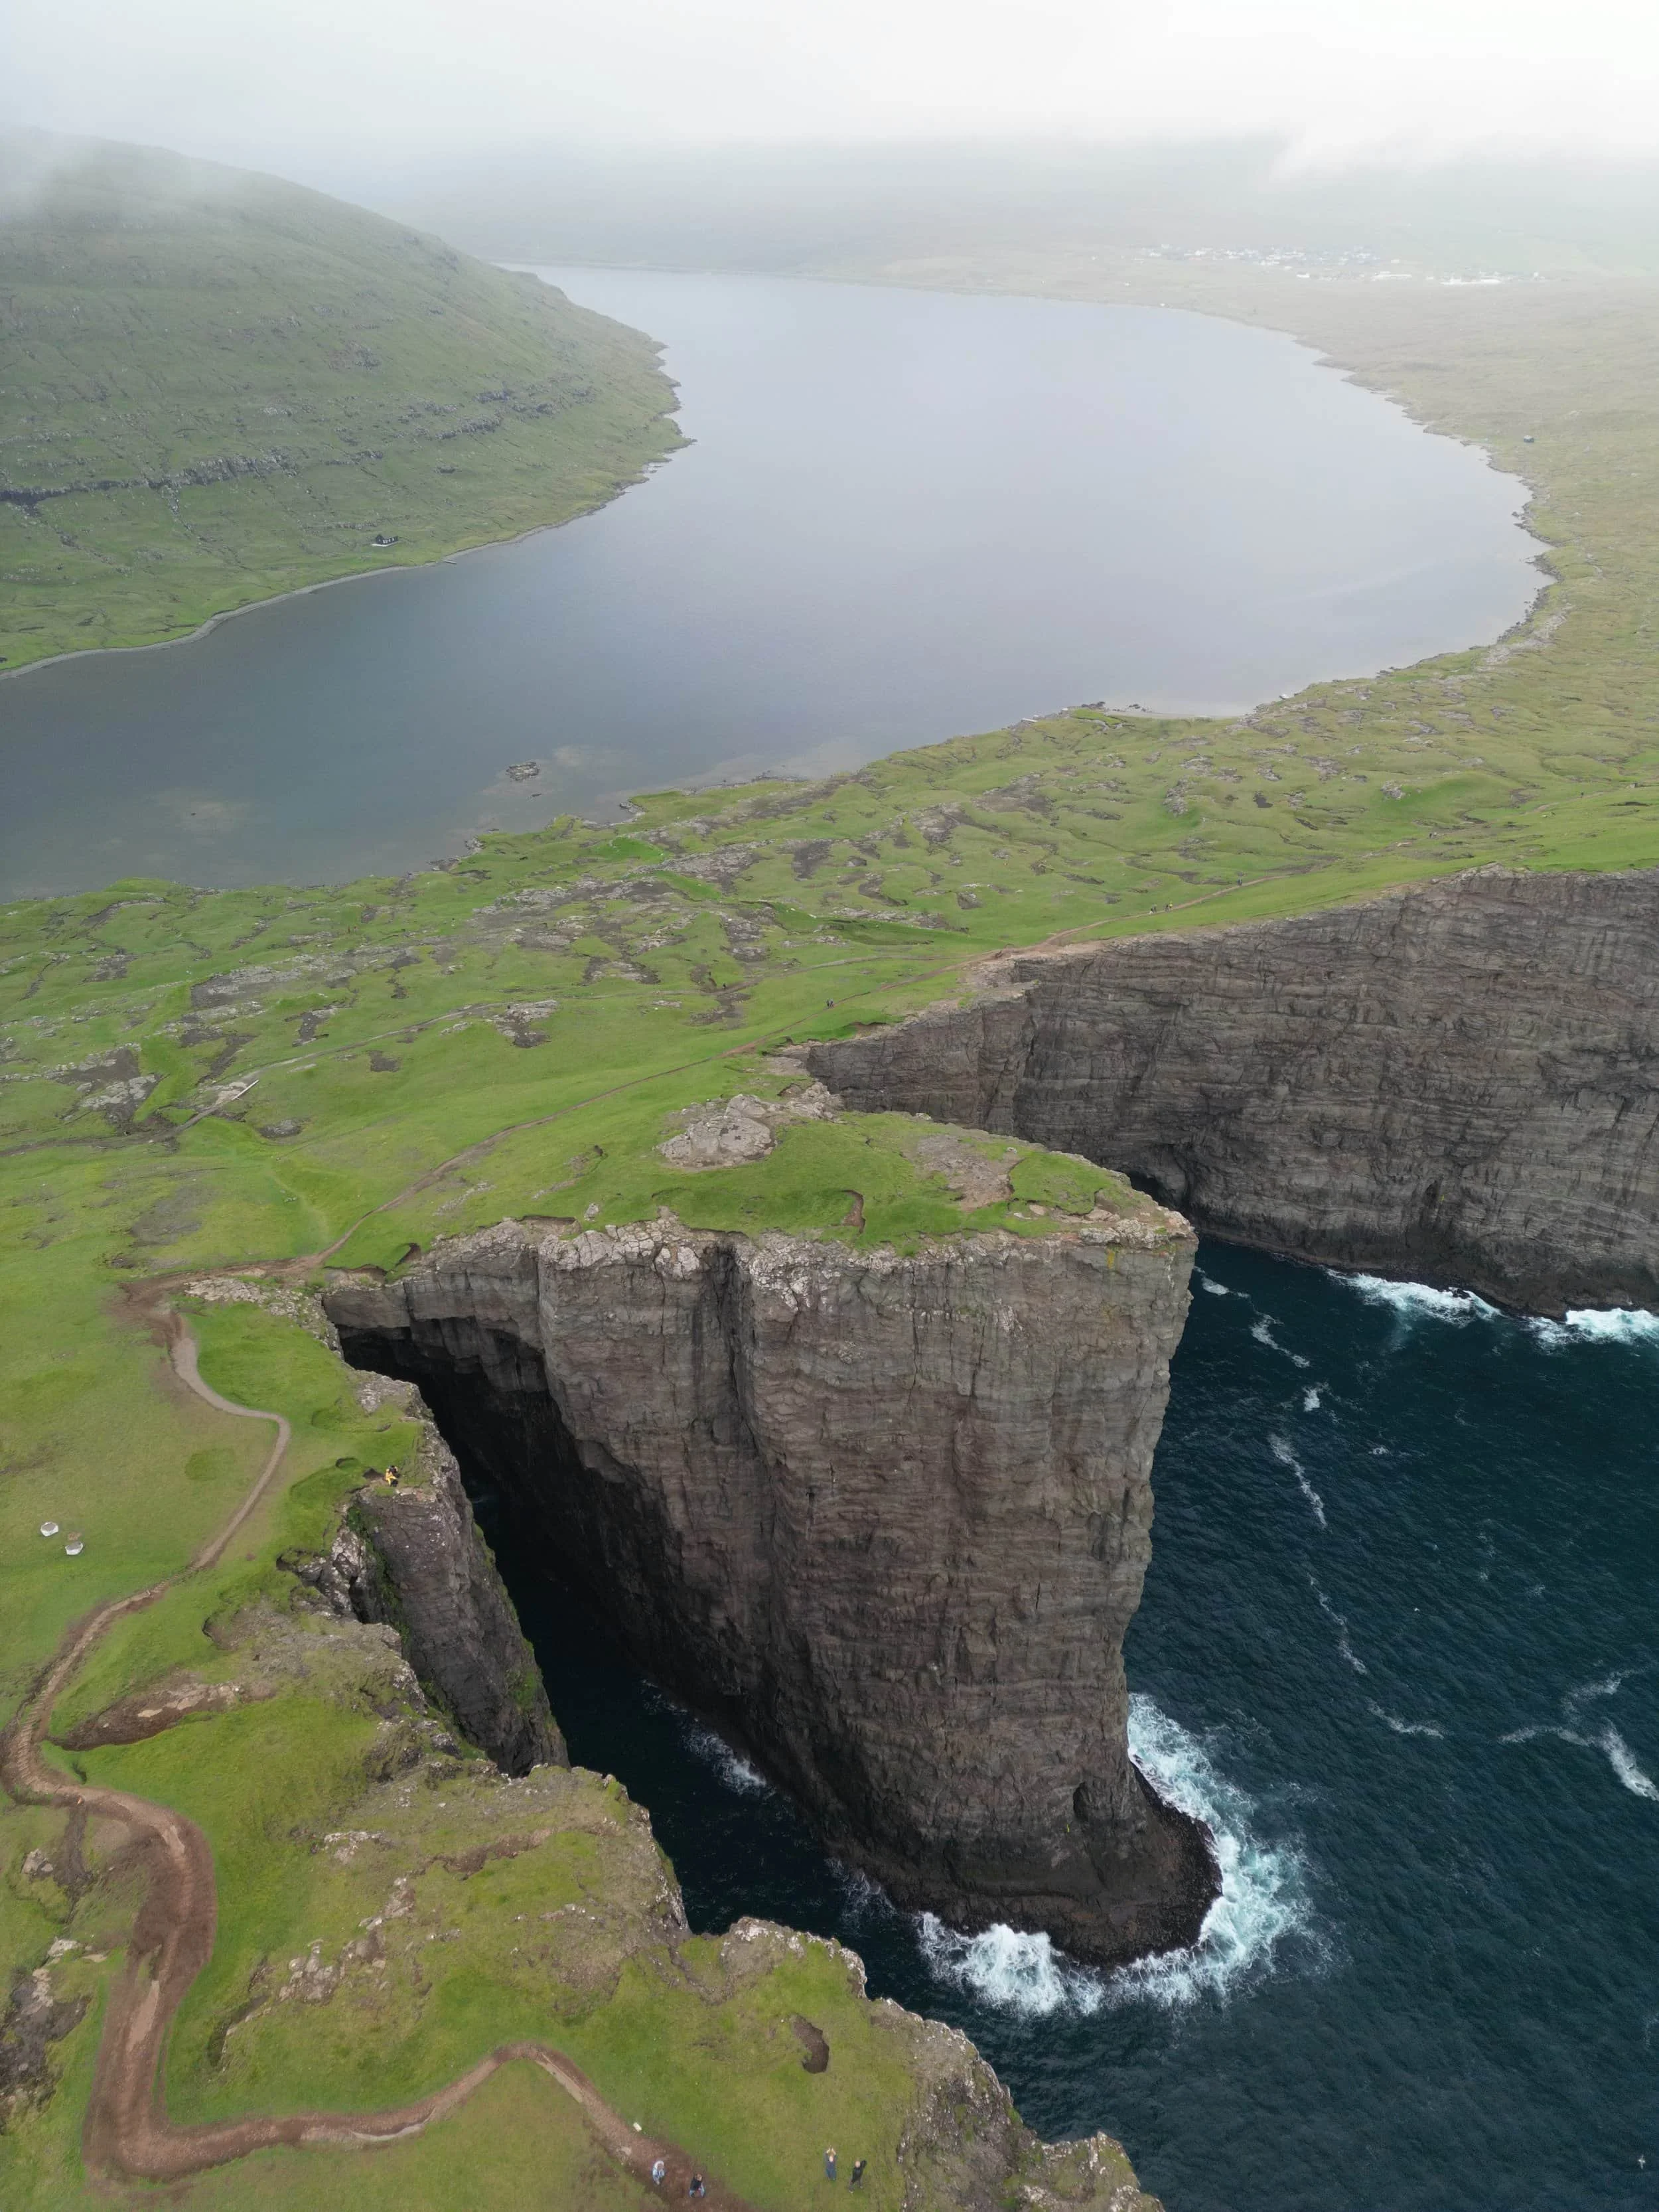
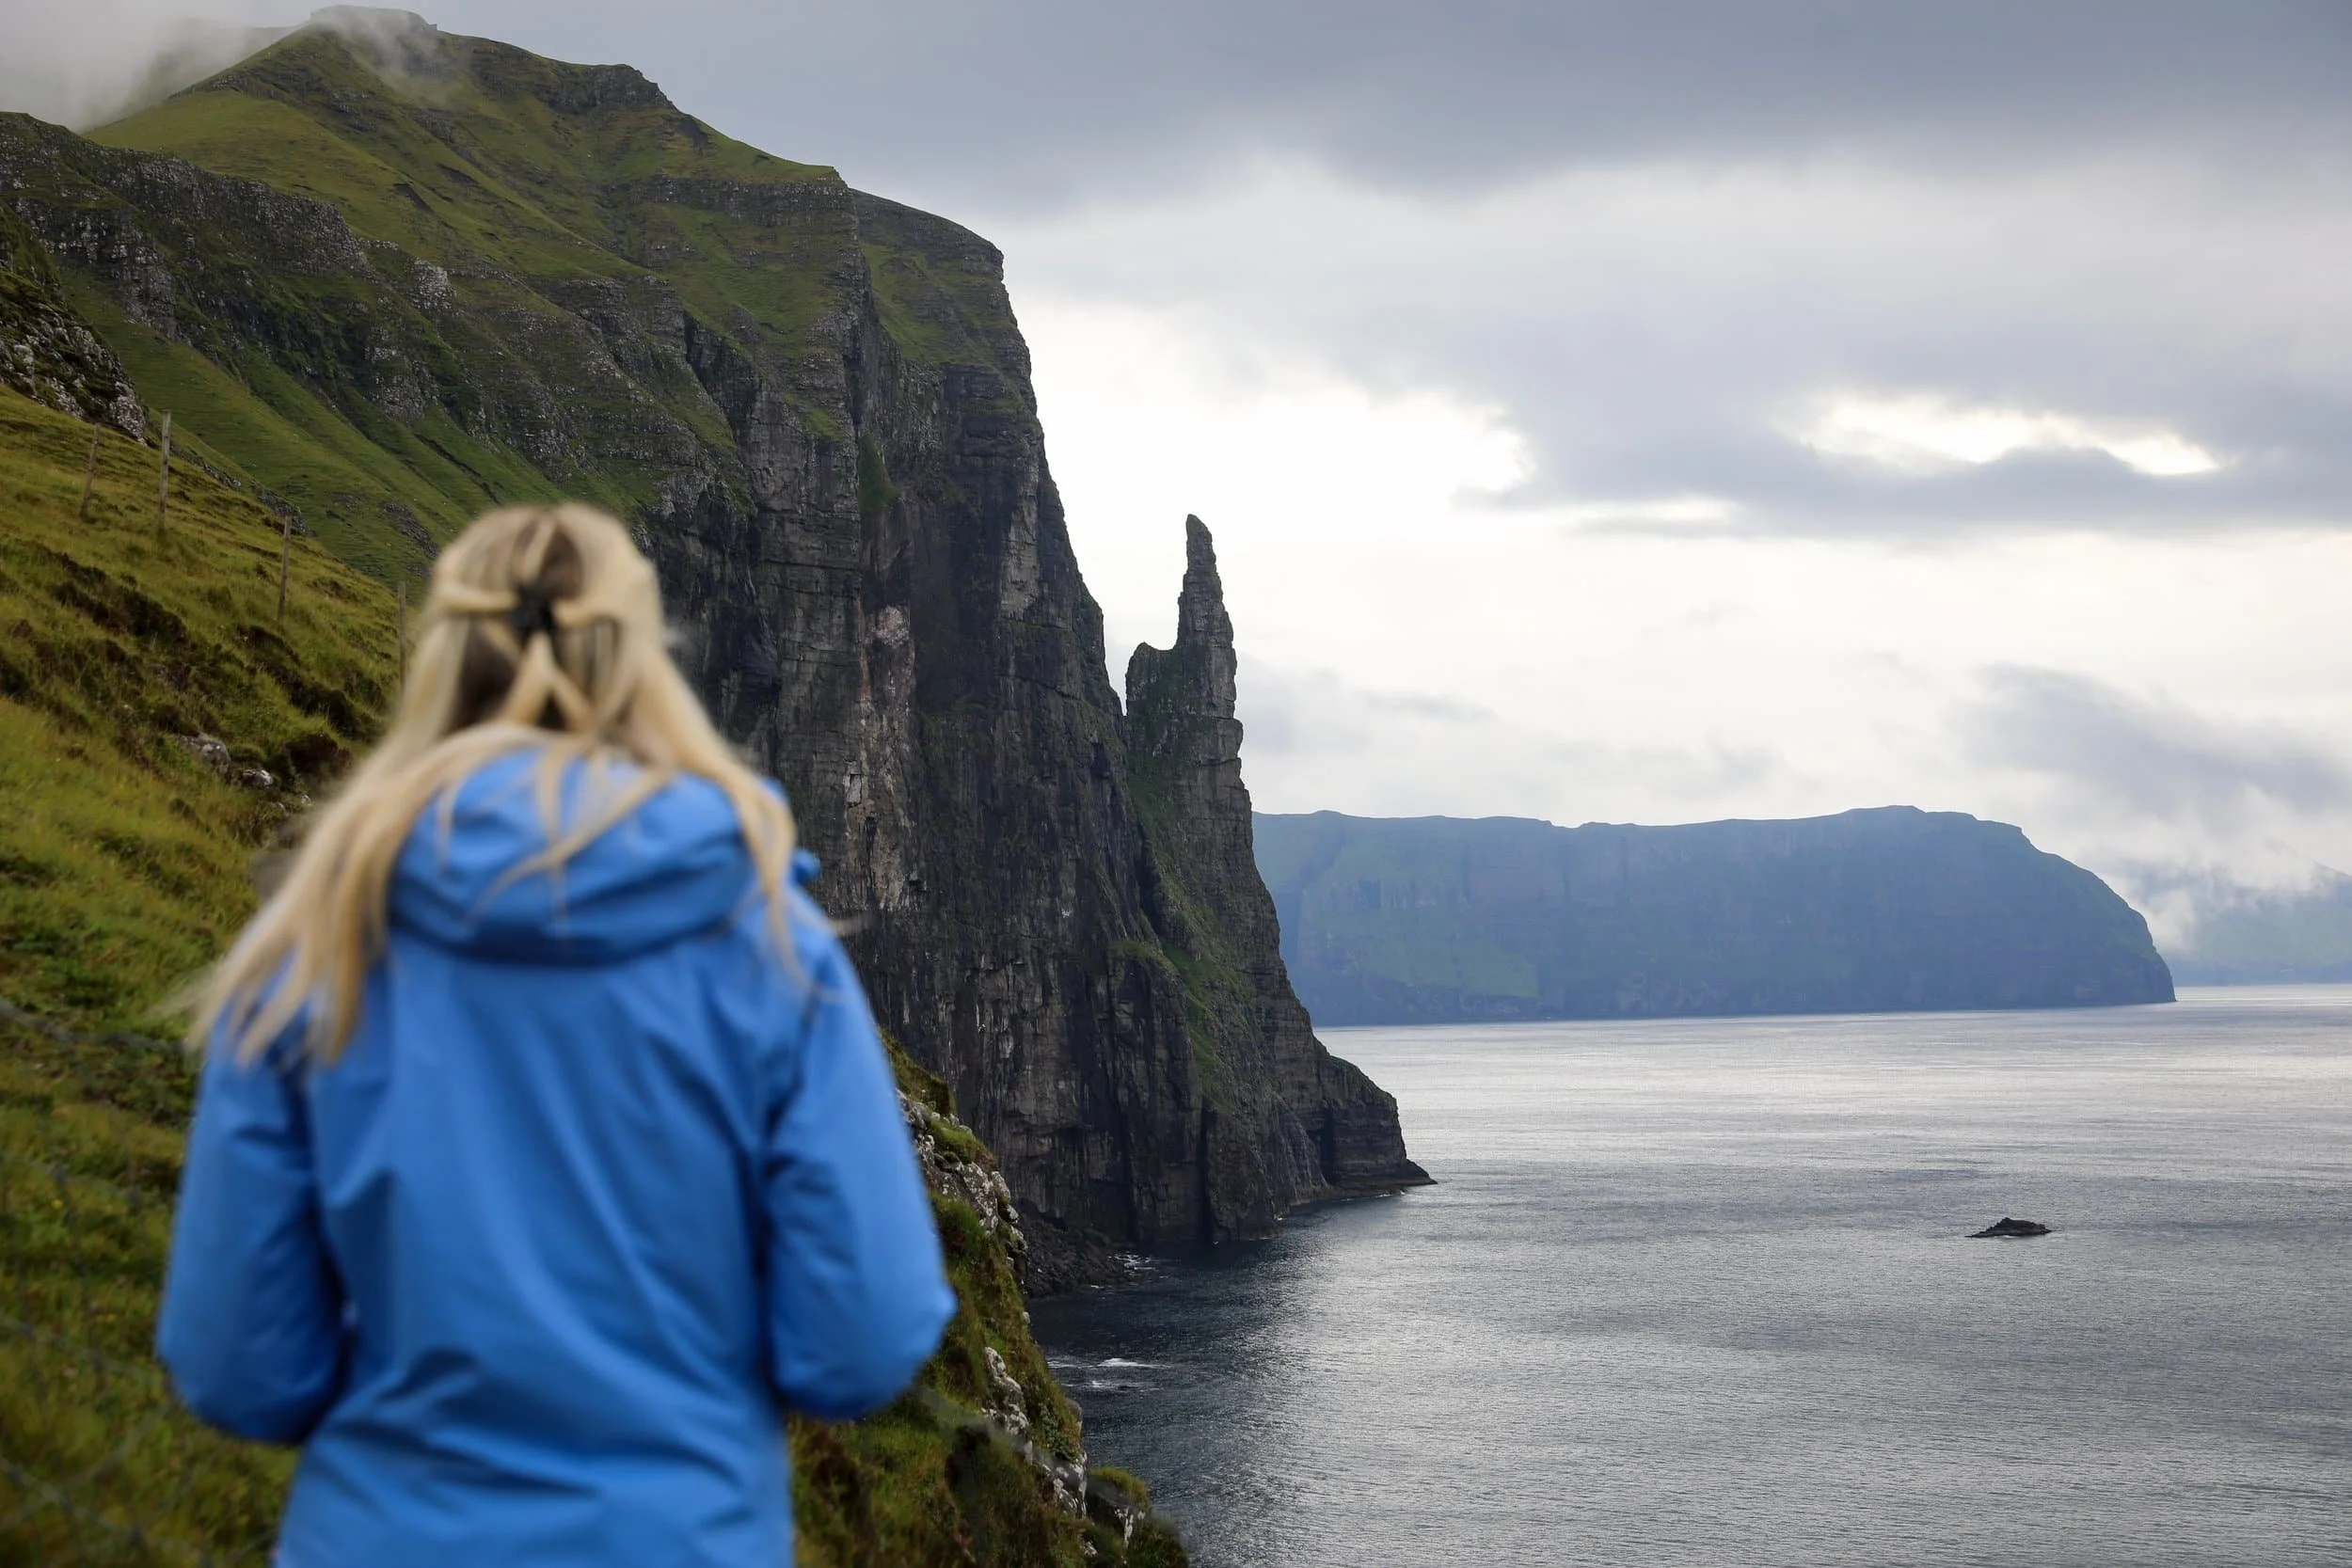
Begin with Trøllkonufingur, a short, easy coastal walk near Sandavágur that makes a good introduction to hiking in the islands. The route follows a sealed road before crossing muddier ground to a viewpoint overlooking the distinctive sea stack and the North Atlantic. From there, drive to Sørvágsvatn for a longer walk along the lake to Trælanípa and Bøsdalafossur waterfall. The two trailheads are close enough to combine in one day, giving you a mix of coastal views, clifftop scenery and a proper hike beside the island’s largest lake.
Stop 1: Trøllkonufingur
The walk to Trøllkonufingur, or the Witch’s Finger, is more of a scenic stroll than a strenuous hike. We visited early in the morning and had the viewpoint to ourselves. The final section was muddy, but the walk was short and offered lovely views across the coast towards Koltur.
Hike Overview
Location: Near Sandavágur on Vágar
Trailhead: Designated car park in Sandavágur | Google Maps
Distance: About 3 km return
Duration: Around 40 minutes of walking; allow about an hour to enjoy the viewpoint
Difficulty: Easy, with a muddy and uneven section near the end
Cost: Free
Highlights: Trøllkonufingur sea stack and views across the North Atlantic
Read my detailed guide to the Trøllkonufingur Witch’s Finger Hike
Stop 2: Sørvágsvatn and Trælanípa
After Trøllkonufingur, drive about 10 minutes to the Sørvágsvatn trailhead near Miðvágur. The route follows the lake towards Trælanípa, where the cliffs create the famous view that makes the water appear to hang above the ocean. Continue to Bøsdalafossur, where the lake flows over the cliff into the sea. Allow time for photos and stops along the way.
Hike Overview
Location: Near Miðvágur on Vágar
Trailhead: Trælanípa car park and visitor facilities | Google Maps
Distance: About 7 km return
Duration: Around 2.5–3 hours, including stops
Difficulty: Relatively easy
Cost: The self-guided hike currently costs 200 DKK per person
Highlights: Sørvágsvatn, the Trælanípa cliffs and Bøsdalafossur waterfall
Where to Stay
For this first night, I’d stay on Vágar, with Sandavágur, Miðvágur and Sørvágur all offering convenient bases for Trøllkonufingur and Sørvágsvatn. Sørvágur would be my preference, as it’s close to Vágar Airport and puts you in a good position for the following day’s plans.
The best places to stay in Sørvágur are:
Cottages by the Sea - These cosy, self-contained cottages are set beside the marina, with sea views and a terrace. Each has a kitchenette, bathroom, living area with a sofa bed and an upstairs sleeping loft, making them a practical option for couples, families or small groups.
Hotel Vagar - A convenient hotel near Vágar Airport, with comfortable rooms, free Wi-Fi and an on-site restaurant serving breakfast. It’s a good choice if you want a straightforward stay close to the airport and within easy reach of Sørvágur and the island’s main sights.
Day 2 Drangarnir and Múlafossur
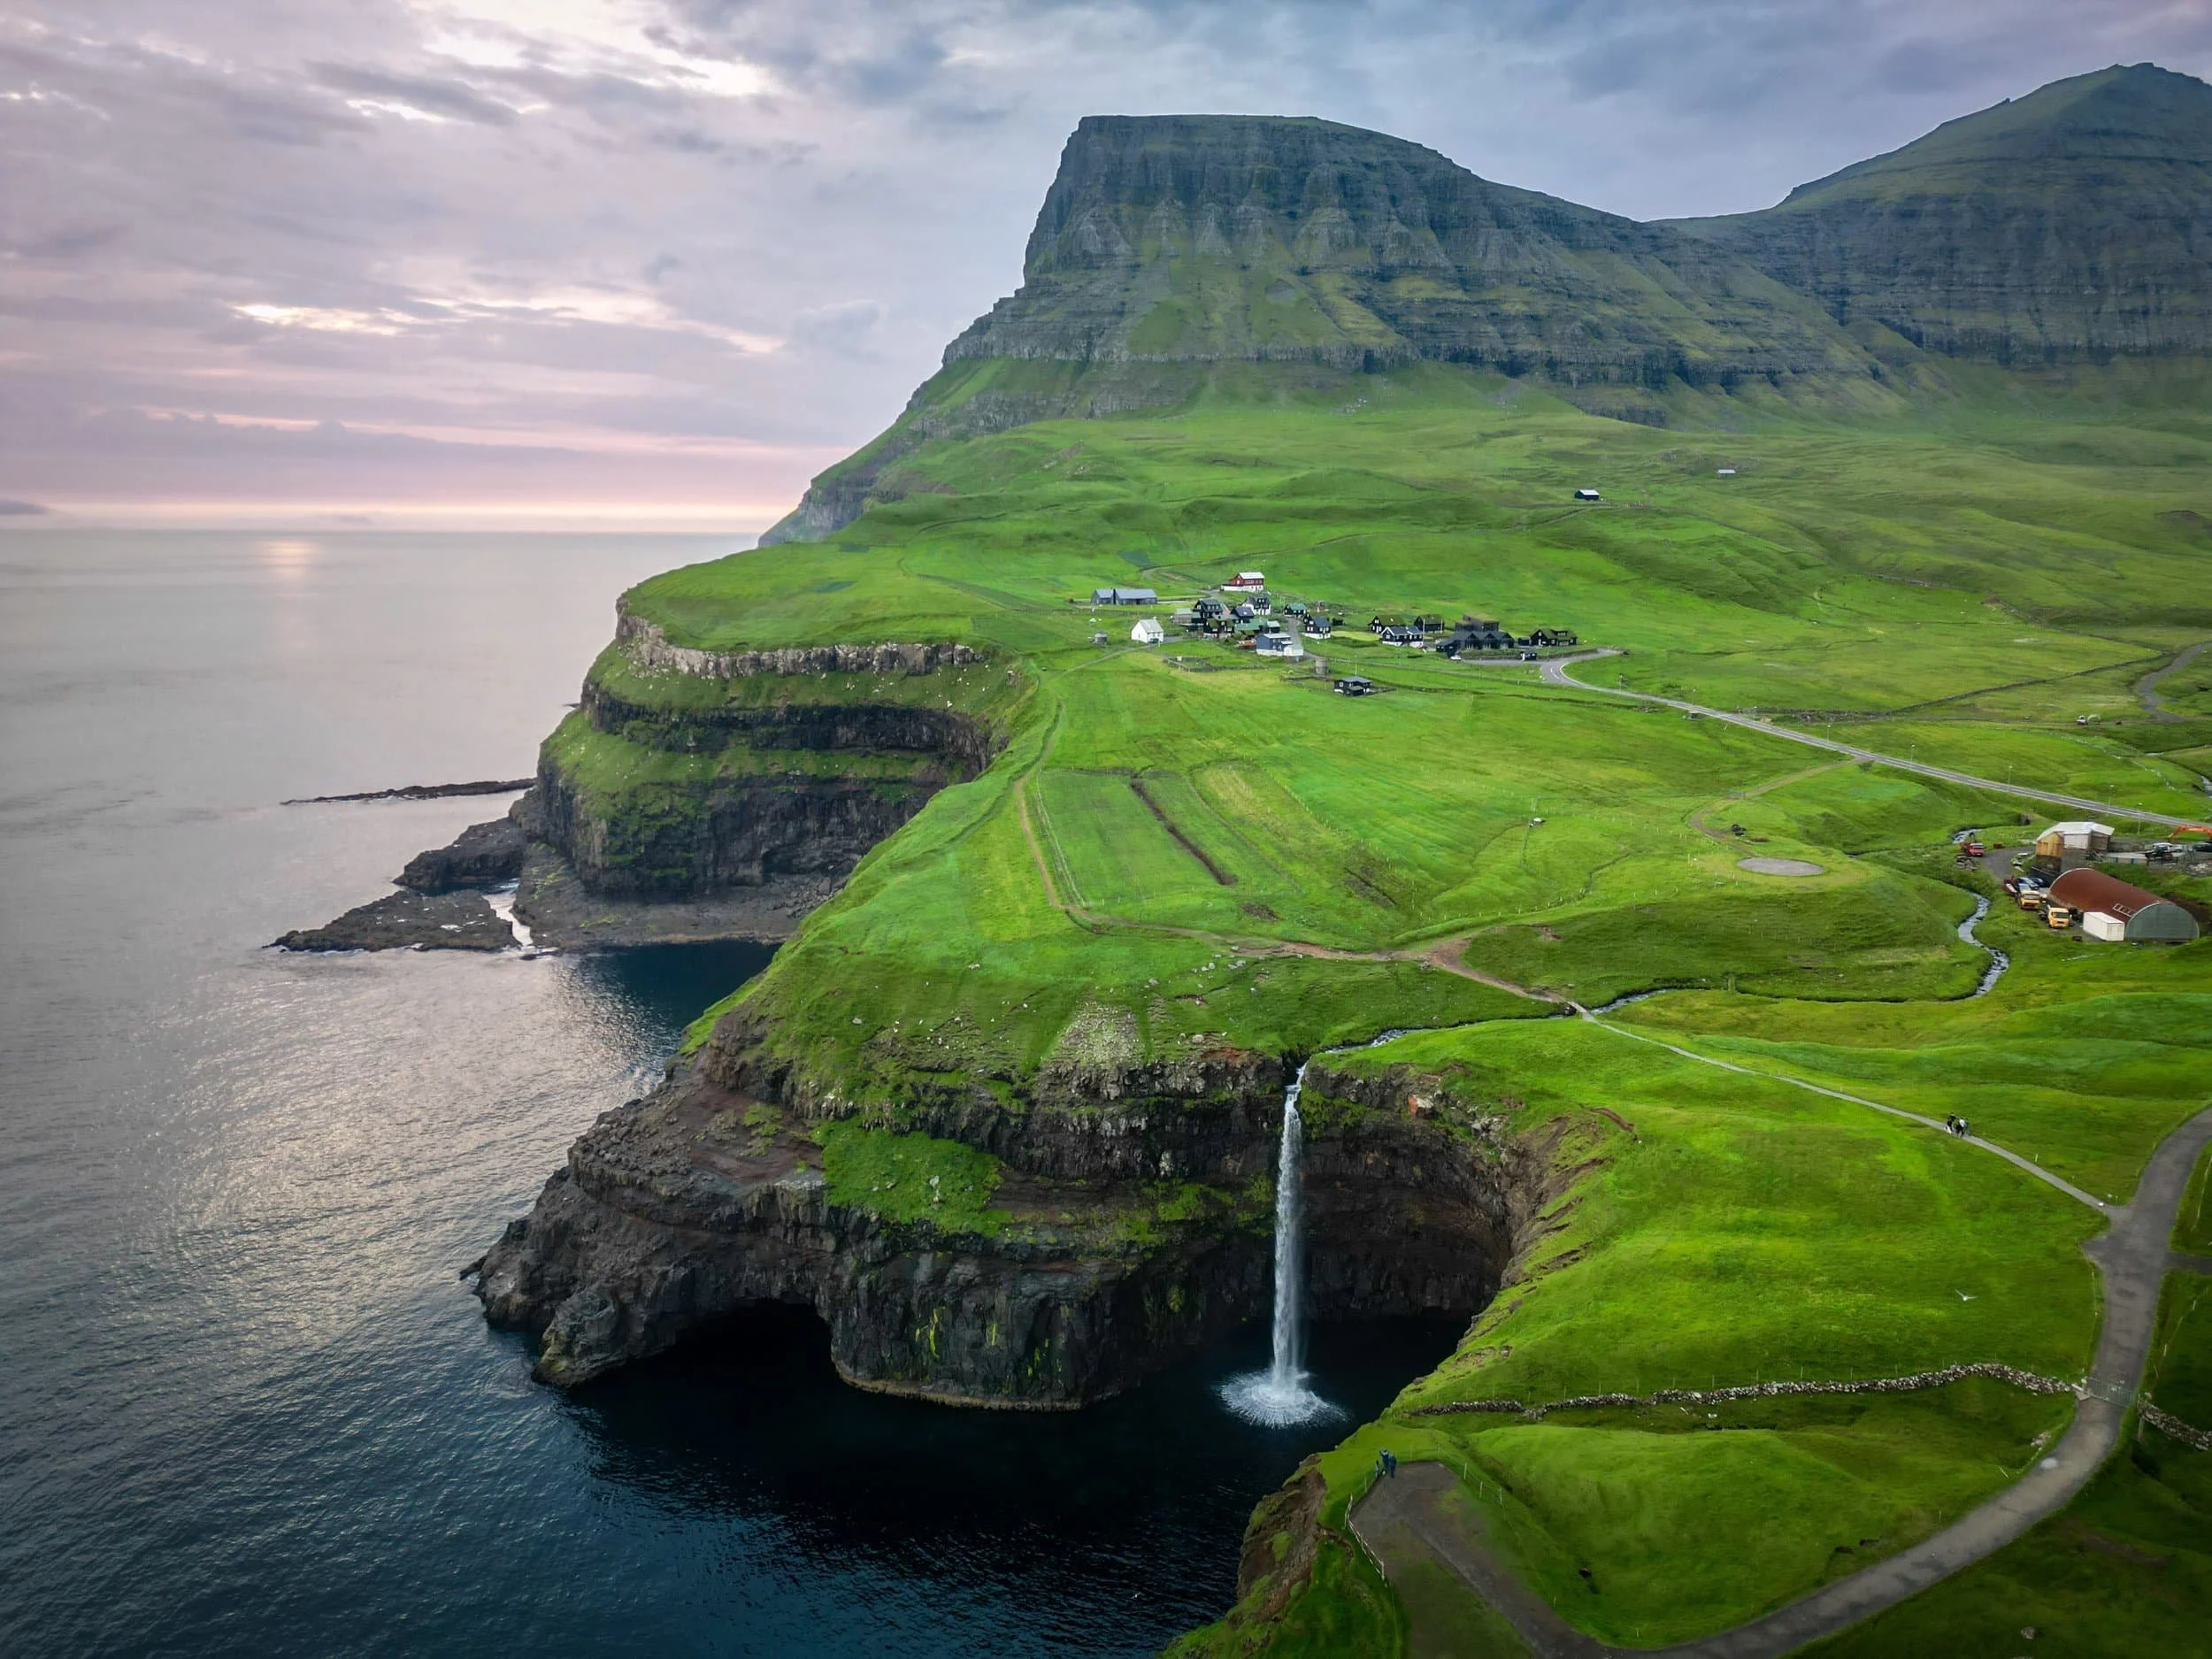
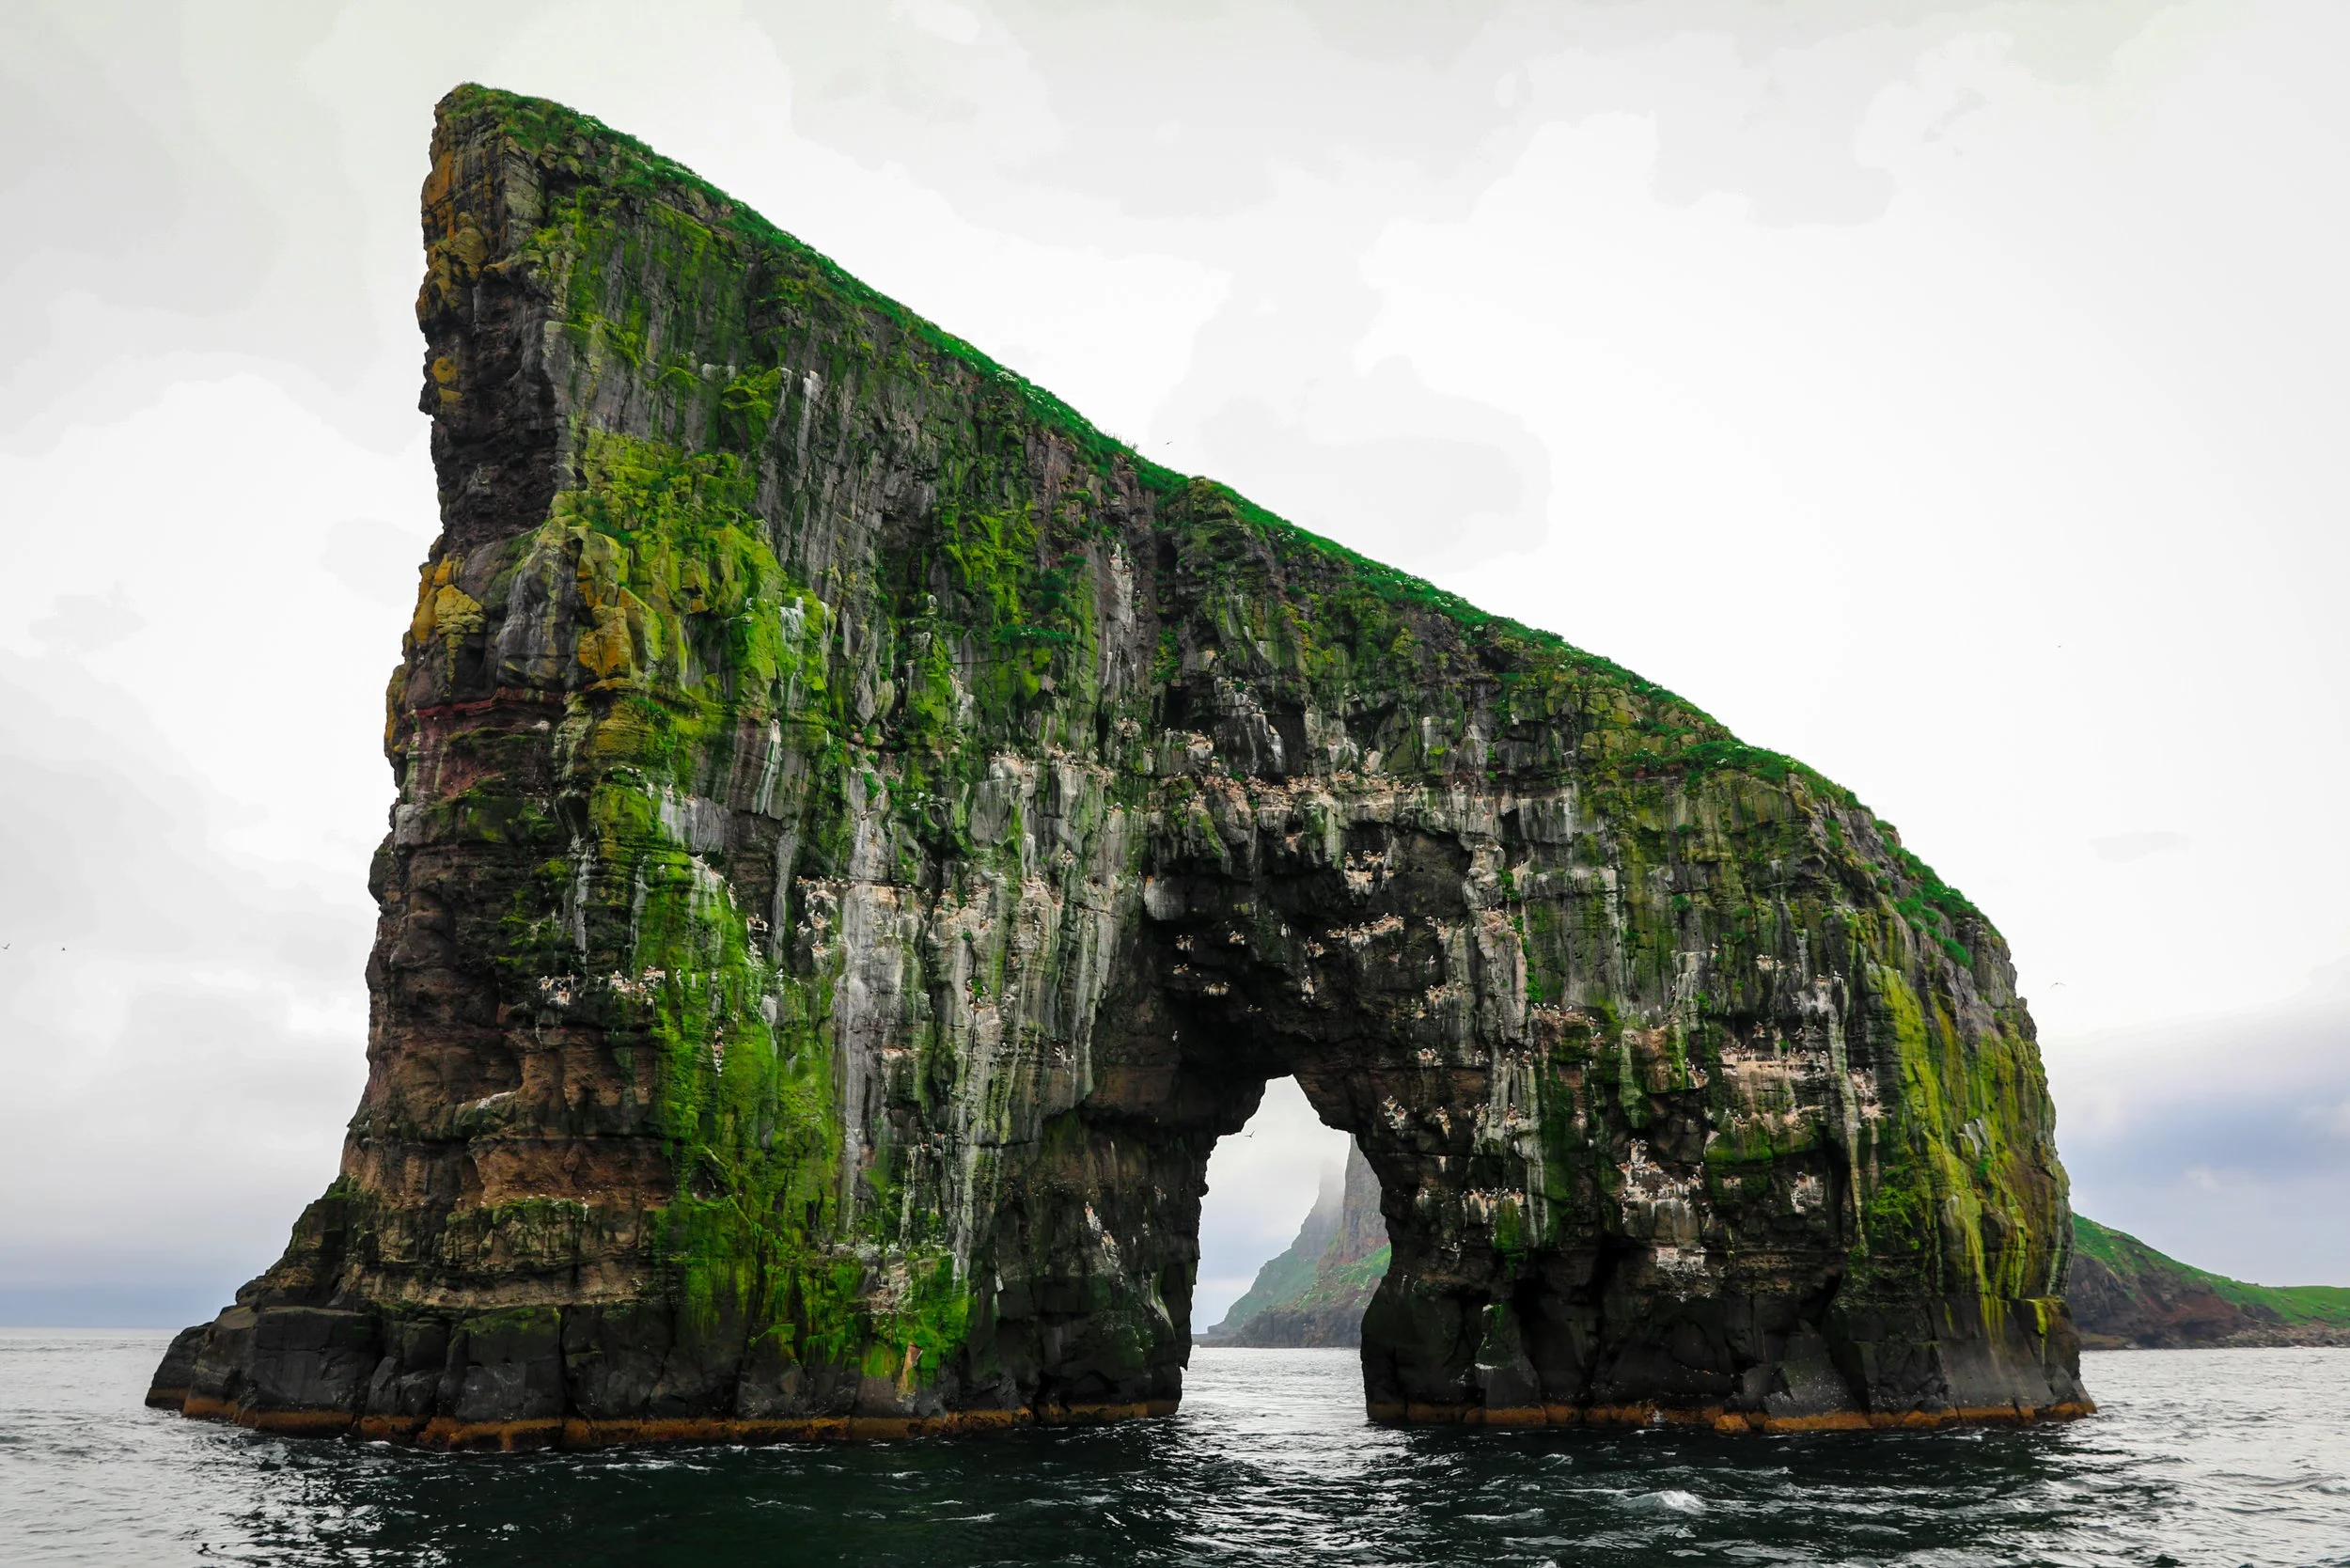
Spend the morning on a guided hike to the Drangarnir Sea Stacks, then visit Múlafossur Waterfall in the village of Gásadalur. The tour to Drangarnir departs from Sørvágur, so staying there the night before makes for an easy start. The hike combines a speedboat ride with a coastal walk, bringing you close to the sea stacks and the dramatic cliffs of Vágar. After returning to Sørvágur, drive to Gásadalur to see Múlafossur plunge from the cliff into the ocean. The order can depend on your Drangarnir tour time and the weather, so keep the day flexible.
Stop 1: Drangarnir Sea Stacks
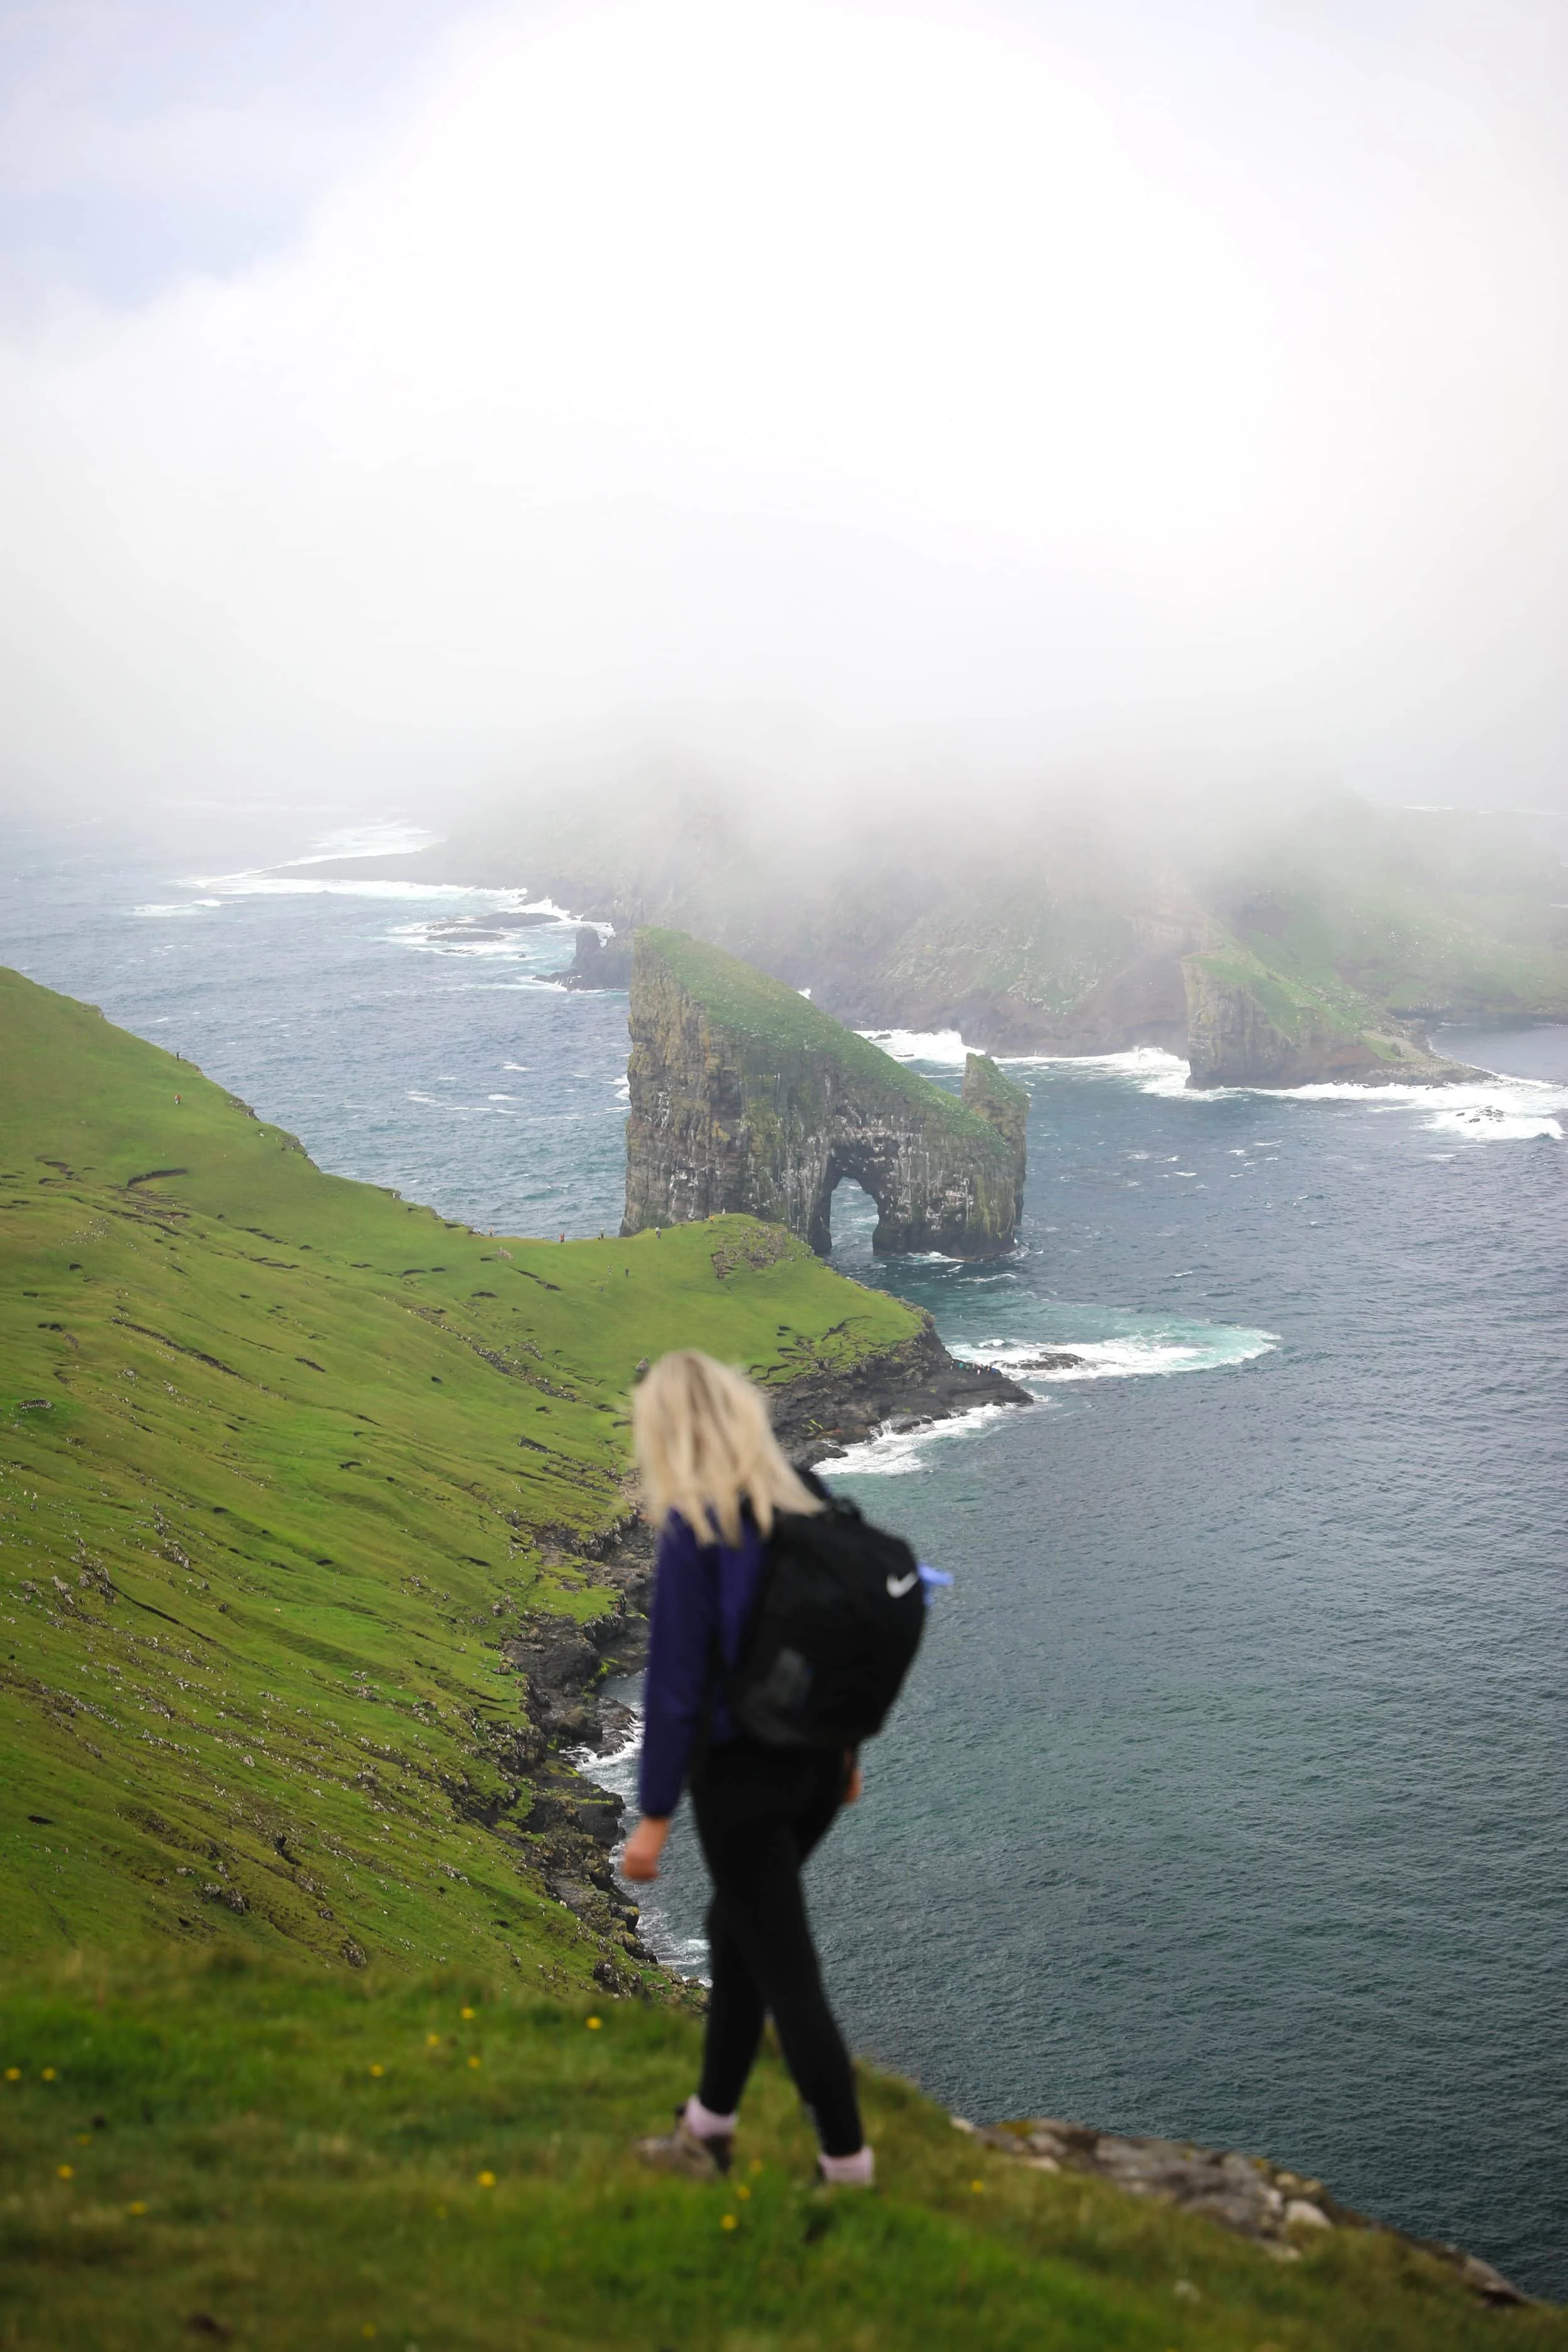
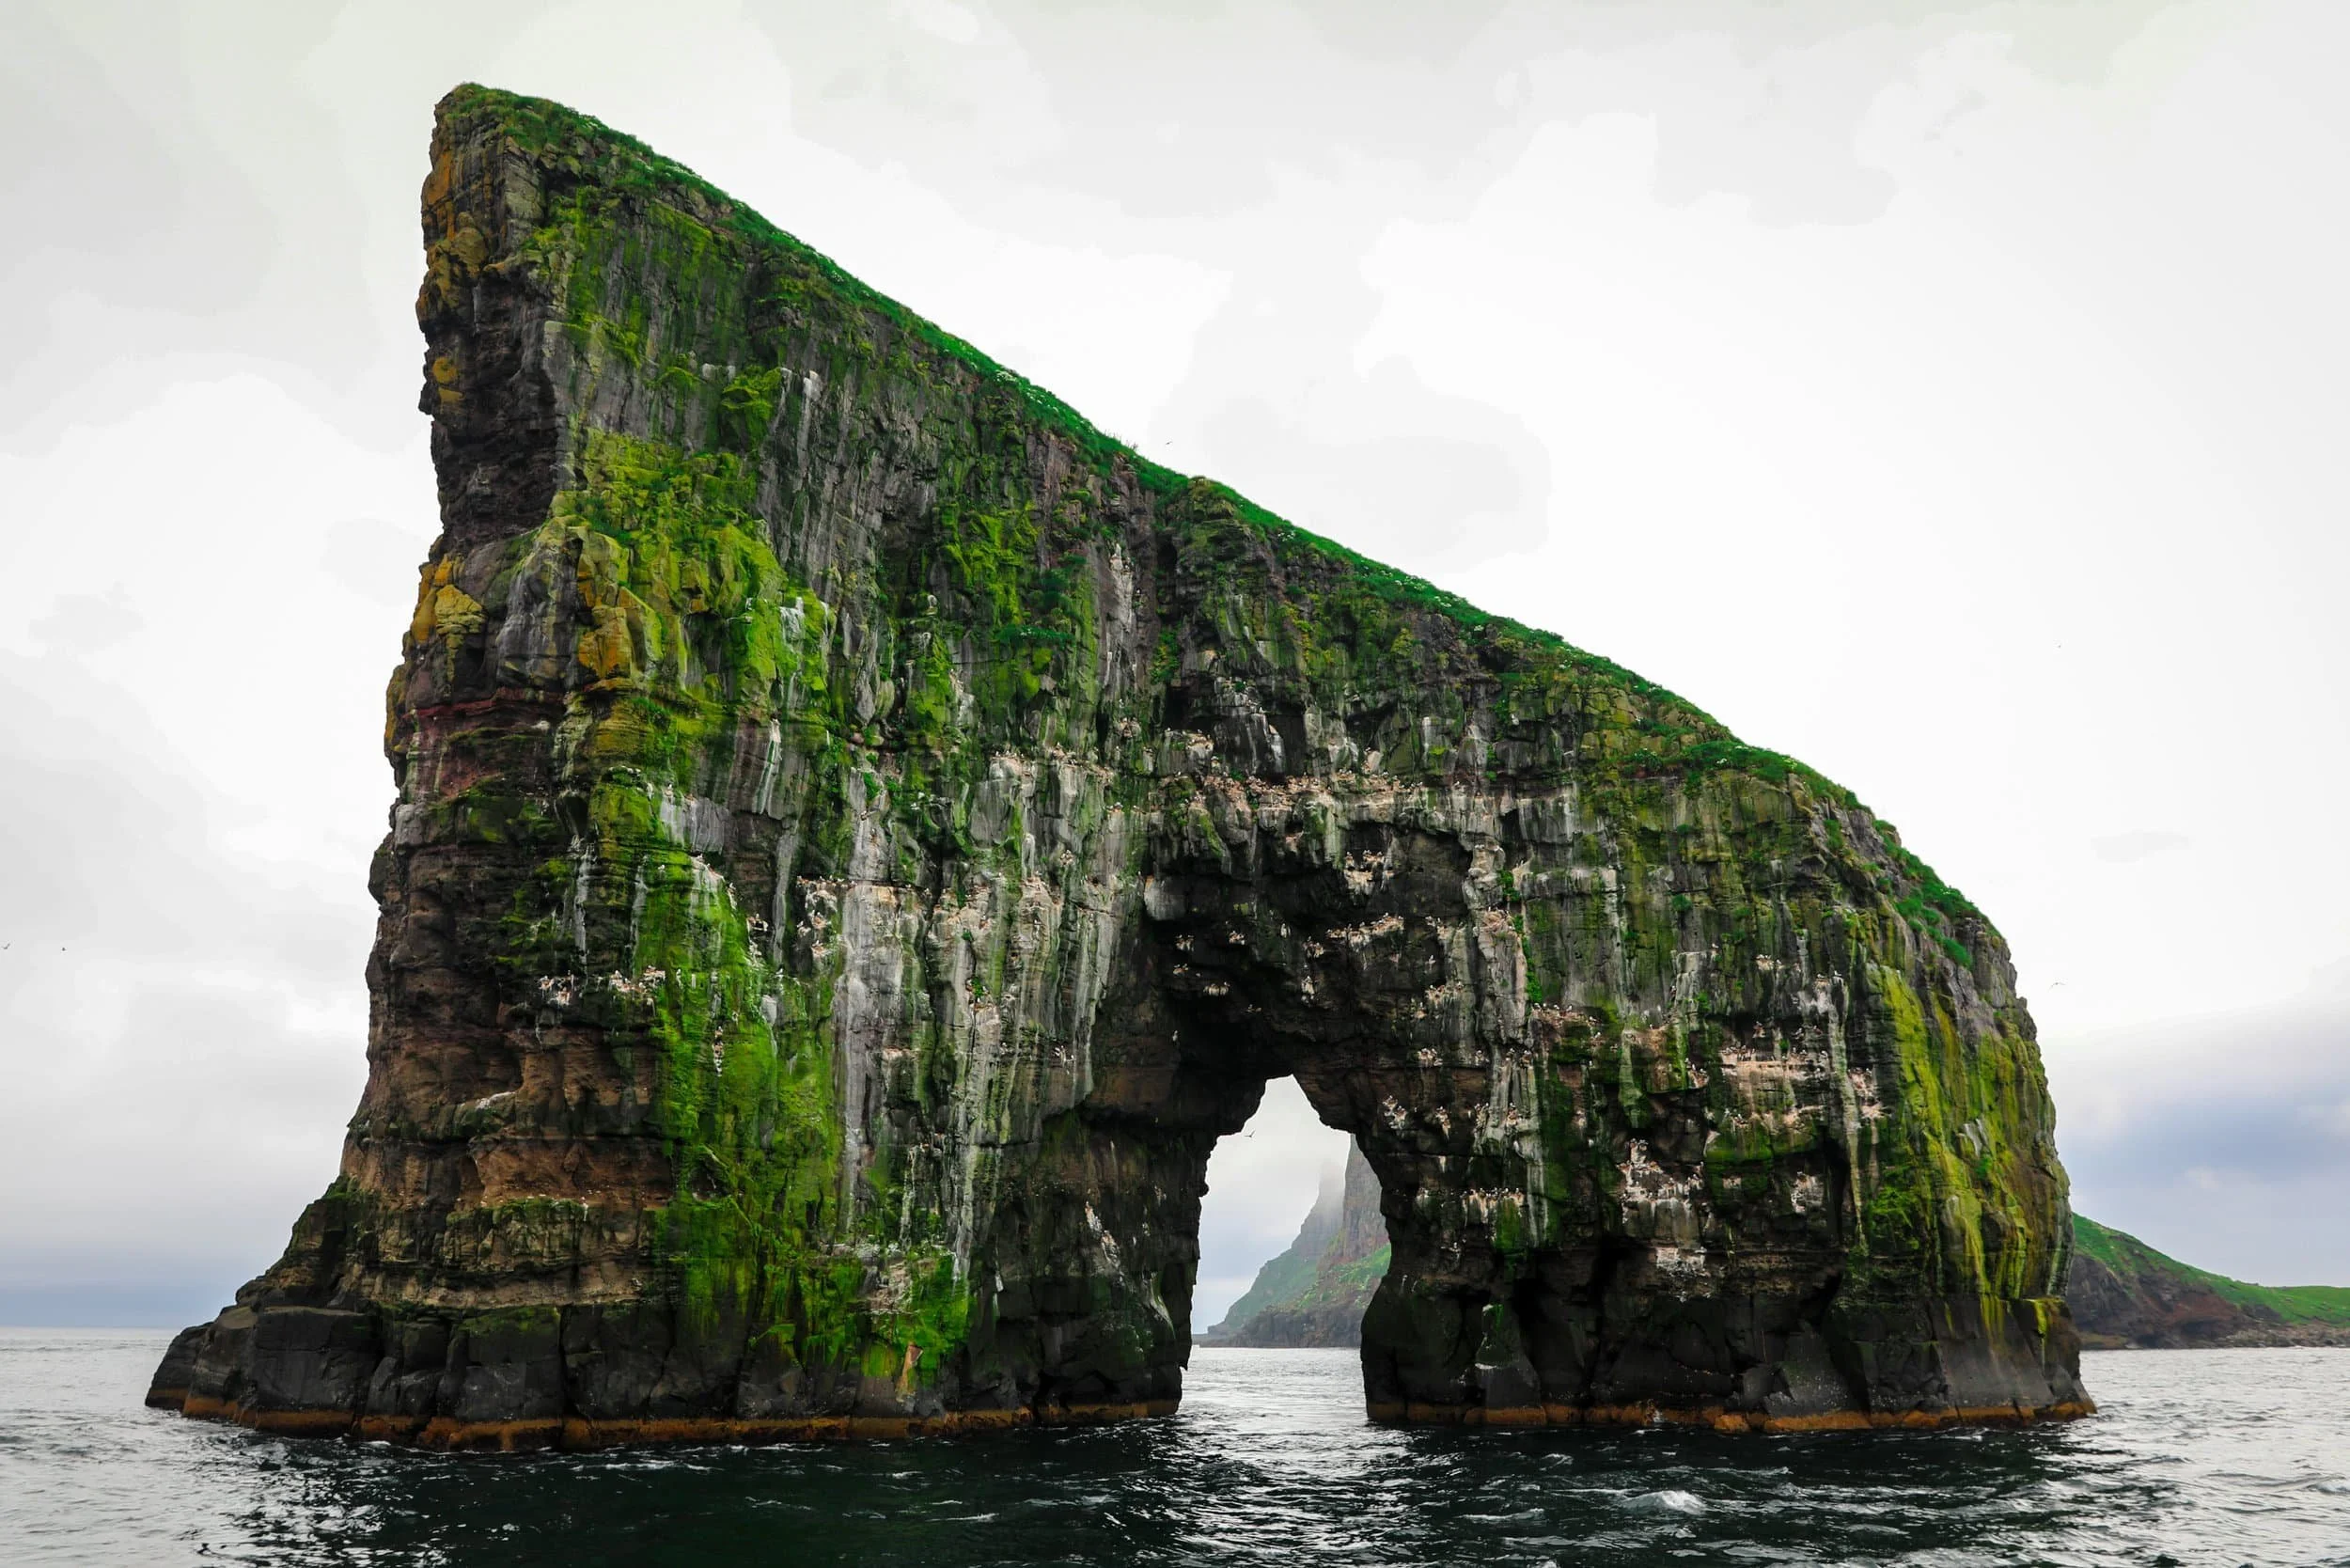
The Drangarnir tour was one of my favourite adventures in the Faroe Islands. We started at the jetty in Sørvágur, where we boarded a small speedboat and travelled beneath Vágar’s towering cliffs to the trail. The route climbed over grassy hills to a ridgeline, where we caught our first glimpse of the sea stacks. We then followed the coast towards Stóri Drangur, with views of Tindhólmur and the surrounding cliffs along the way. At the end, we had time to explore the viewpoints before the boat collected us.
This route crosses private land and can only be done as part of an organised guided tour. Book ahead and check the operator’s latest departure times, as tour availability can determine how you arrange the rest of the day.
Hike Overview
Location: Near Sørvágur on Vágar
Meeting point: Sørvágur harbour | Google Maps
Distance: About 5 km each way on foot, according to the tour information
Duration: Around 3 hours for the boat trip and hike
Difficulty: Moderate; expect uneven, exposed and potentially muddy ground
Access: Guided tour only, including a boat transfer from Sørvágur
Highlights: Stóri Drangur, Lítli Drangur, Tindhólmur and Vágar’s dramatic coastline
Read my detailed guide to the Drangarnir Sea Stacks Guided Hike
Stop 2: Múlafossur Waterfall
After the tour, drive around 10 minutes from Sørvágur to Gásadalur to visit Múlafossur. From the village car park, it’s a short walk to the viewpoint, where the waterfall drops from the cliffs directly into the North Atlantic. It’s an easy stop to add after the hike, and you can spend longer here if the weather or light makes the view especially beautiful.
Hike Overview
Location: Gásadalur on Vágar
Starting point: Village car park | Google Maps
Distance: About 600 m return
Duration: Around 10 minutes of walking, plus time at the viewpoint
Difficulty: Easy, along a short path
Cost: Free
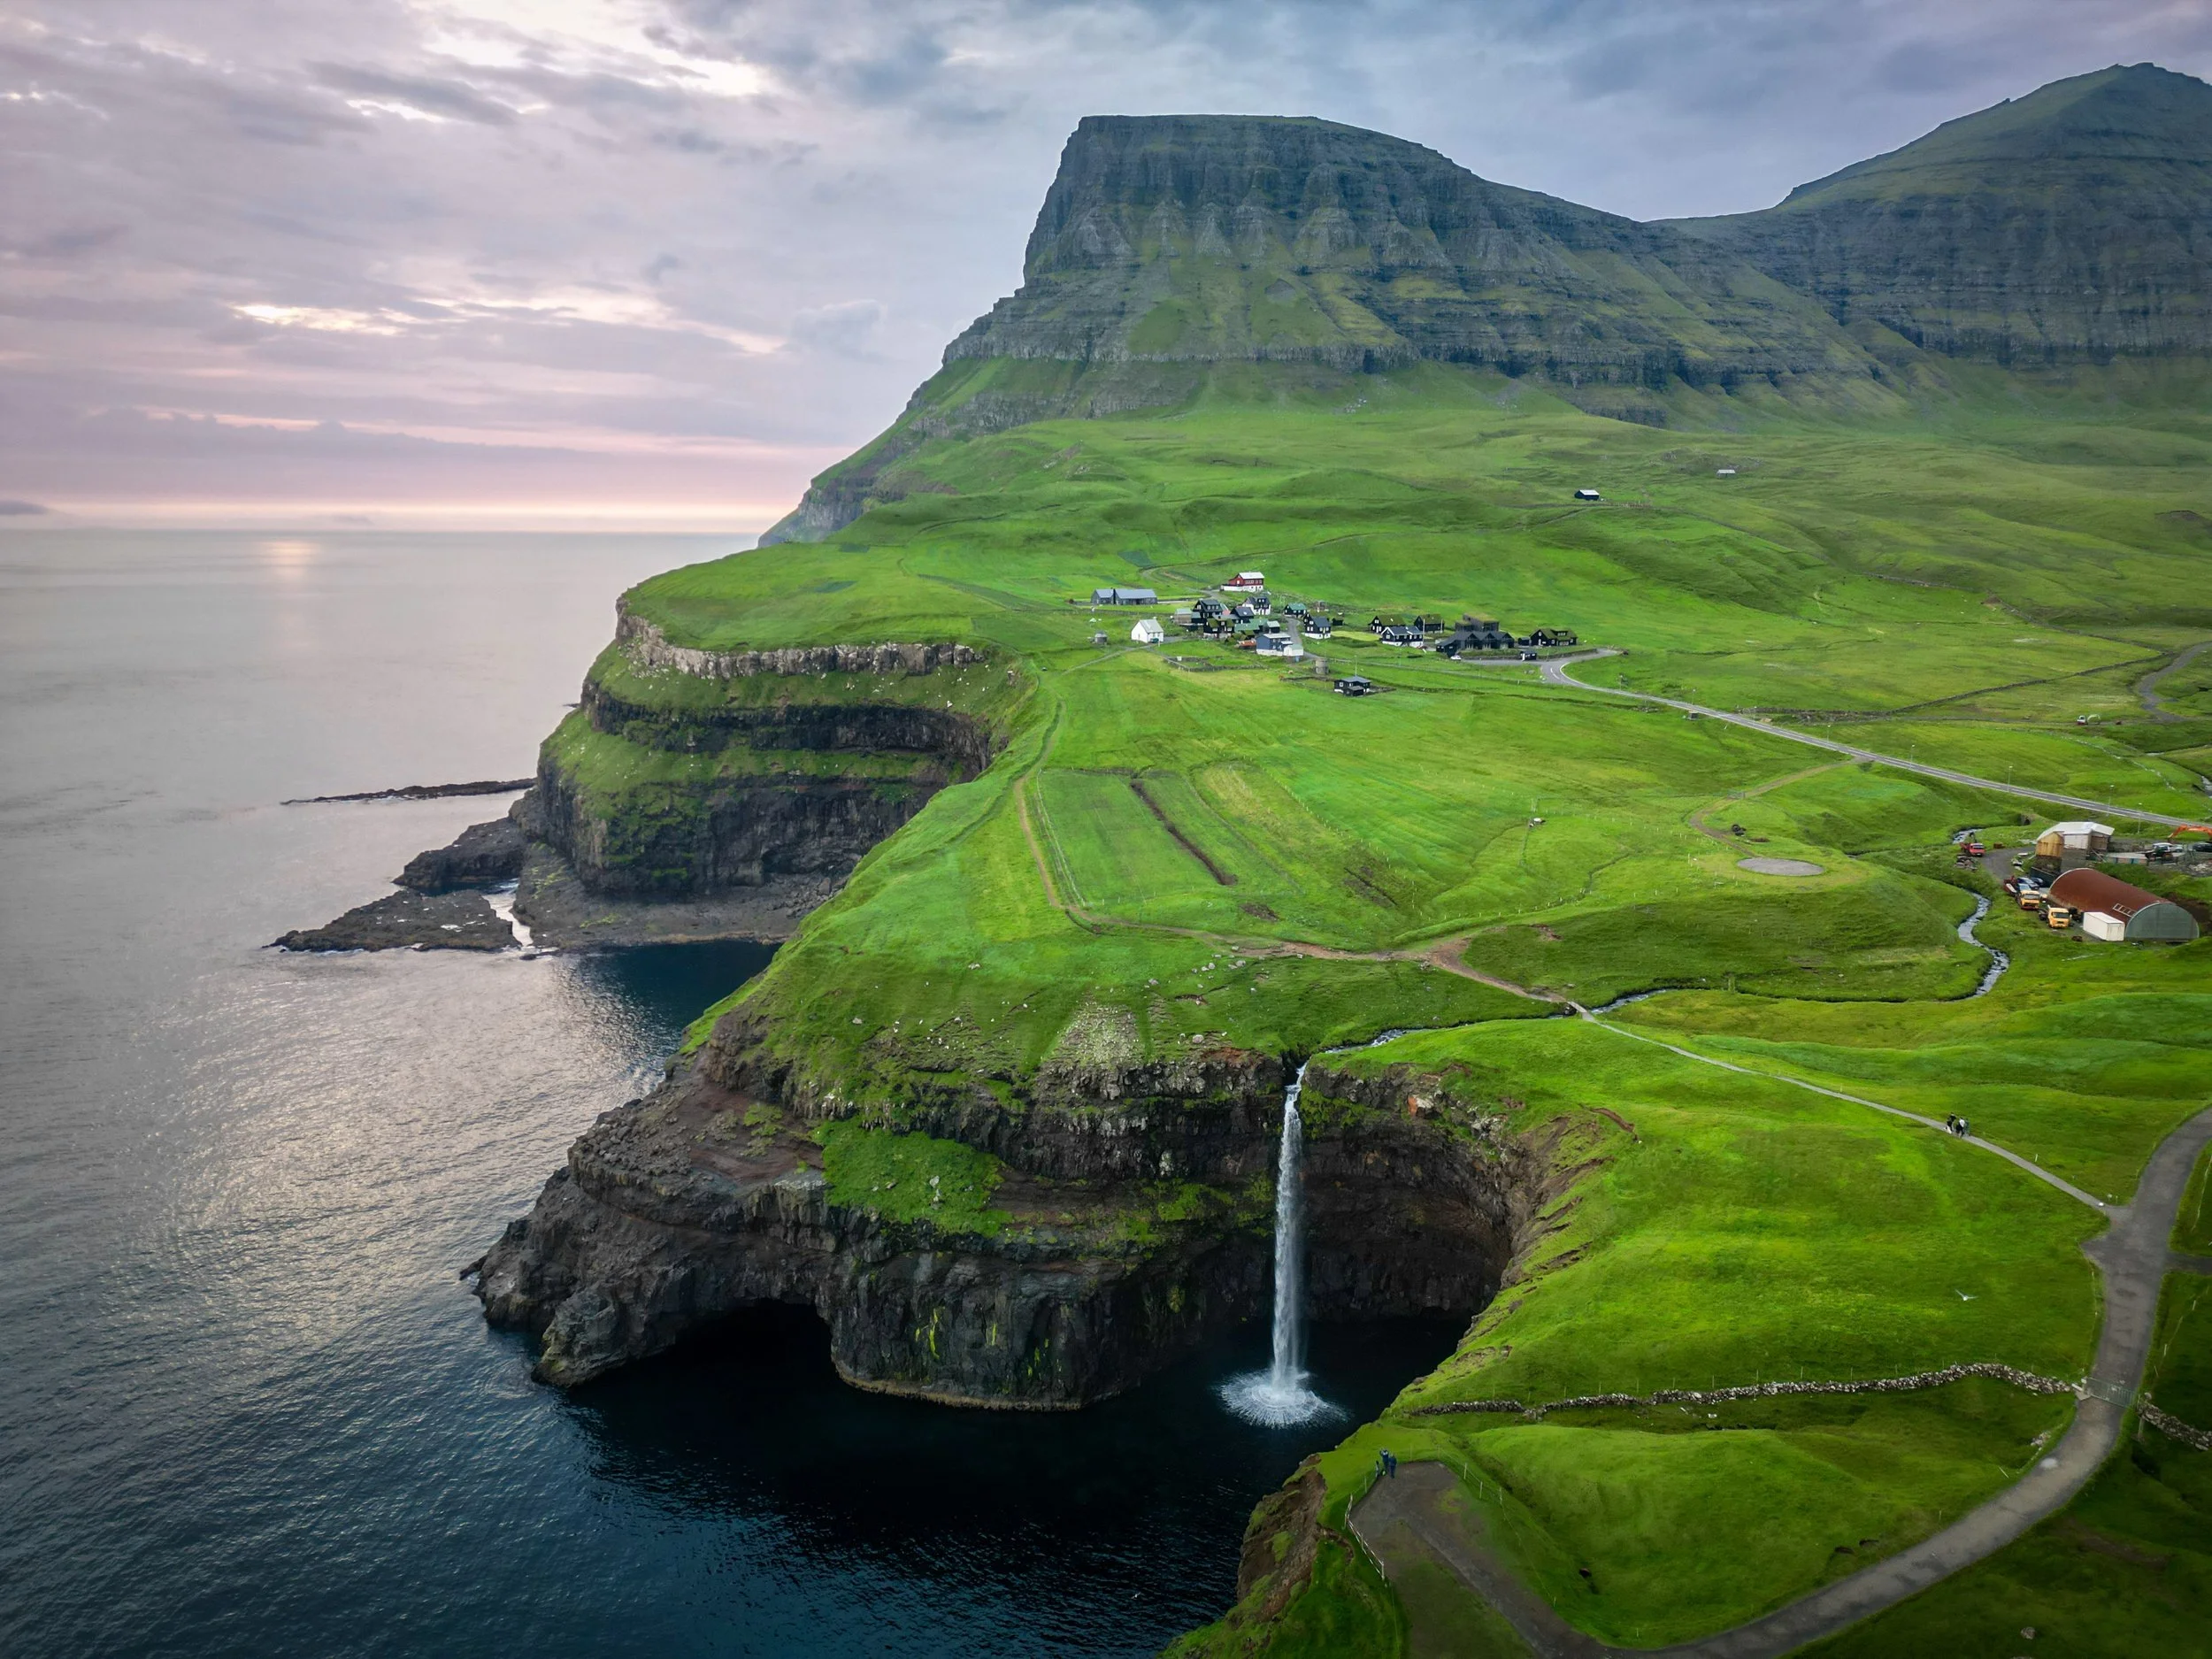
Highlights: Múlafossur Waterfall falling into the Atlantic, with Gásadalur and the surrounding cliffs as its backdrop
Want to know more about Múlafossur Waterfall then you can read my detailed guide
Where to Stay
I’d book your first accommodation on Vágar for two nights, staying in Sørvágur if possible. It’s a convenient base for both days: you can explore Trøllkonufingur and Sørvágsvatn on Day 1, then walk to the Drangarnir tour meeting point and visit Gásadalur and Múlafossur on Day 2. Staying put means you won’t need to pack up and move between nights.
Day 3 Mýlingur
Leave Sørvágur in the morning and drive to Tjørnuvík, allowing around 1 hour 15 minutes for the journey. The drive takes you from Vágar across Streymoy to the village at the northern end of the island, where the Mýlingur hike begins.
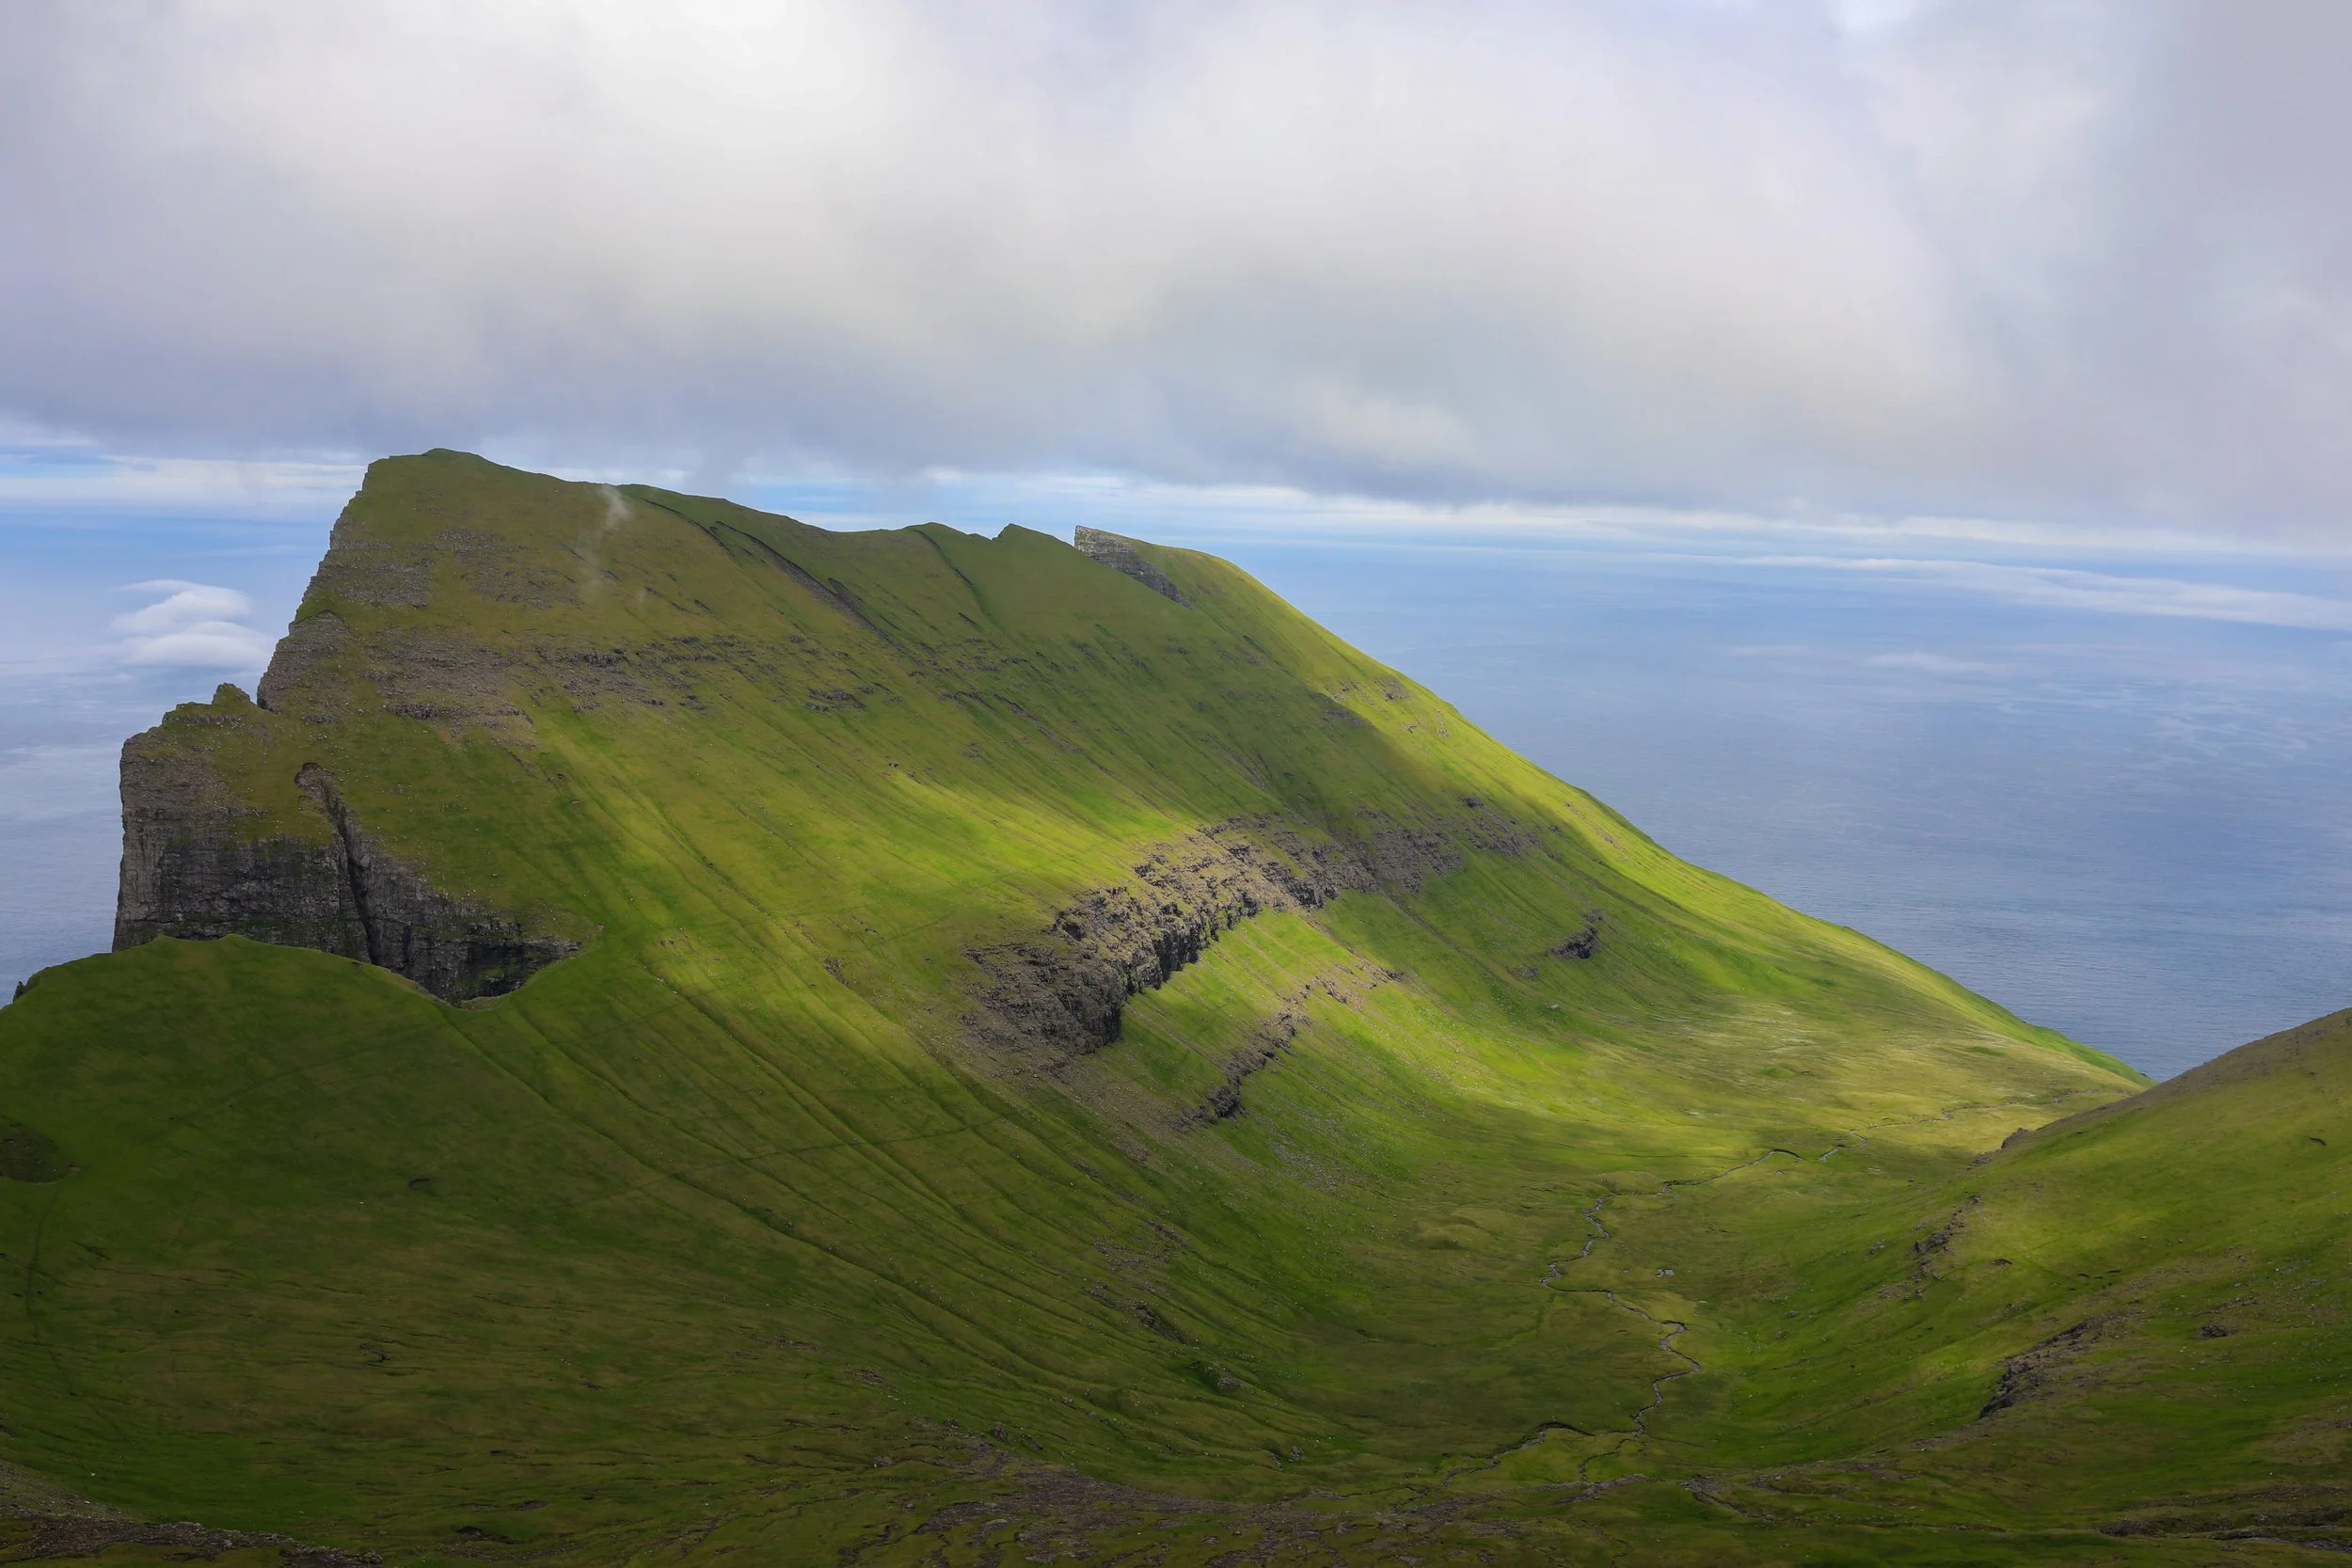
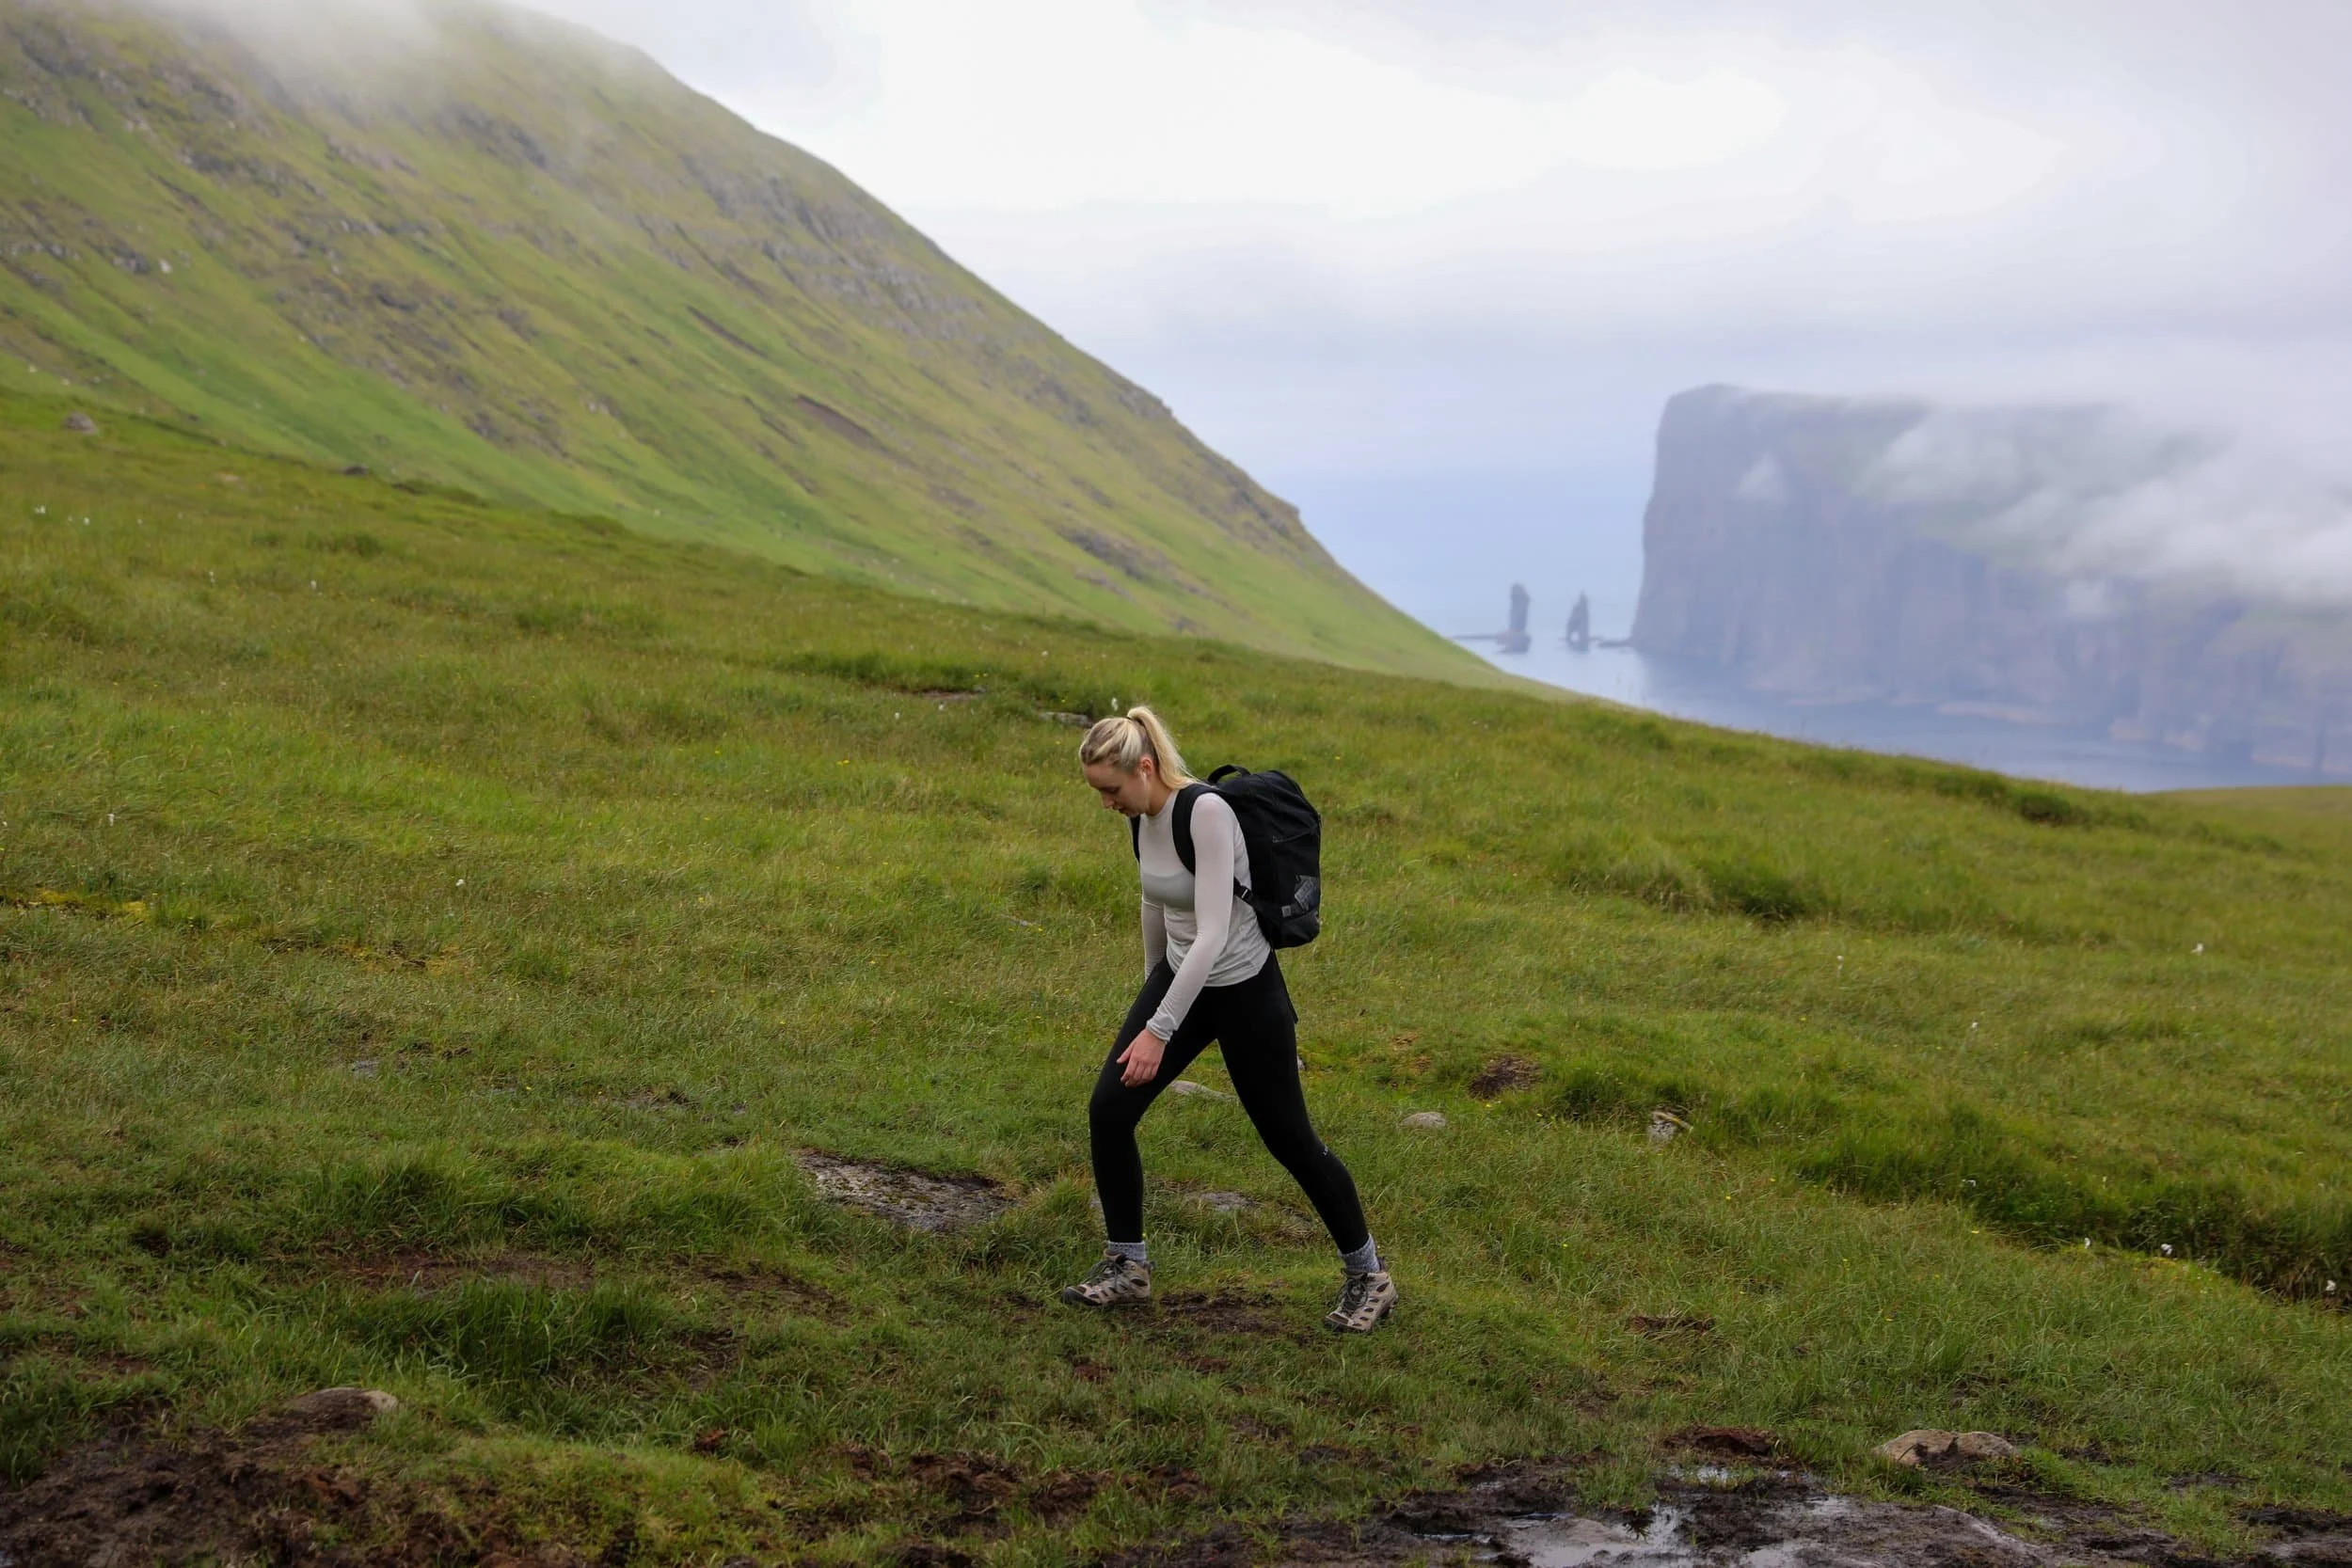
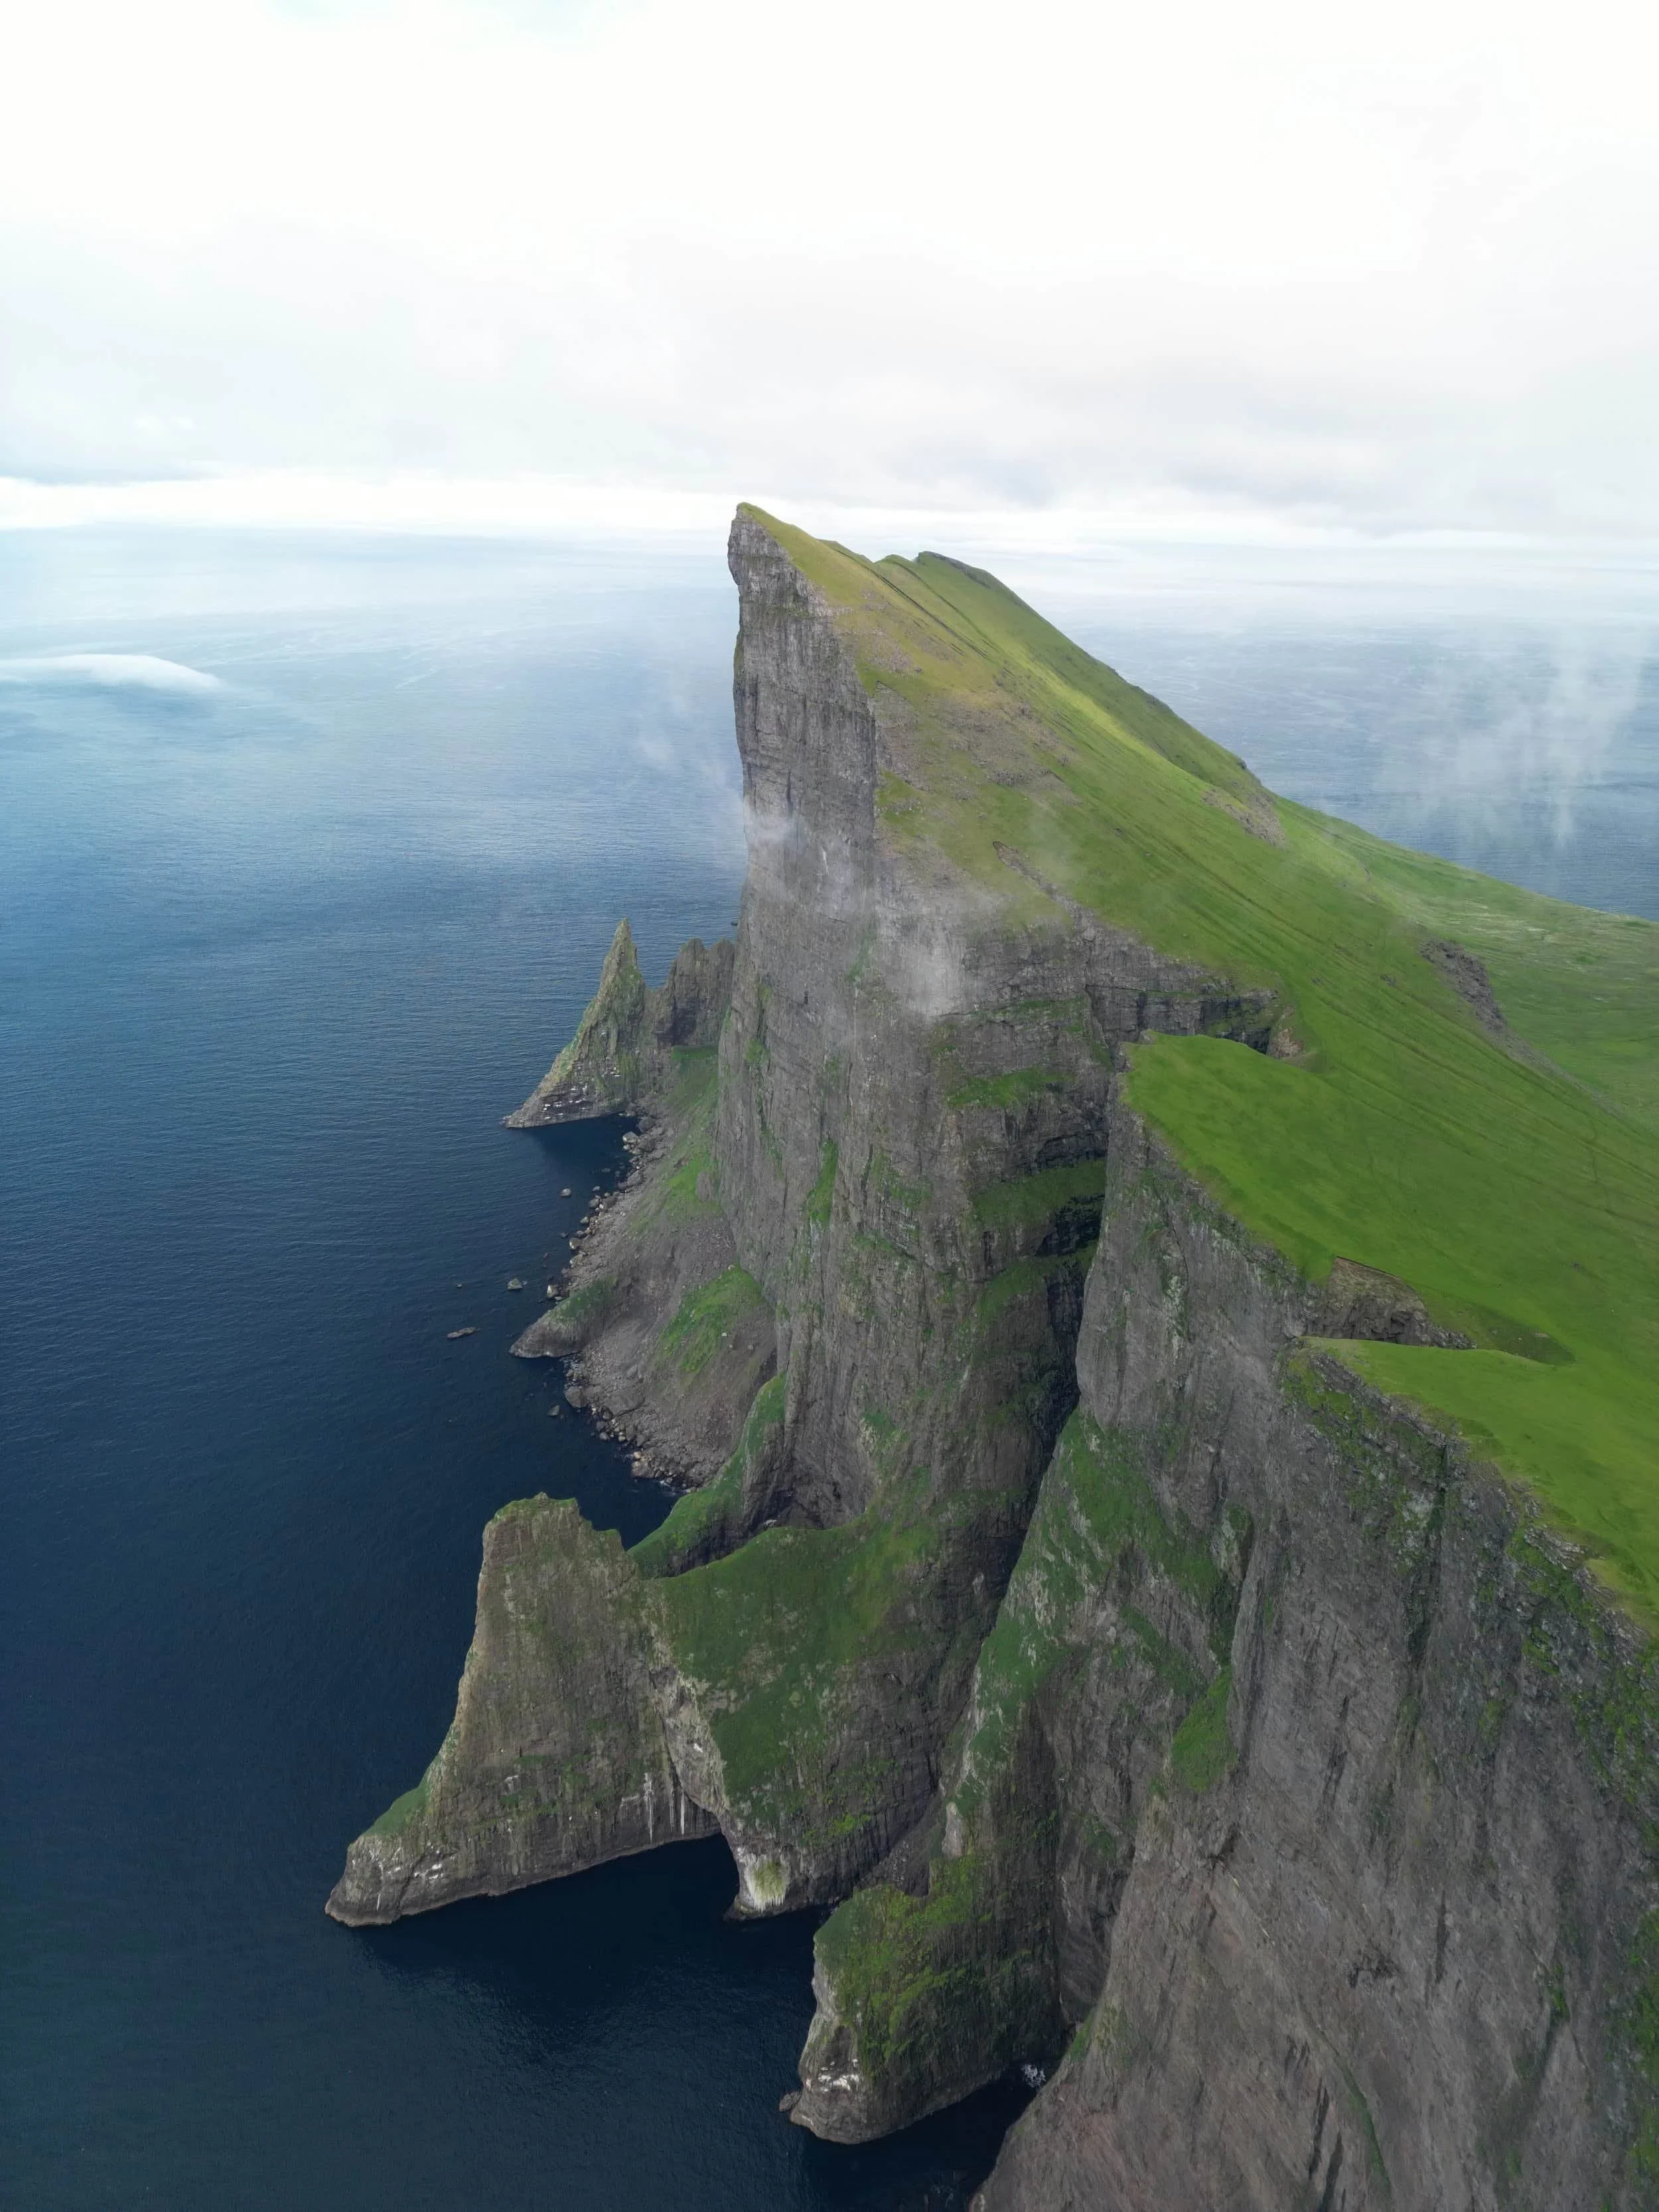
The Mýlingur hike was the absolute highlight of my trip to the Faroe Islands, and my favourite hike of the whole journey. Starting near Tjørnuvík, the route climbs through the remote Sjeyndir valley towards Mýlingur’s ridge and towering sea cliffs. The walk is long and includes an unmarked section beyond the saddle, so only set out in clear conditions and allow plenty of time. We encountered low cloud that reduced visibility to around 20 metres and had to wait for it to clear before continuing. Later, the clouds lifted and the sun came out; the landscape felt like a little paradise, and we had it almost entirely to ourselves.
It is quite simply one of the best hikes to do in the Faroe Islands!
Stop 1: Mýlingur Sea Cliffs
The hike starts on the marked trail from Tjørnuvík towards Saksun. After climbing out of the village, you cross open, often muddy ground and follow cairns towards the saddle. At the saddle, the route to Mýlingur leaves the marked path. The final descent to the cliffs is very steep, so take your time, especially if the ground is wet. Download an offline map before leaving, bring food and water, and don’t continue towards the cliffs if cloud makes navigation difficult.
Hike Overview
Location: Above Sjeyndir valley, near Tjørnuvík on Streymoy
Trailhead: Tjørnuvík | Google Maps
Distance: About 14 km return
Duration: Allow around 5 hours, plus extra time at the cliffs
Difficulty: Moderate, but long and demanding, with steep climbs, muddy ground and a very steep descent
Highest point: Around 565 metres above sea level
Highlights: Remote valley scenery, views towards Tjørnuvík and Risin and Kellingin, and the dramatic cliffs beneath Mýlingur
Navigation: The route is marked at first, but the turn towards Mýlingur beyond the saddle is unmarked
Cost: Free
Want to know more? Read my full Mýlingur Sea Cliffs Hiking Guide.
Where to Stay
After the hike, I’d drive to Gjógv and stay overnight there, ready to explore the village and hike around Hvíthamar the next day. It’s a scenic place to unwind after a long walk, and staying nearby avoids a long drive before Day 4. Tjørnuvík and Saksun are also options if you’d prefer to stay closer to the Mýlingur trail, though accommodation is limited in both villages.
The best places to stay in Gjógv are:
Iconic Turf -Roof House - A traditional turf-roofed home with three bedrooms, a fully equipped kitchen and a terrace with sea, garden and mountain views. It sleeps up to eight and has free Wi-Fi and private parking, making it a comfortable base for families or groups exploring Gjógv and the surrounding area.
Luxury Cottage with Stunning Views - A spacious holiday home with three bedrooms, a fully equipped kitchen, free Wi-Fi and on-site parking. It also has sea views and barbecue facilities, making it a lovely option for a relaxed stay in Gjógv.
Day 4 Hvíthamar and Gjógv
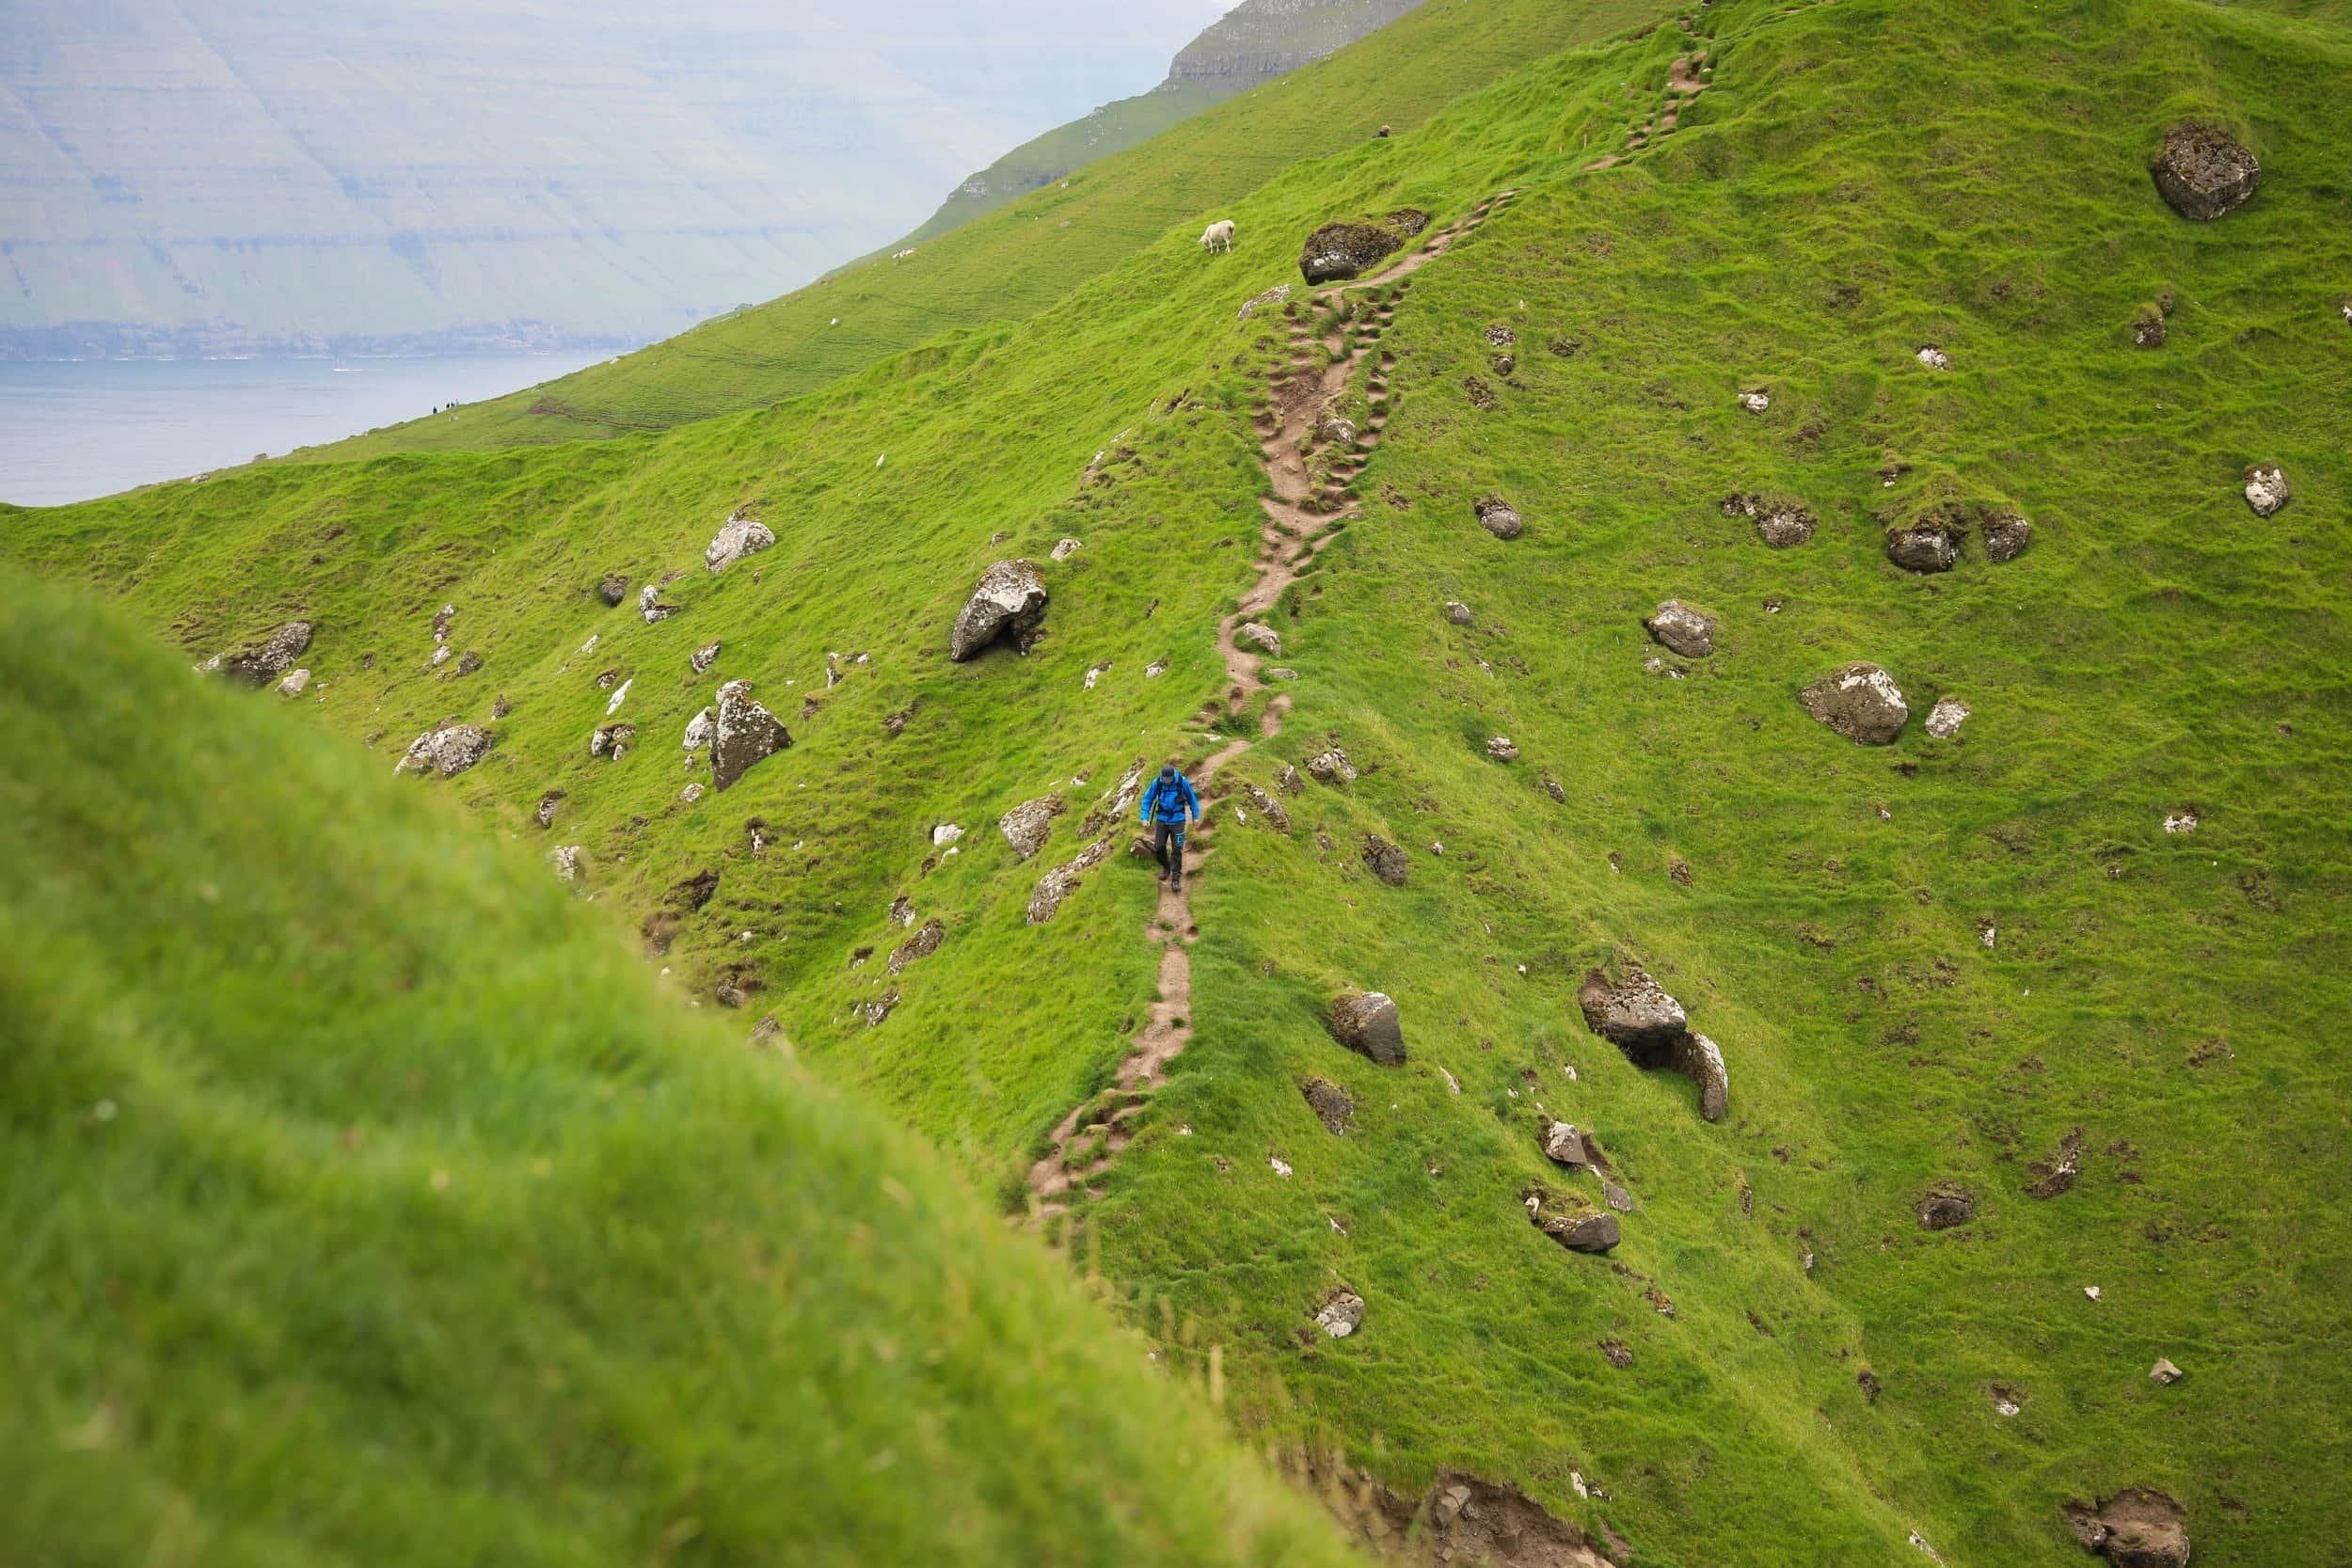
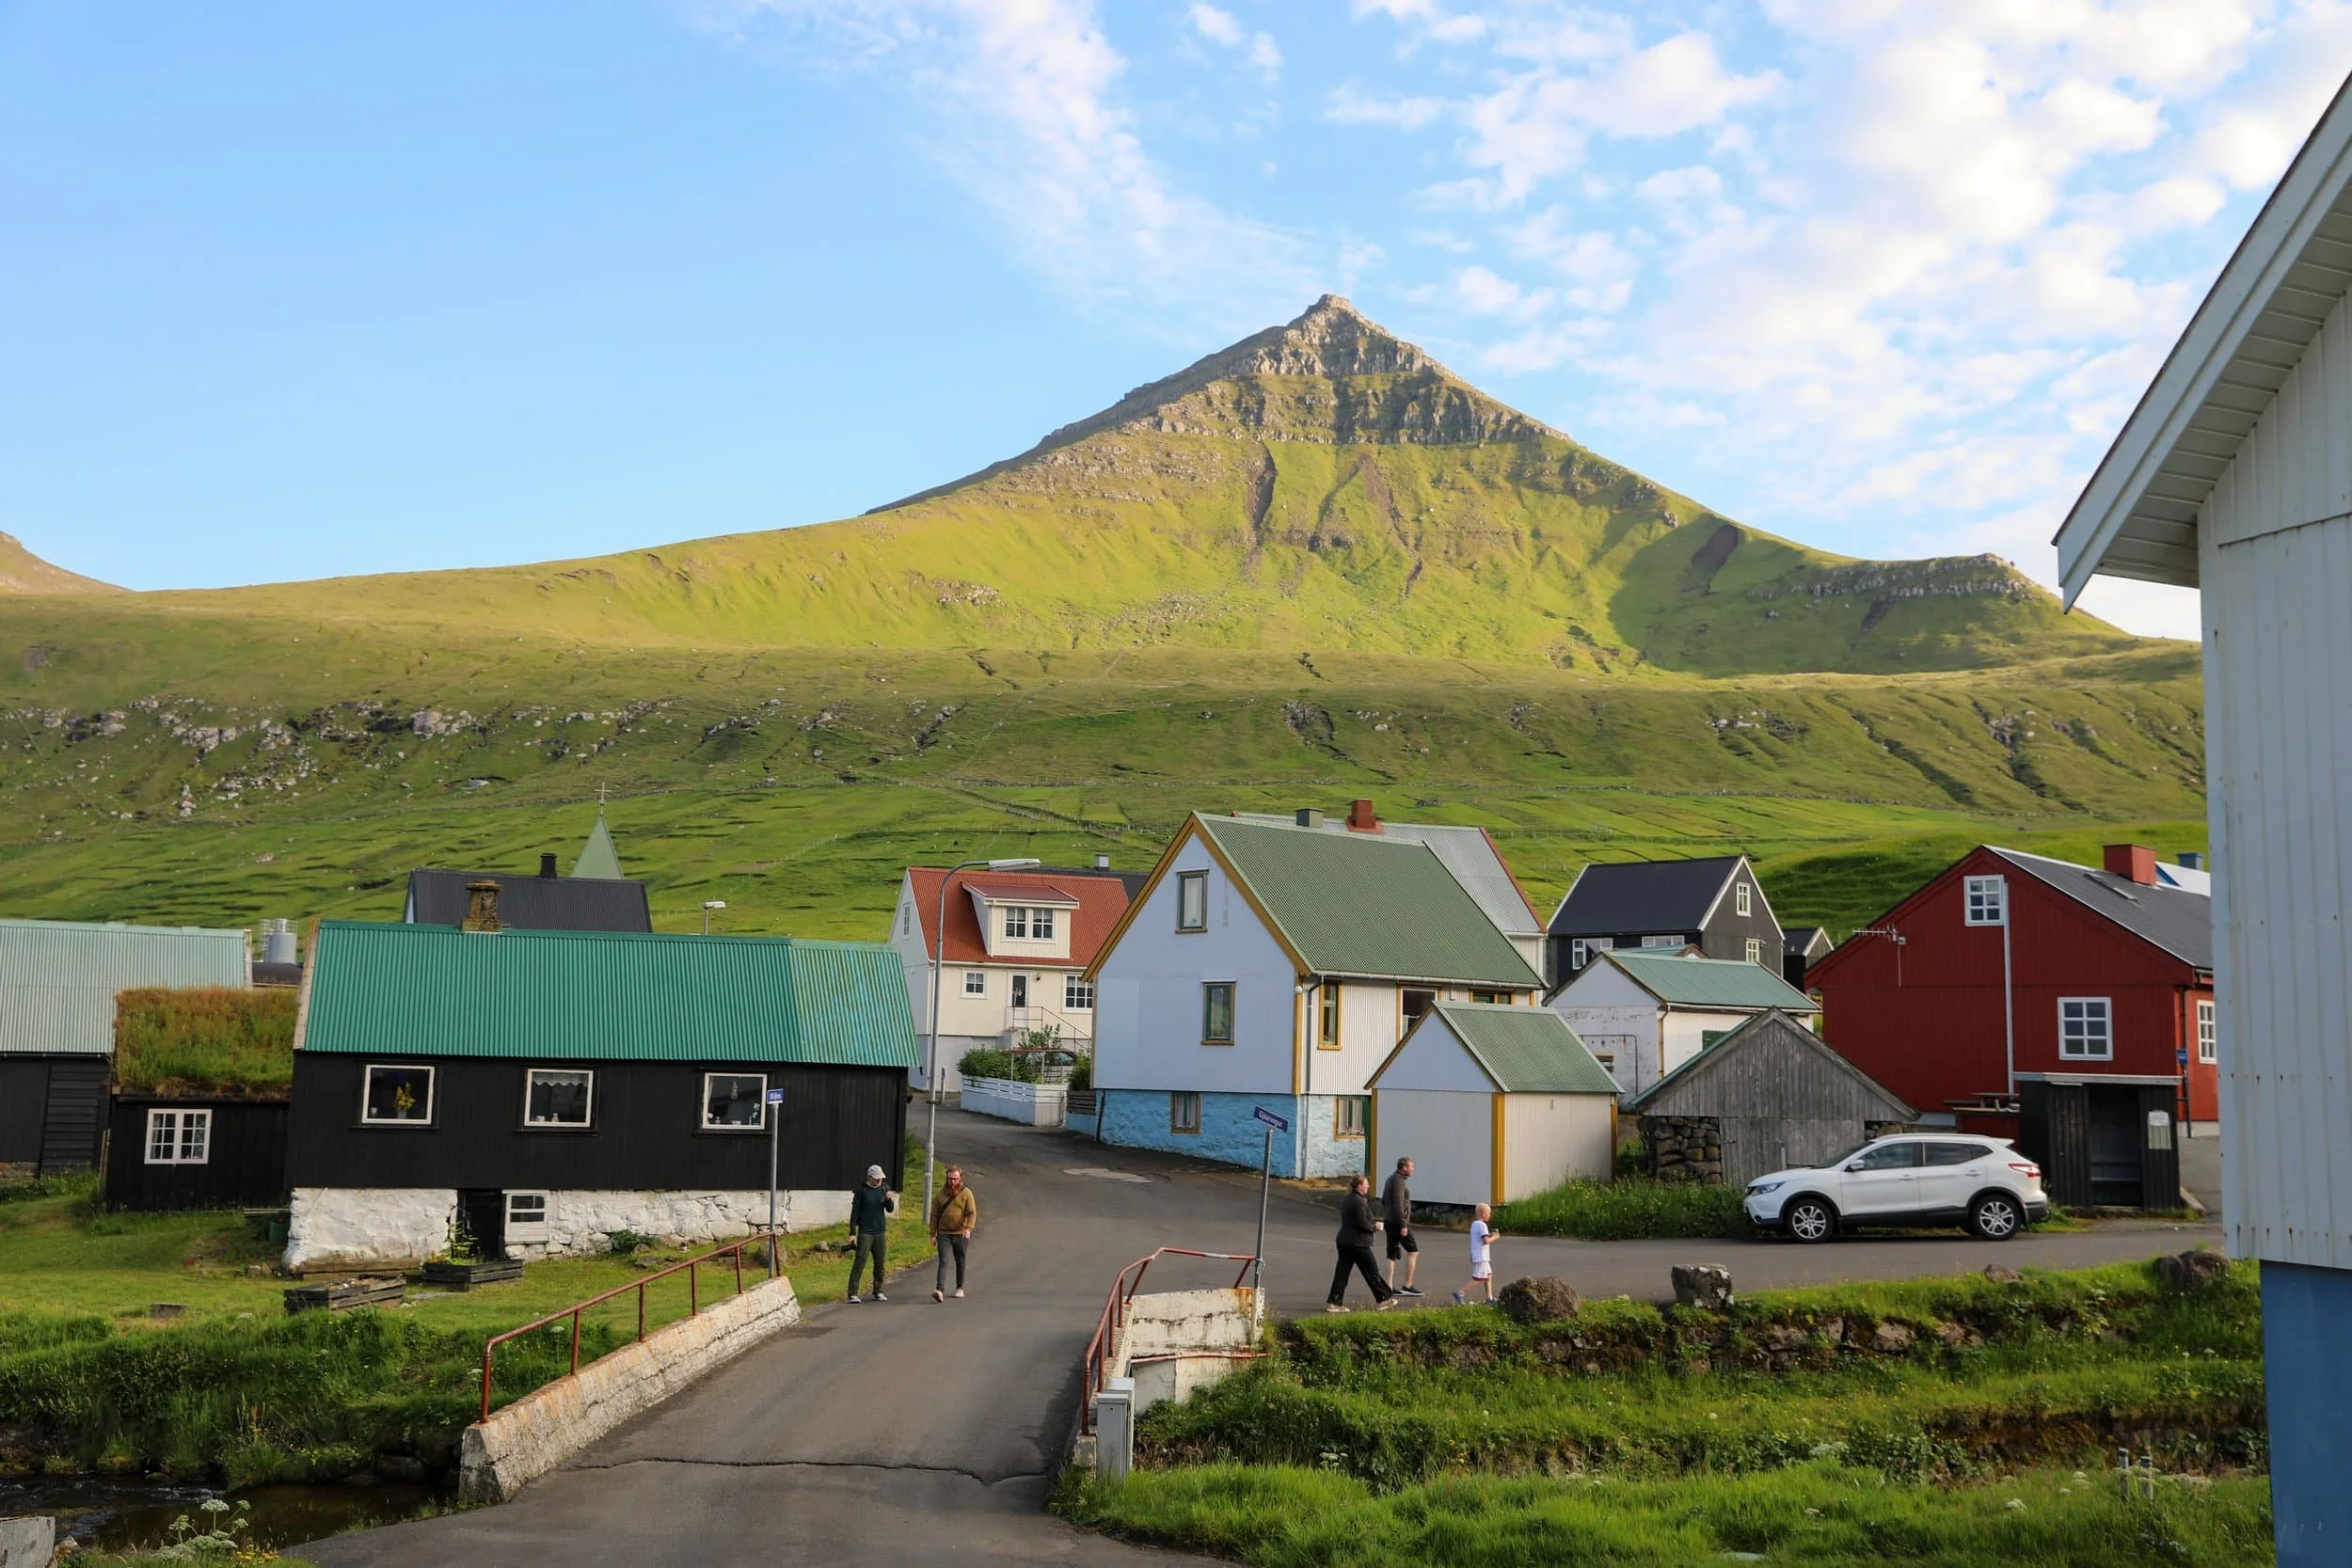
Start the day with the Gjógv–Ambadalur hike, which begins beside the sea gorge that gives the village its name. The walk takes you out of the village into a remote valley, with views towards Búgvin, a striking sea stack off the coast. After returning to Gjógv, drive back along the road and stop at Hvíthamar on the way north. This short uphill walk gives you a completely different view, looking out over Funningsfjørður and the surrounding mountains. From Hvíthamar, continue to Klaksvík, where I’d stay before Day 5.
Stop 1: Gjógv and Ambadalur
The walk from Gjógv to Ambadalur follows the coast beyond the village and gorge, leading to a quiet valley with views of Búgvin rising from the sea. It’s a longer walk than the village visit alone, so allow time to explore the gorge and harbour when you return. Check local trail guidance and the weather before setting out, as conditions can change quickly in this exposed landscape.
Hike Overview
Location: Gjógv, on Eysturoy
Trailhead: Gjógv village | Google Maps
Distance: Allow around 6–7 km return
Duration: Approximately 3 hours, plus time to explore the village
Difficulty: Moderate; a longer walk over open, uneven ground
Highlights: Gjógv’s natural sea gorge, the remote Ambadalur valley and views of Búgvin
Stop 2: Hvíthamar Viewpoint
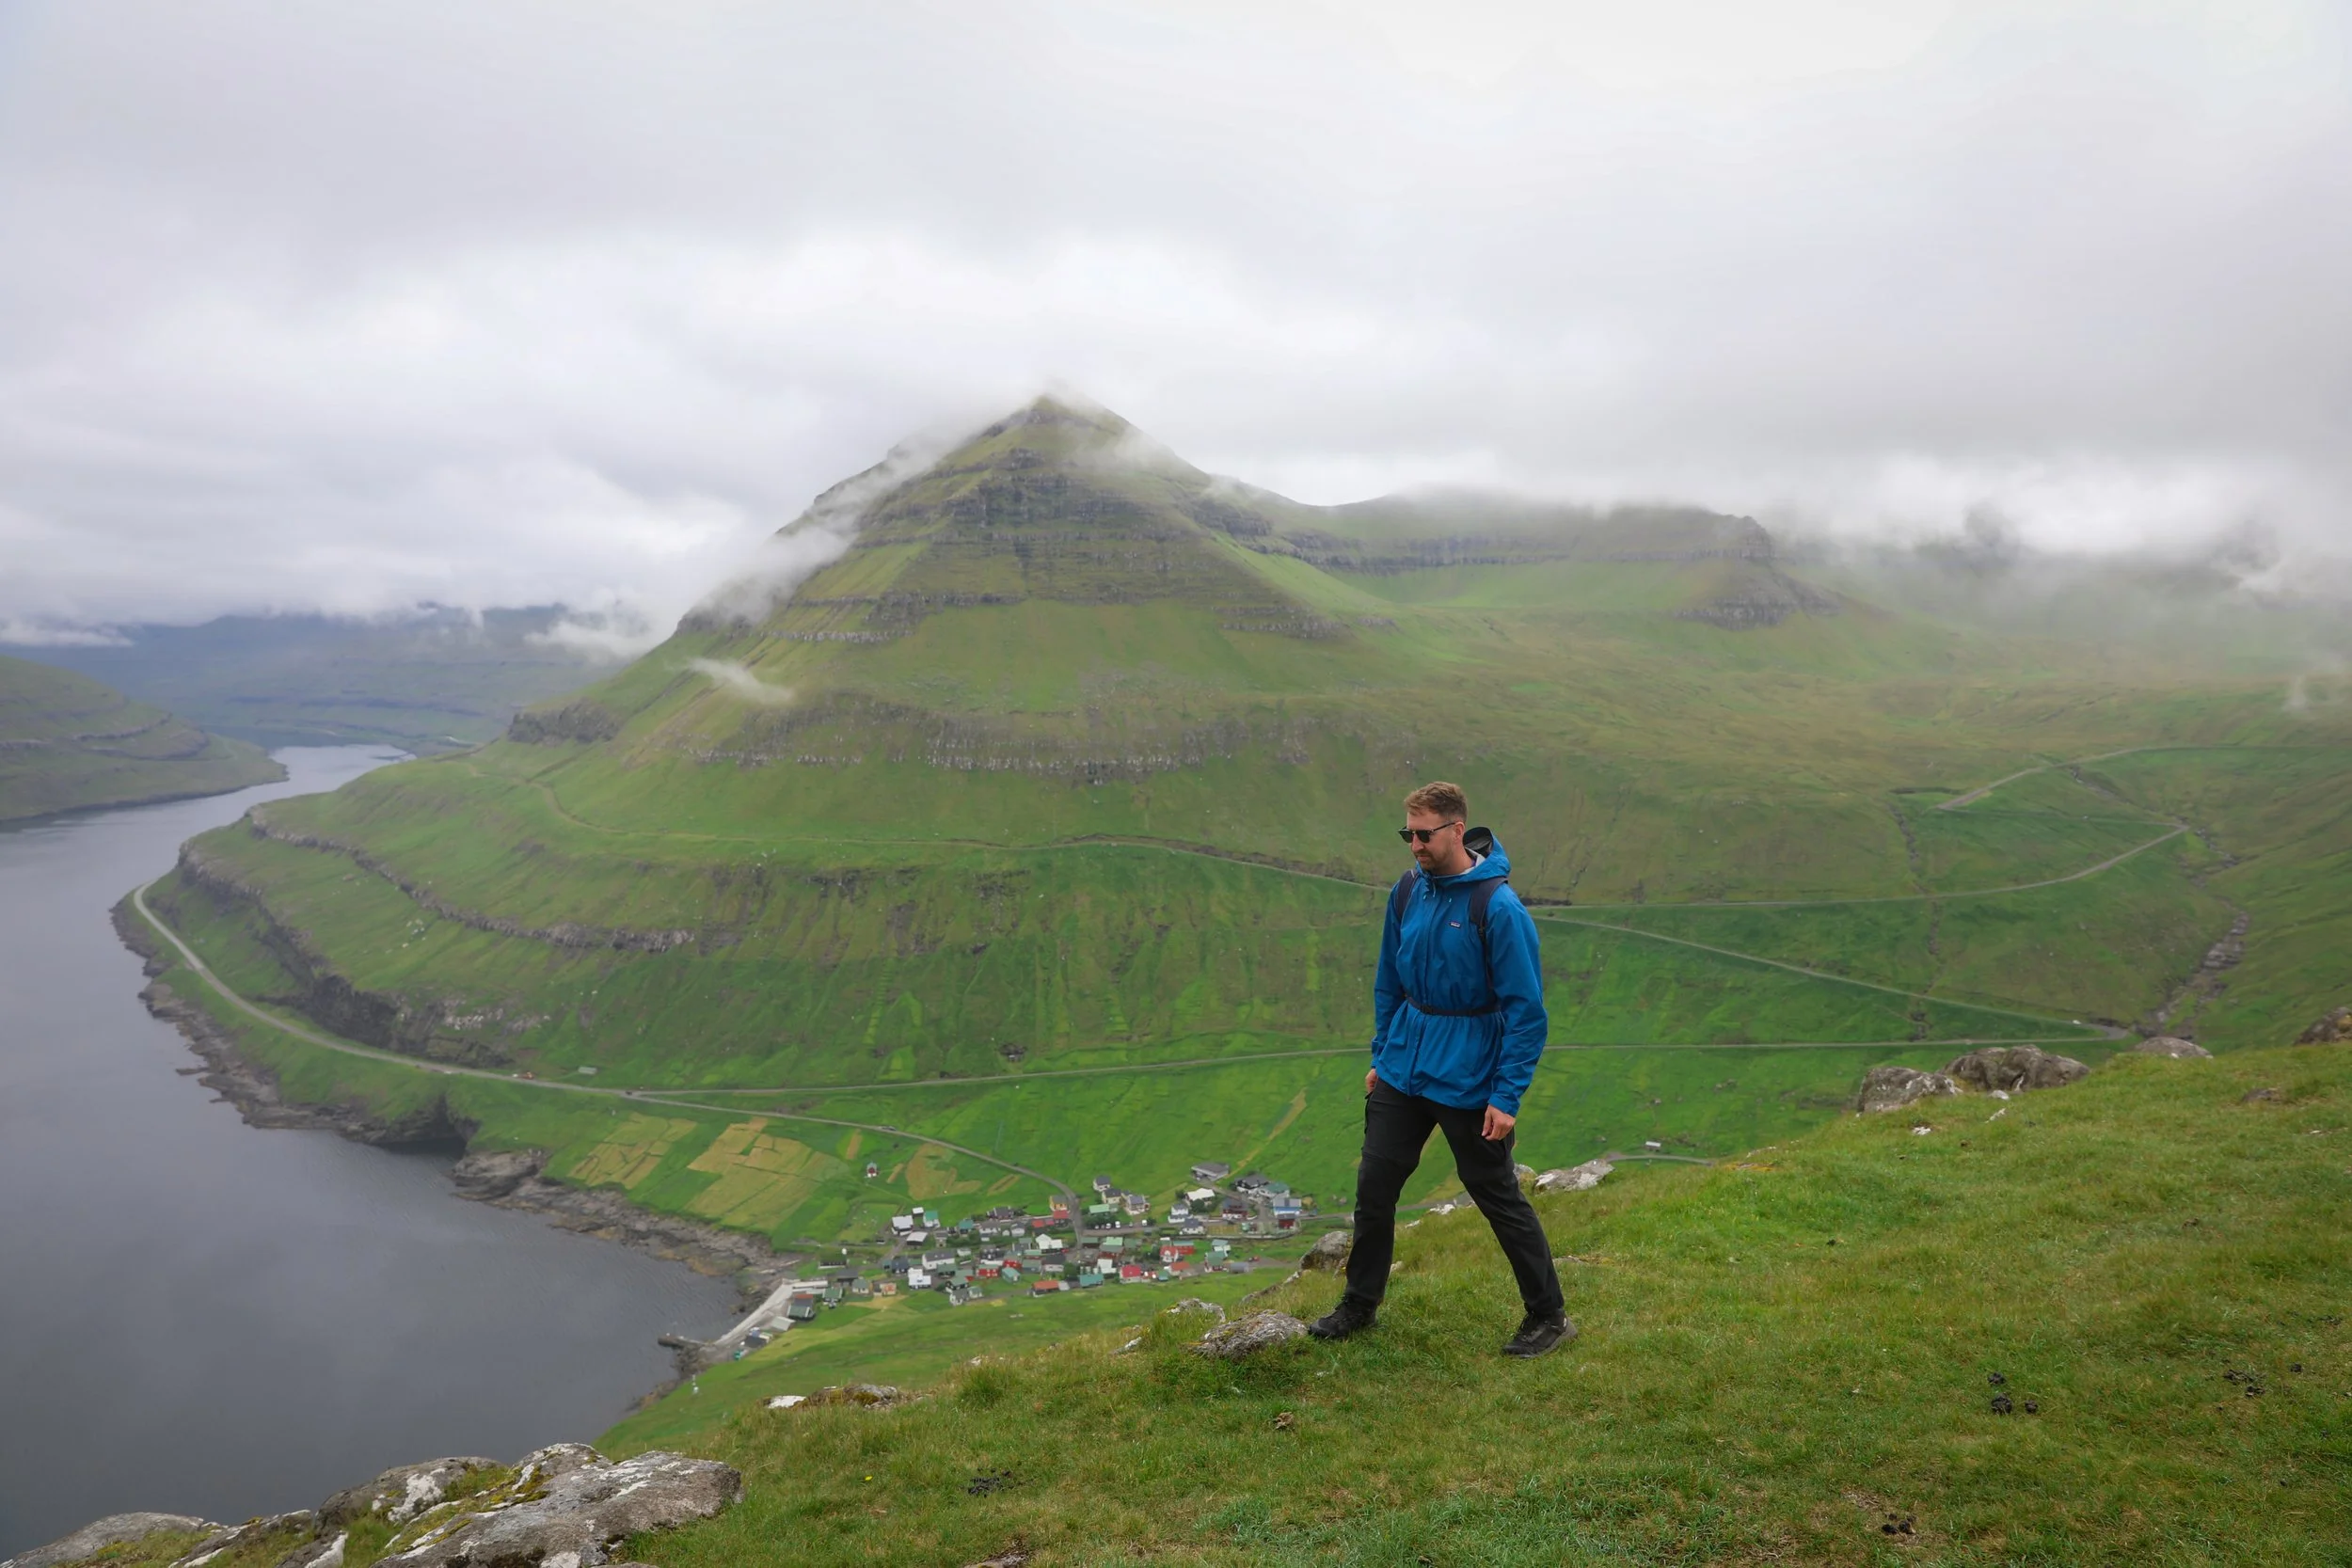
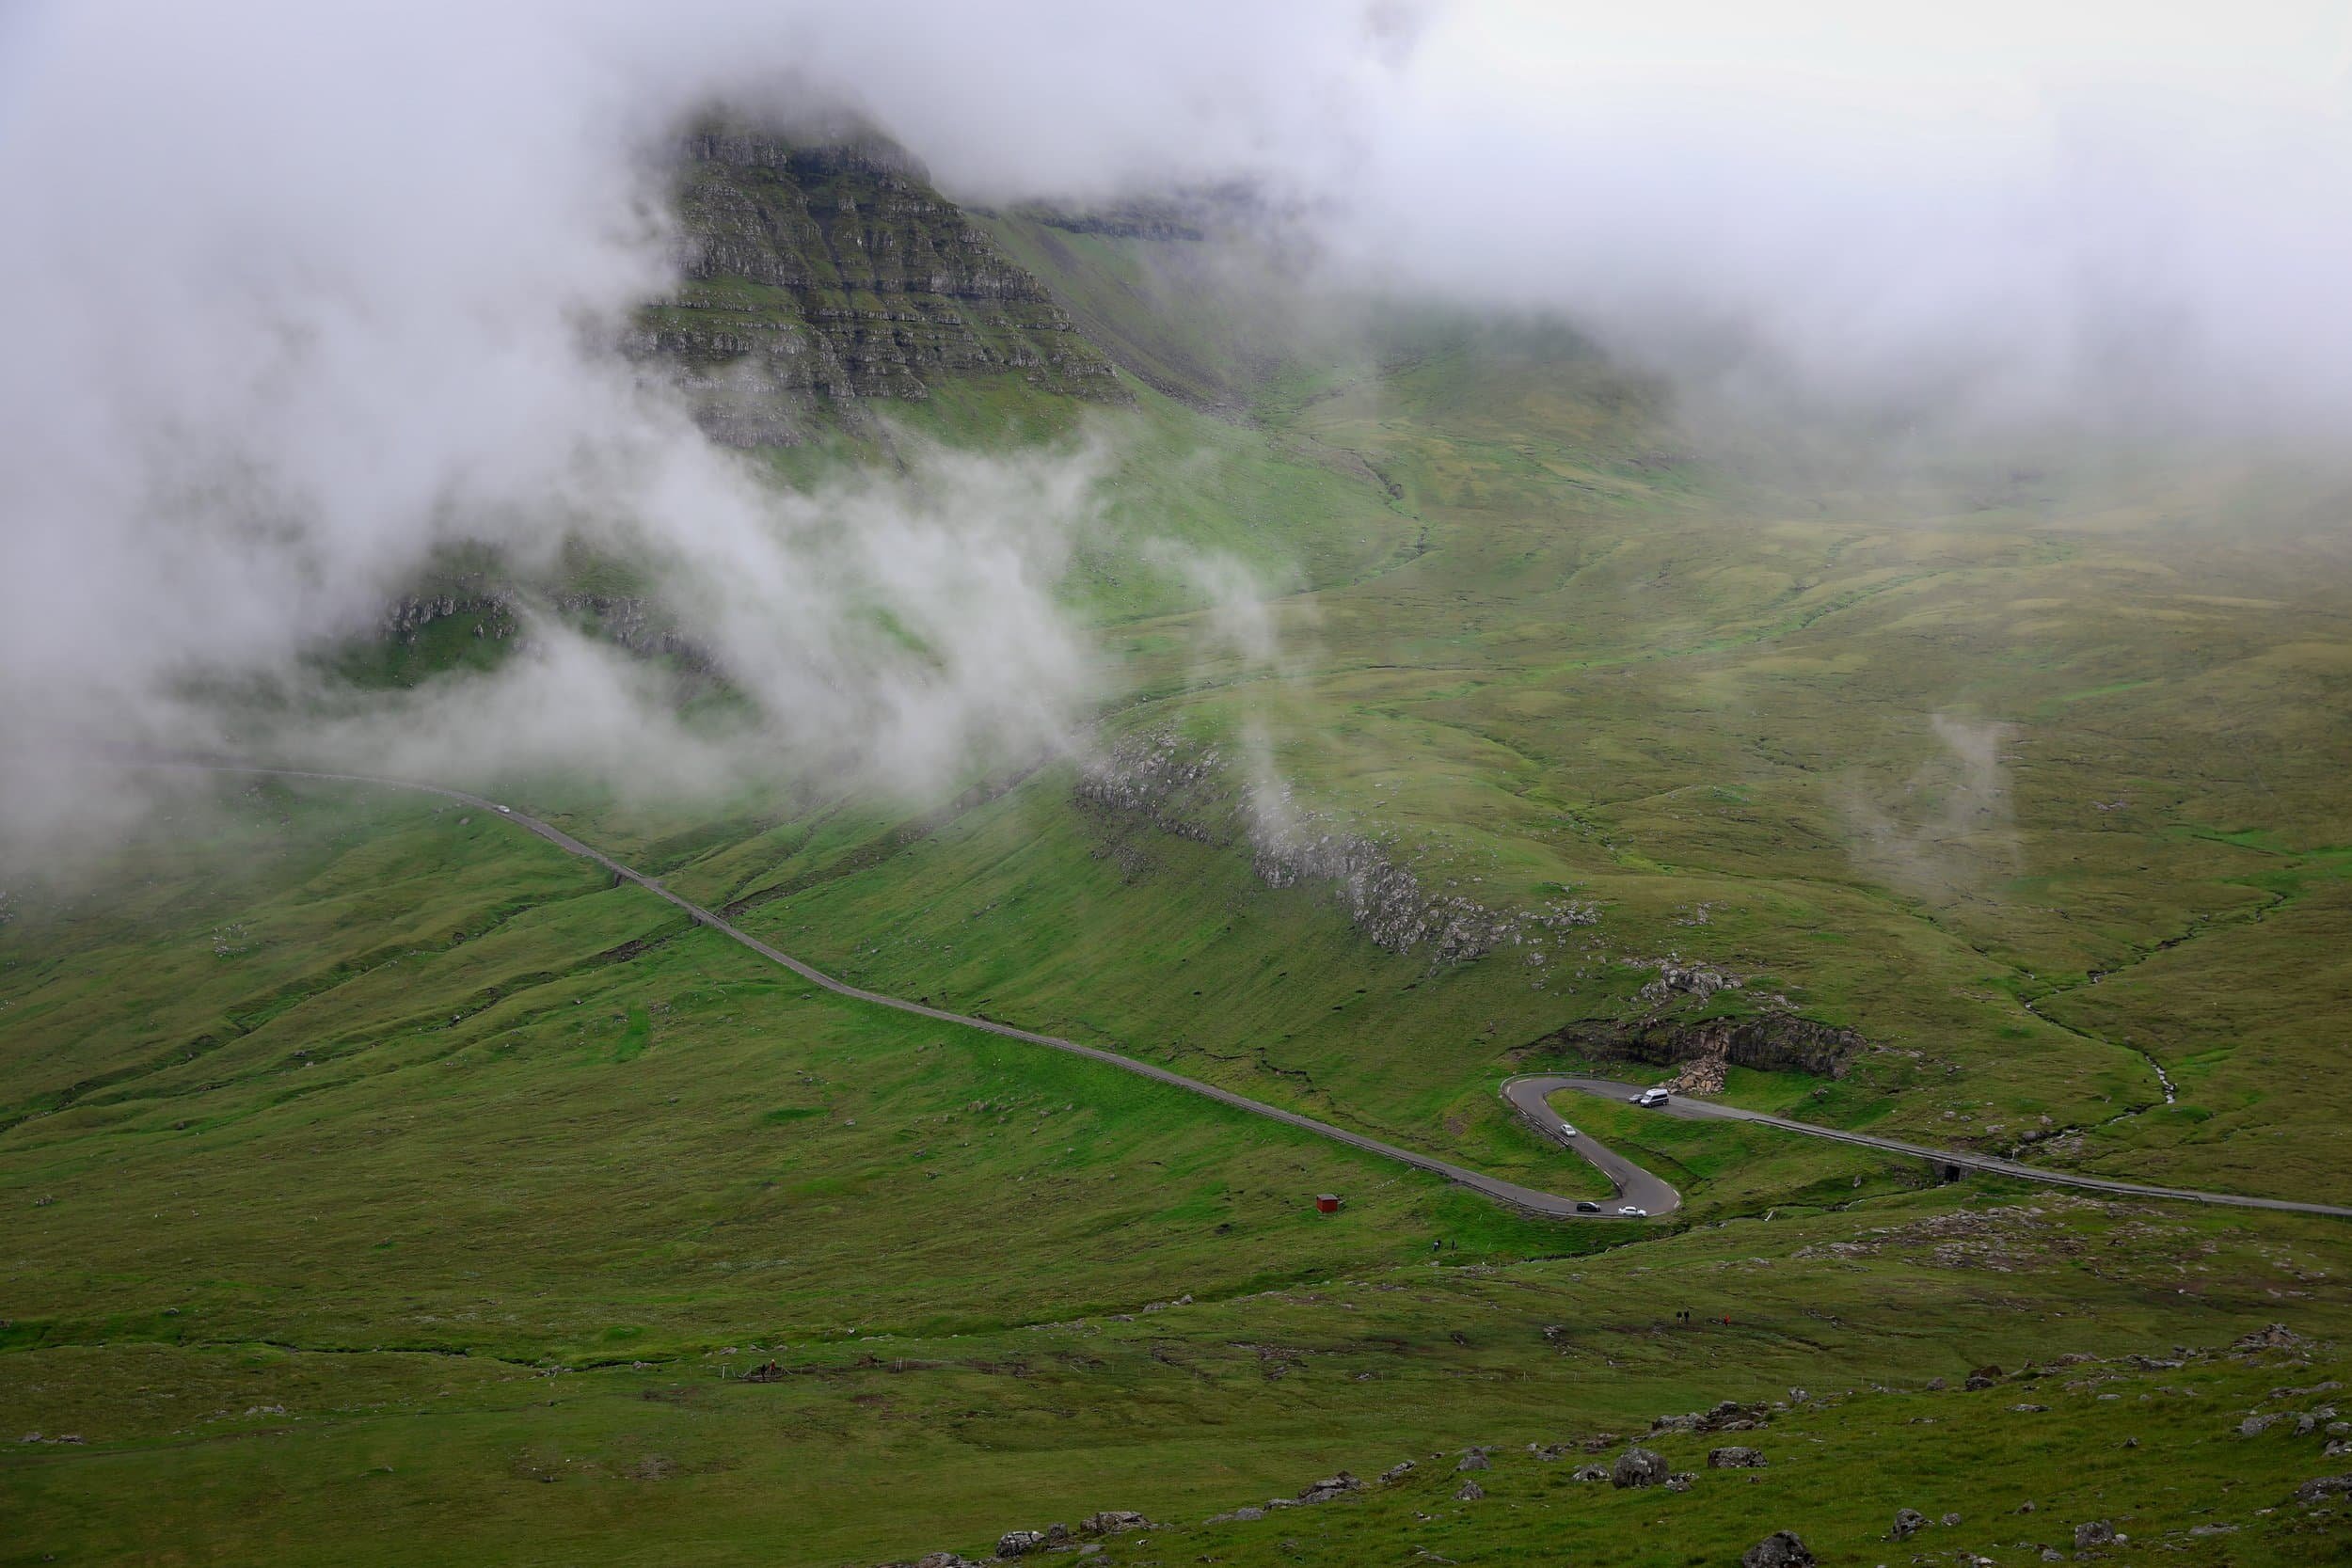
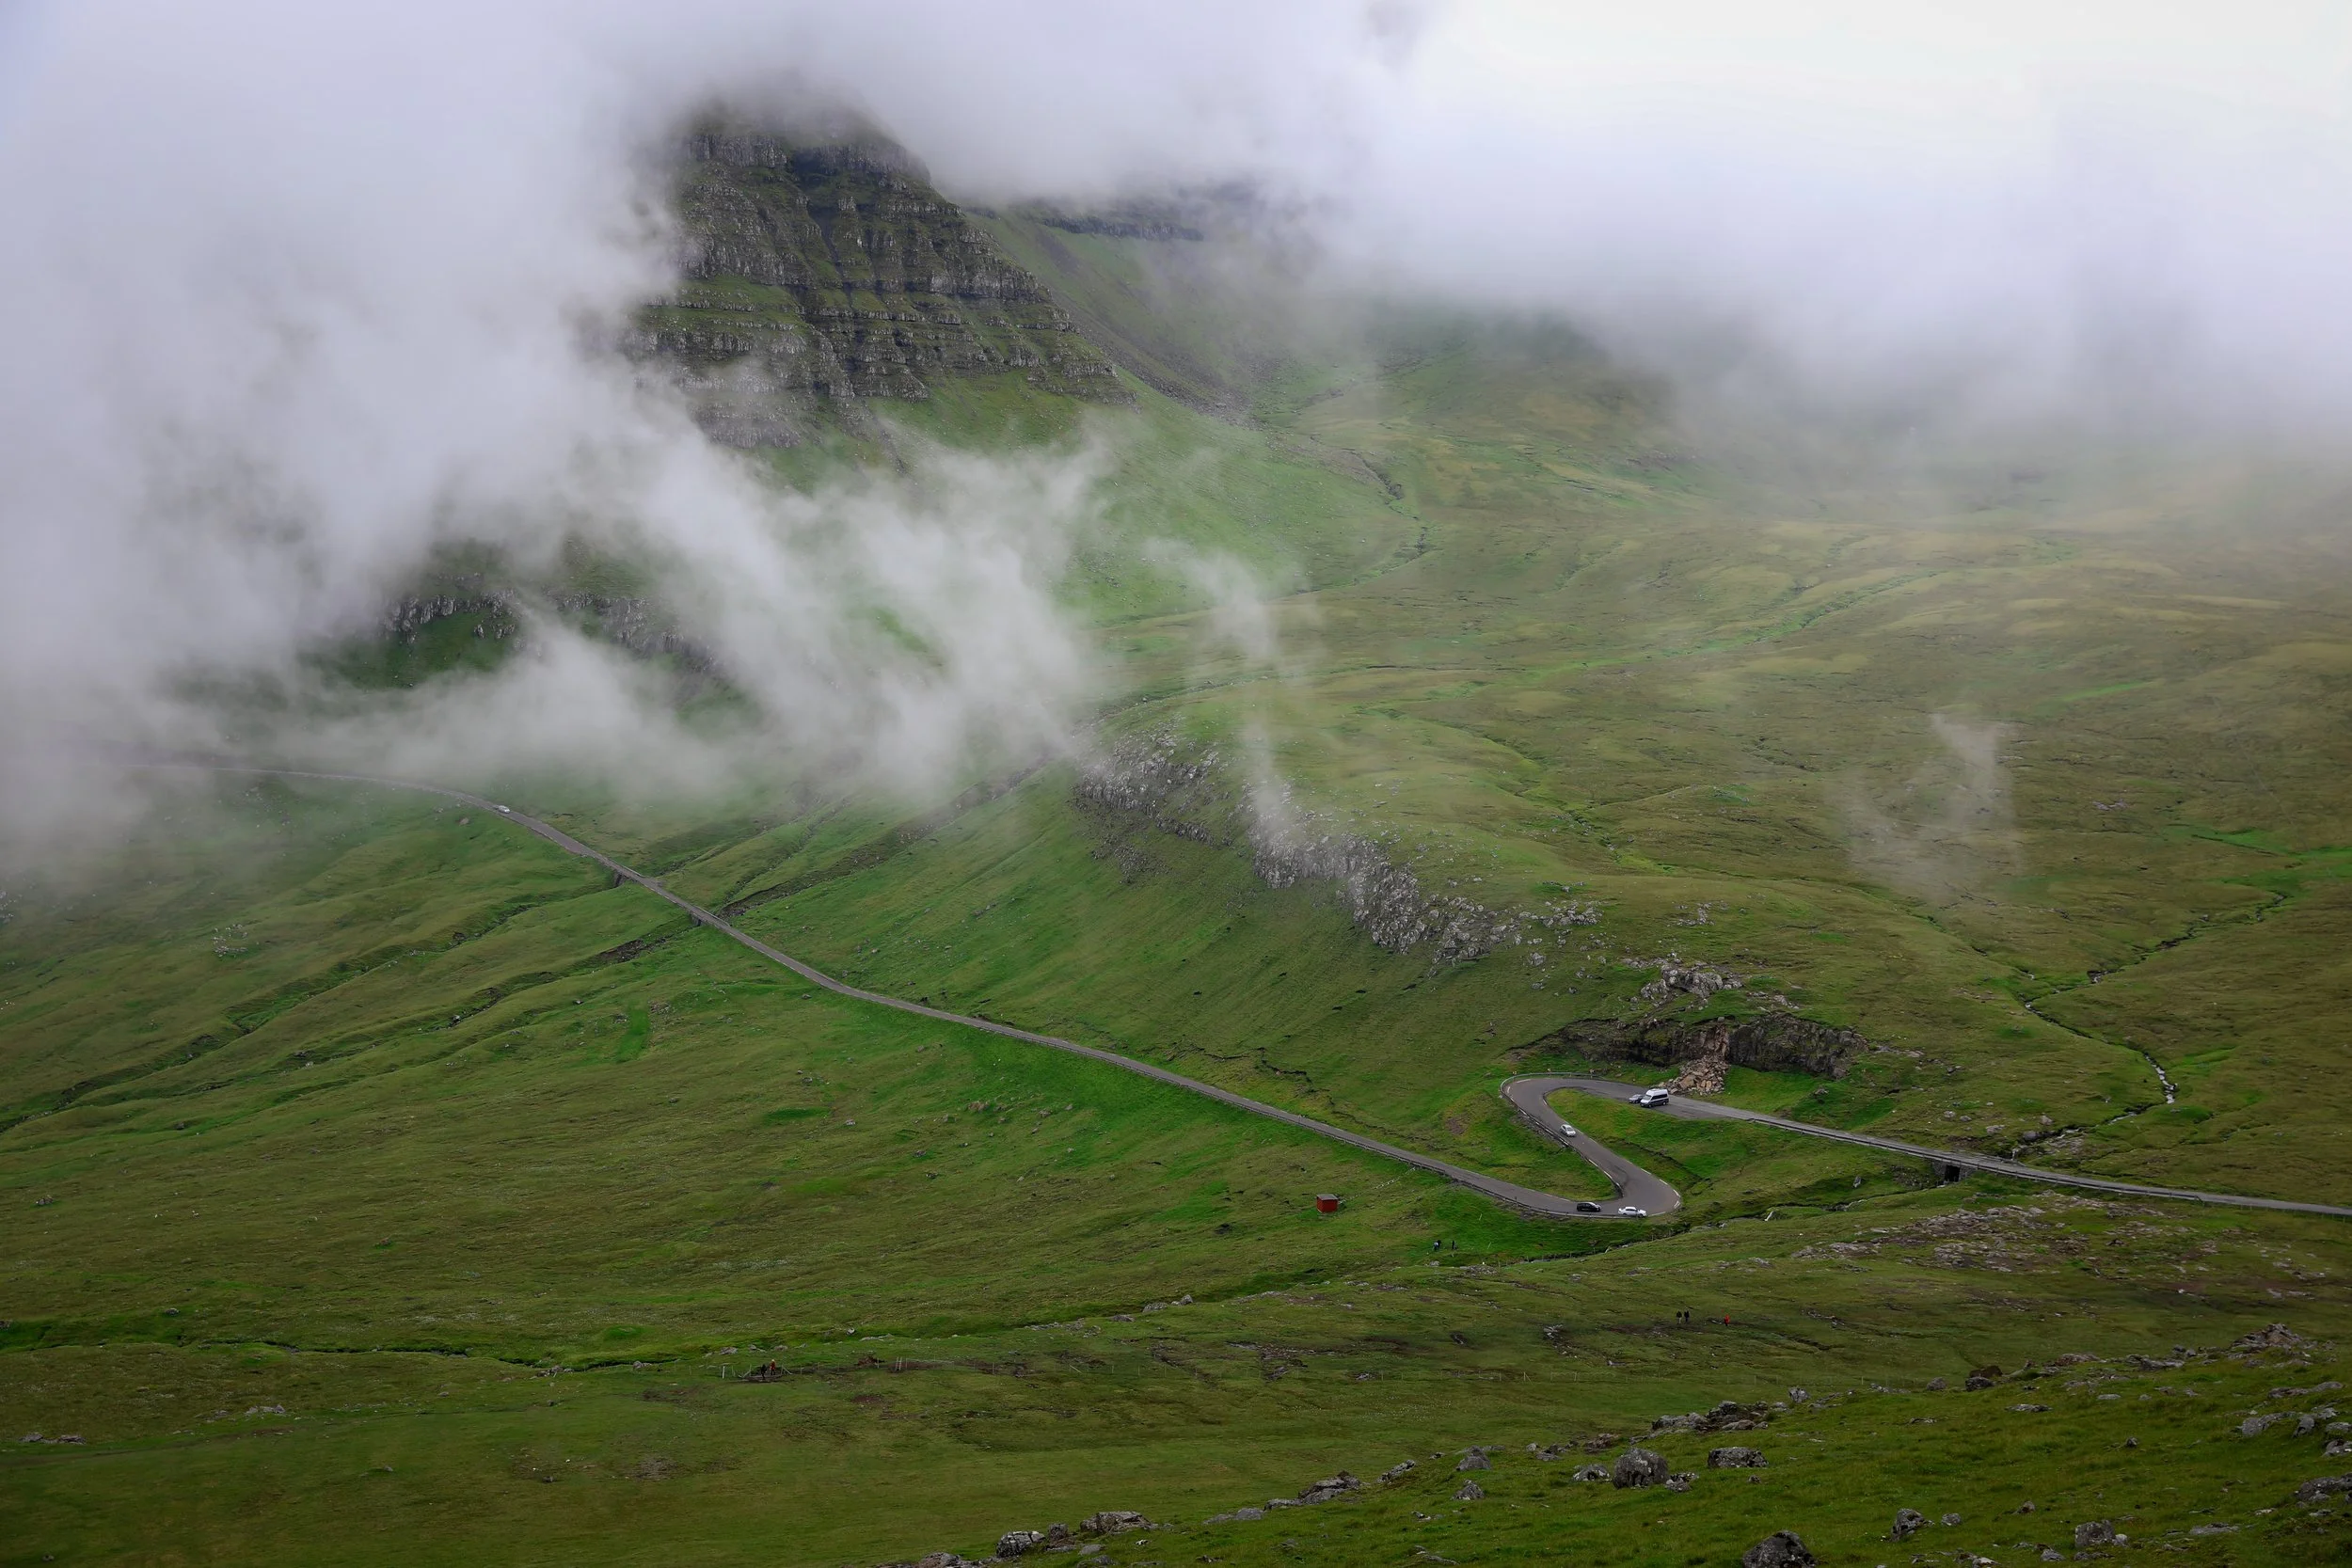
From Gjógv, drive back towards Funningur and stop at Hvíthamar, where a short trail climbs from the roadside to a viewpoint above the fjord. The walk is brief, but the views across Funningsfjørður, Funningur and the surrounding mountains make it a worthwhile stop on the way to Klaksvík. The cloud formations on the day we went were incredible.
Hike Overview
Location: Above Funningur on Eysturoy
Trailhead: Roadside car park on the road to Gjógv | Google Maps
Distance: About 1.5 km return
Duration: Around 40 minutes walking; allow extra time at the viewpoint
Difficulty: Moderate; short but uphill, with muddy and uneven sections
Cost: Free
Highlights: Views across Funningsfjørður and the villages of Funningur and Elduvík
Where to Stay
After visiting Gjógv and Hvíthamar, I’d drive to Klaksvík and stay for the next two nights. It’s a convenient base for the northern part of the itinerary, with a good choice of accommodation, restaurants, cafés and shops where you can pick up food and supplies.
Klaksvík is also the departure point for the ferry to Kalsoy, where you’ll hike to Kallur Lighthouse on Day 5. Staying in town makes it easier to catch an early ferry, and you’ll be well placed to hike Klakkur before or after your Kalsoy visit.
We stayed in Klaksvík during our road trip around the Faroe Islands and found it a great base for exploring the wider area. Two options to consider are:
The Sybilla Apartment - is where we stayed in Klaksvík, and we loved it. This cosy, modern apartment has a well-equipped kitchen, free parking and lovely artwork, and it’s in a quiet neighbourhood about a five-minute walk from the town centre and ferry. It is also fairly reasonably priced compared to a lot of other places especially considering what you get.
KG Hotel - is a modern hotel in Klaksvík, with comfortable rooms, free Wi-Fi and on-site parking. It also has a restaurant, café, bar and spa with a sauna, making it a good option if you’d like dining and wellness facilities during your stay.
Day 5 Kallur Lighthouse and Klakkur
Today, take the ferry from Klaksvík to Kalsoy for the hike to Kallur Lighthouse, then fit in the short Klakkur hike after returning to town. I’d make Kallur the priority and plan the day around the ferry and bus connections to Trøllanes. We took the first ferry over, and the journey itself felt like part of the adventure. I’d been looking forward to seeing Kallur for years, and the view from the cliffs truly lived up to my expectations.
You can leave your hire car in Klaksvík and travel to Kalsoy as a foot passenger. From the ferry port at Syðradalur, bus 506 connects with ferry arrivals and continues to Trøllanes. Check the ferry and bus timetables together before you go, including the return connections, and book the ferry ahead during busy periods. When you get back to Klaksvík, hike Klakkur if you have enough time and energy. If the ferry schedule makes the day too full, or you’d rather take it easy after Kallur, you can always do Klakkur on Day 6 instead.
Stop 1: Kallur Lighthouse
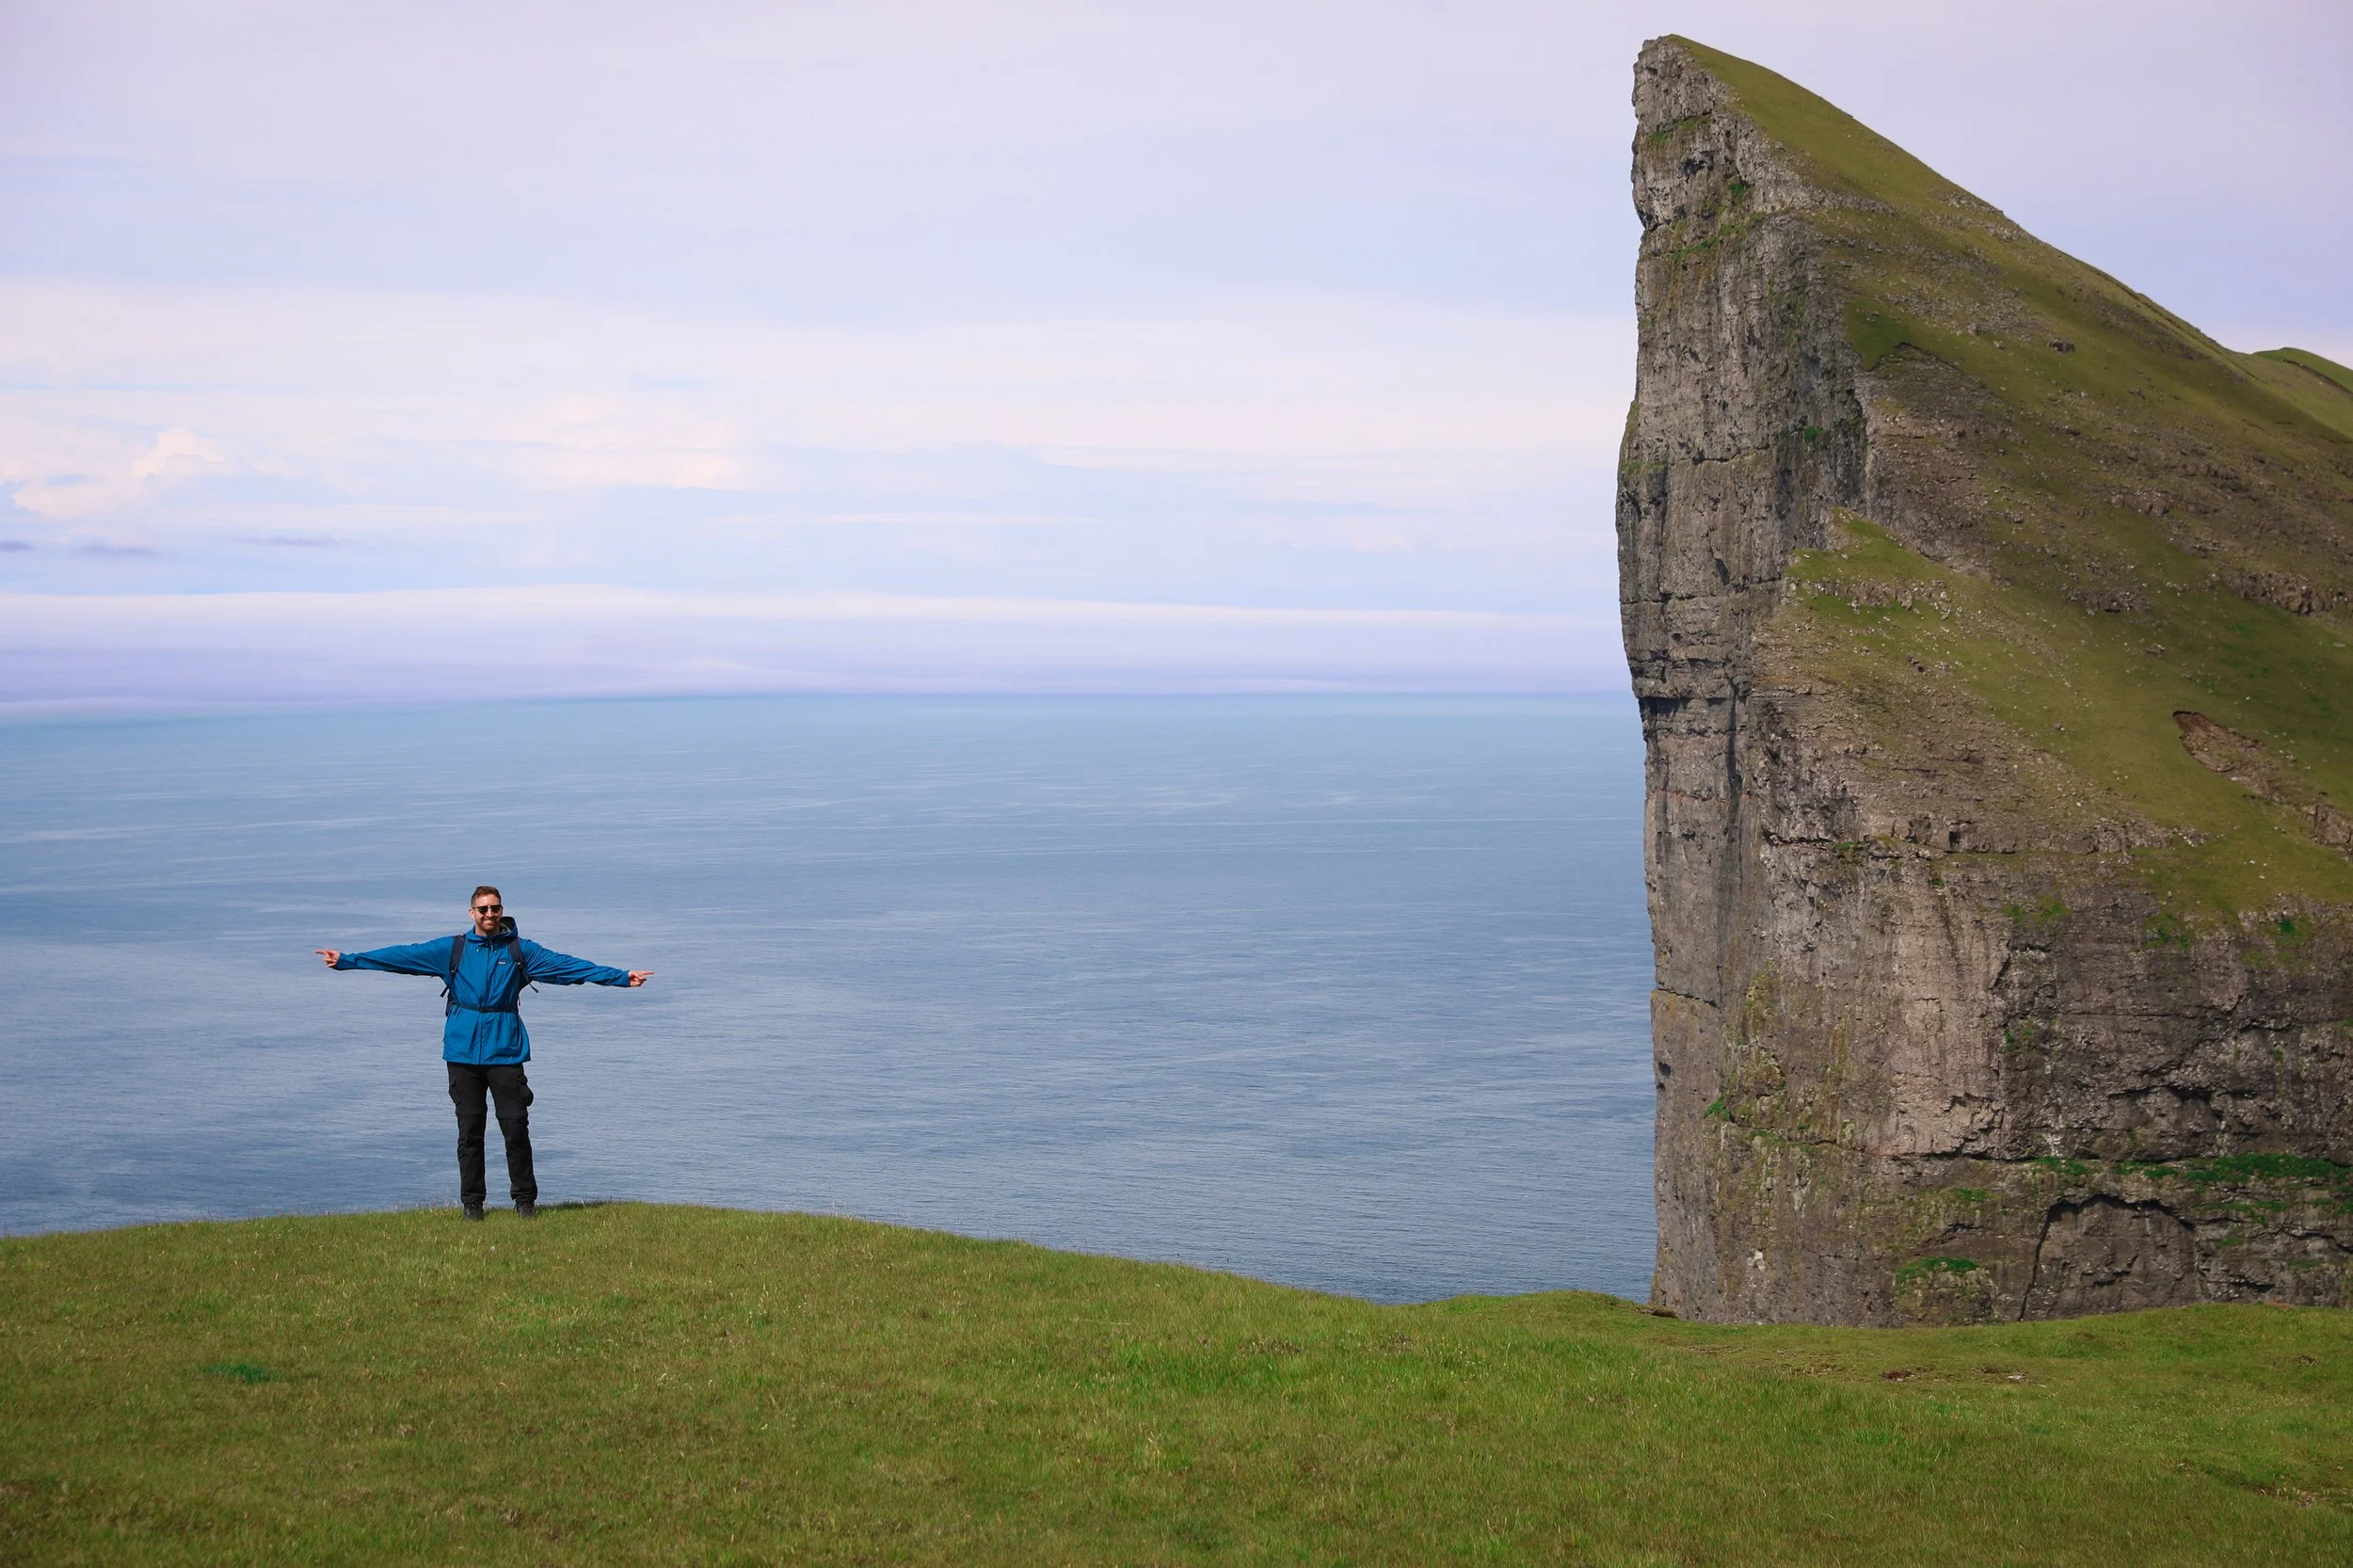
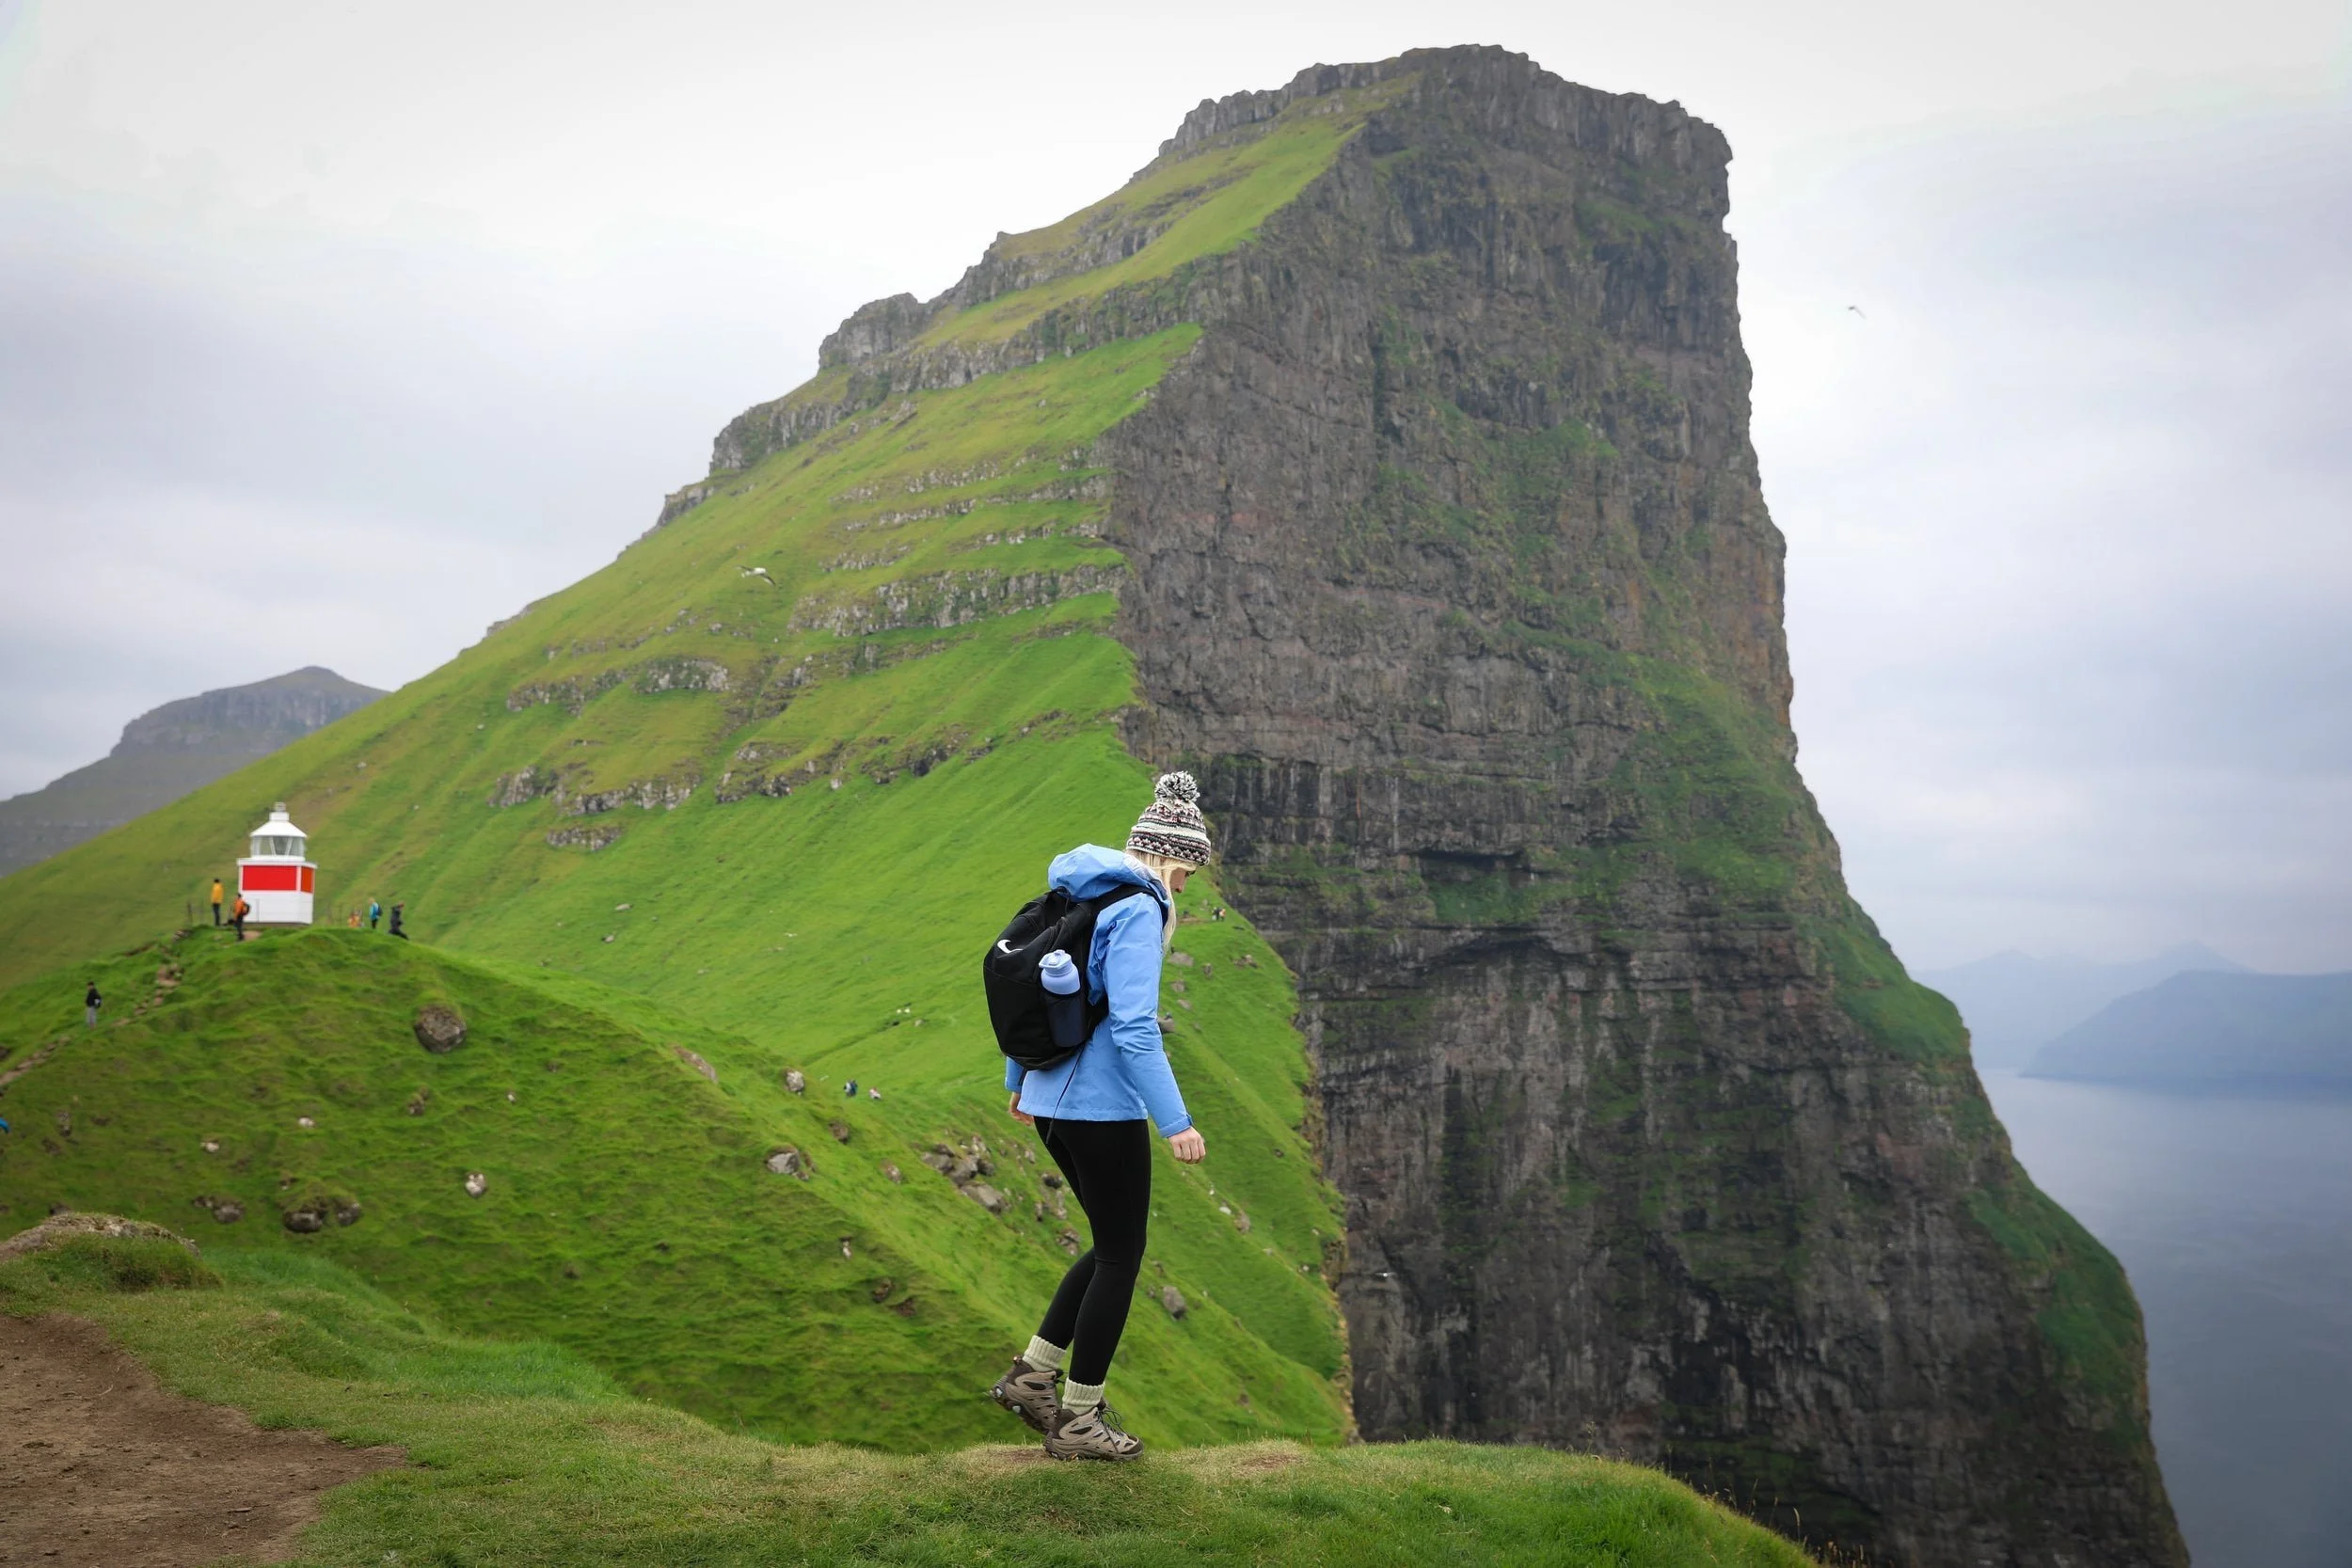
The hike begins in Trøllanes and climbs from the village onto a grassy ridge above the North Atlantic. As you approach the headland, the views open up across the cliffs, ocean and neighbouring islands. There are several viewpoints around the lighthouse, so leave time to explore the headland rather than turning around as soon as you reach the building.
The viewpoint from the north side of the Lighthouse is simply incredible, and is the main reason this hike makes my list as one of the top 5 hikes in the Faroe Islands.
Hike Overview
Location: Northern tip of Kalsoy, above Trøllanes
Trailhead: Trøllanes | Google Maps
Distance: About 2 km return to the lighthouse; allow for extra walking between viewpoints
Duration: Around 1–2 hours for the walk and viewpoints
Difficulty: Easy to moderate, with a short climb and muddy, uneven sections
Access: Ferry from Klaksvík to Kalsoy, then bus 506 to Trøllanes
Cost: The hiking fee is currently 200 DKK for adults and 100 DKK for children; check the latest details before visiting
Highlights: Kallur Lighthouse, dramatic sea cliffs and views towards Kunoy, Eysturoy and Viðoy
Stop 2: Klakkur Mountain Ridge
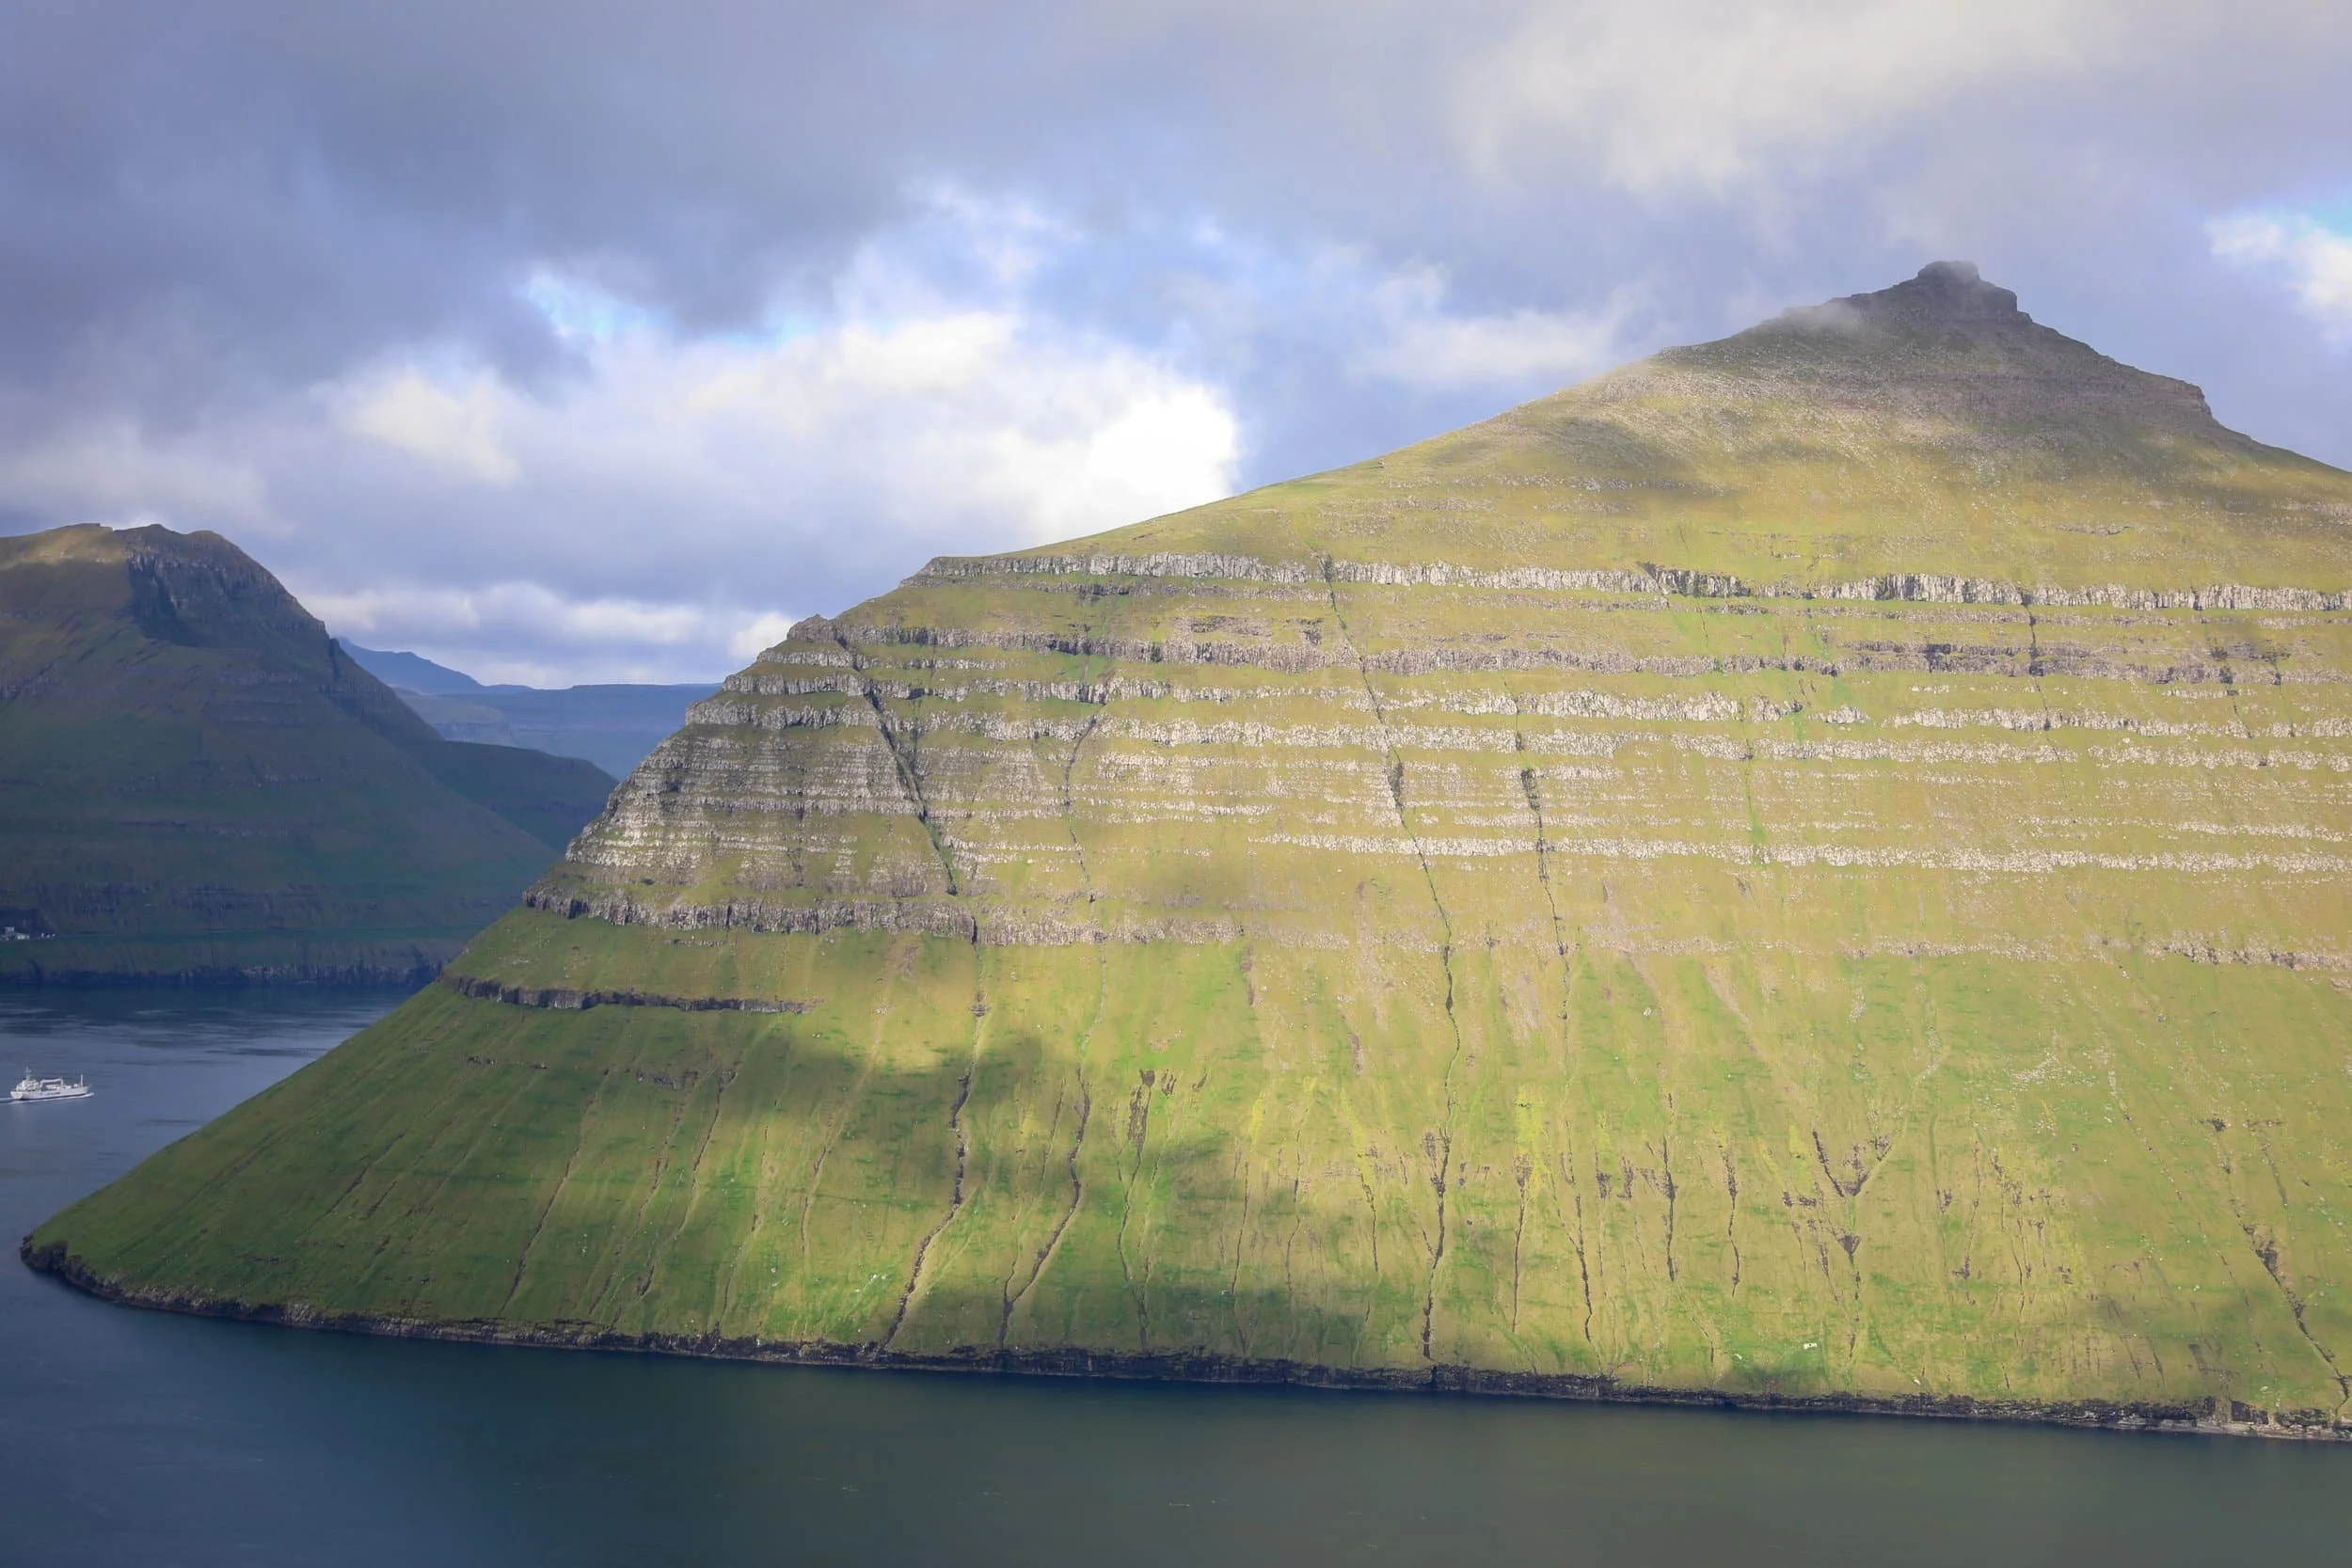
Once you’re back in Klaksvík, drive about five minutes uphill to the Klakkur trailhead. The walk climbs a grassy ridge above town, with views opening out over Klaksvík, Borðoy, Kunoy, Kalsoy and the surrounding fjords. It’s a shorter, more relaxed hike than Kallur, but still check the time and conditions before setting off, especially if you’re arriving back on a later ferry.
Klakkur is a fantastic spot for sunrise, you can find out more details in my full guide.
Hike Overview
Location: Above Klaksvík on Borðoy
Trailhead: Upper car park | Google Maps
Distance: About 2.4 km return
Duration: Around 1 hour 10 minutes of walking; allow extra time at the summit
Difficulty: Easy to moderate; a steady uphill walk with some muddy, uneven sections
Cost: Free
Highlights: Panoramic views of Klaksvík, Borðoy, Kunoy, Kalsoy and the northern fjords
Where to Stay
Stay in Klaksvík for a second night. It gives you a convenient base after the ferry day and means you won’t need to move accommodation before your final day. Klaksvík also has restaurants and shops where you can pick up dinner or supplies.
Day 6 Return and Fly-Out
If you completed Klakkur on Day 5, keep your final morning simple: have breakfast in Klaksvík, pack up and drive to Vágar Airport to return your hire car and catch your flight. The drive is around 77 km and takes about 1 hour 10 minutes, but leave extra time for the journey, the airport car return and check-in.
If you didn’t get to Klakkur the day before, you could fit in the short hike this morning if you have a later flight and the weather is suitable. I’d only do this if you have plenty of time to return to Klaksvík, collect your luggage and reach the airport without rushing. Otherwise, save Klakkur for another visit, or add a night to your trip so you can enjoy it without watching the clock.
Featured Faroe Islands Posts:
What to Pack for Faroe Islands Trekking
Packing well makes a big difference for a Faroe Islands trekking trip. Even in summer, the weather can shift quickly from sunshine to rain, wind or low cloud, and many trails are exposed, muddy and uneven. Bring layers you can adjust as you go, and make sure your waterproofs are easy to reach in your daypack. Layers is far more practical then getting a single big heavy jacket.
Clothing and Footwear
Waterproof hiking boots with good grip for muddy paths, wet grass and uneven ground. Definitely worth the purchase if you don’t have any, you will get plenty of use out of them. Nearly all trails in the Faroe Islands are unsealed and prone to water logging.
A waterproof and windproof jacket, plus waterproof trousers for longer or wetter hikes. It rains a lot! So this is an essential piece of kit.
Warm layers, such as a fleece or lightweight insulated jacket
Quick-drying hiking trousers and moisture-wicking base layers
A warm hat like a beenie and light gloves, even in summer, for exposed ridges and windy viewpoints
Trail Essentials
A comfortable daypack with a waterproof cover or dry bag for your spare layers. The waterproof cover is vital. It’s very easy to get caught out mid-hike in a rain shower with 0 shelter in sight.
Water and enough snacks or food for the length of your hike
A fully charged phone with offline maps downloaded before you leave. Which is particularly relevant for the unmarked Mýlingur hike.
A power bank, particularly for longer routes where you’ll be using your phone for navigation and photos
A small first-aid kit, blister plasters and any personal medication
Trekking poles if you like extra support on steep, muddy descents
Most importantly conditions can change a lot during a hike in the Faroe Islands, so check the forecast before you go and be prepared to turn back or adjust your plans if visibility or weather deteriorates.
Faroe Islands Trekking FAQs
Here are answers to some common questions about Faroe Islands trekking, including trail fees, route conditions and how to plan the hikes in this itinerary.
Do you have to pay to go trekking in the Faroe Islands?
Some hikes are free, while others charge an access fee or require you to join a guided tour. For example, Trøllkonufingur, Mýlingur and Klakkur are free to access, while the Sørvágsvatn and Trælanípa route has a fee. Drangarnir can only be visited on an organised tour, which includes a boat transfer.
Fees, booking rules and access arrangements can change, so check the current details for each trail before setting out. Where a route has a fee, bring a payment method accepted by the operator, and book guided hikes ahead, especially in the busy summer months.
Are Faroe Islands trekking routes clearly marked?
Some popular routes are straightforward to follow, but trail marking varies. You may encounter cairns, painted markers, muddy tracks or sections where the path becomes difficult to distinguish. On the Mýlingur hike, the route towards the cliffs leaves the marked trail beyond the saddle, so you’ll need to be confident navigating and should download an offline map before you go.
Check the route information and weather forecast before leaving, and don’t rely on phone signal or trail markers alone. If low cloud makes it hard to see where you’re going, turn back or wait for visibility to improve, particularly on exposed or unmarked sections.
Are the hikes in this itinerary suitable for beginners?
There’s a mix of walks, but the itinerary as a whole isn’t designed exclusively for beginners. Trøllkonufingur is a short, relatively easy coastal walk, and Klakkur is a manageable uphill hike. Sørvágsvatn is longer but follows a popular route, while Mýlingur is a much bigger undertaking, with a long distance, steep terrain and an unmarked section.
If you’re new to hiking, you could choose the shorter routes and assess how you feel before attempting the more demanding days. Read the individual hike overviews for distance, duration and terrain, and remember that wind, rain, mud and poor visibility can make even a familiar route more challenging.
Can you hike to Drangarnir independently?
No. The Drangarnir hike crosses private land and requires an organised guided tour. The experience includes a boat transfer from Sørvágur and a coastal walk to the sea stacks, so it’s best to book your place in advance.
Can you do this six-day trekking itinerary from Tórshavn?
Yes. You can use Tórshavn as a base and drive to the hikes as day trips. The Faroe Islands are compact, and the main islands are connected by roads, bridges and subsea tunnels, but daily drives can still add up, especially when you’re travelling to trailheads on Vágar or in the north.
I’ve arranged the itinerary around changing accommodation so you can stay closer to each day’s hikes, spend less time driving and experience different villages. Staying in Tórshavn throughout gives you more choice of accommodation, restaurants and shops, while moving between bases makes the hiking days more convenient. Whichever option you choose, allow extra time for the drives and keep the schedule flexible around the weather.
Related Posts:
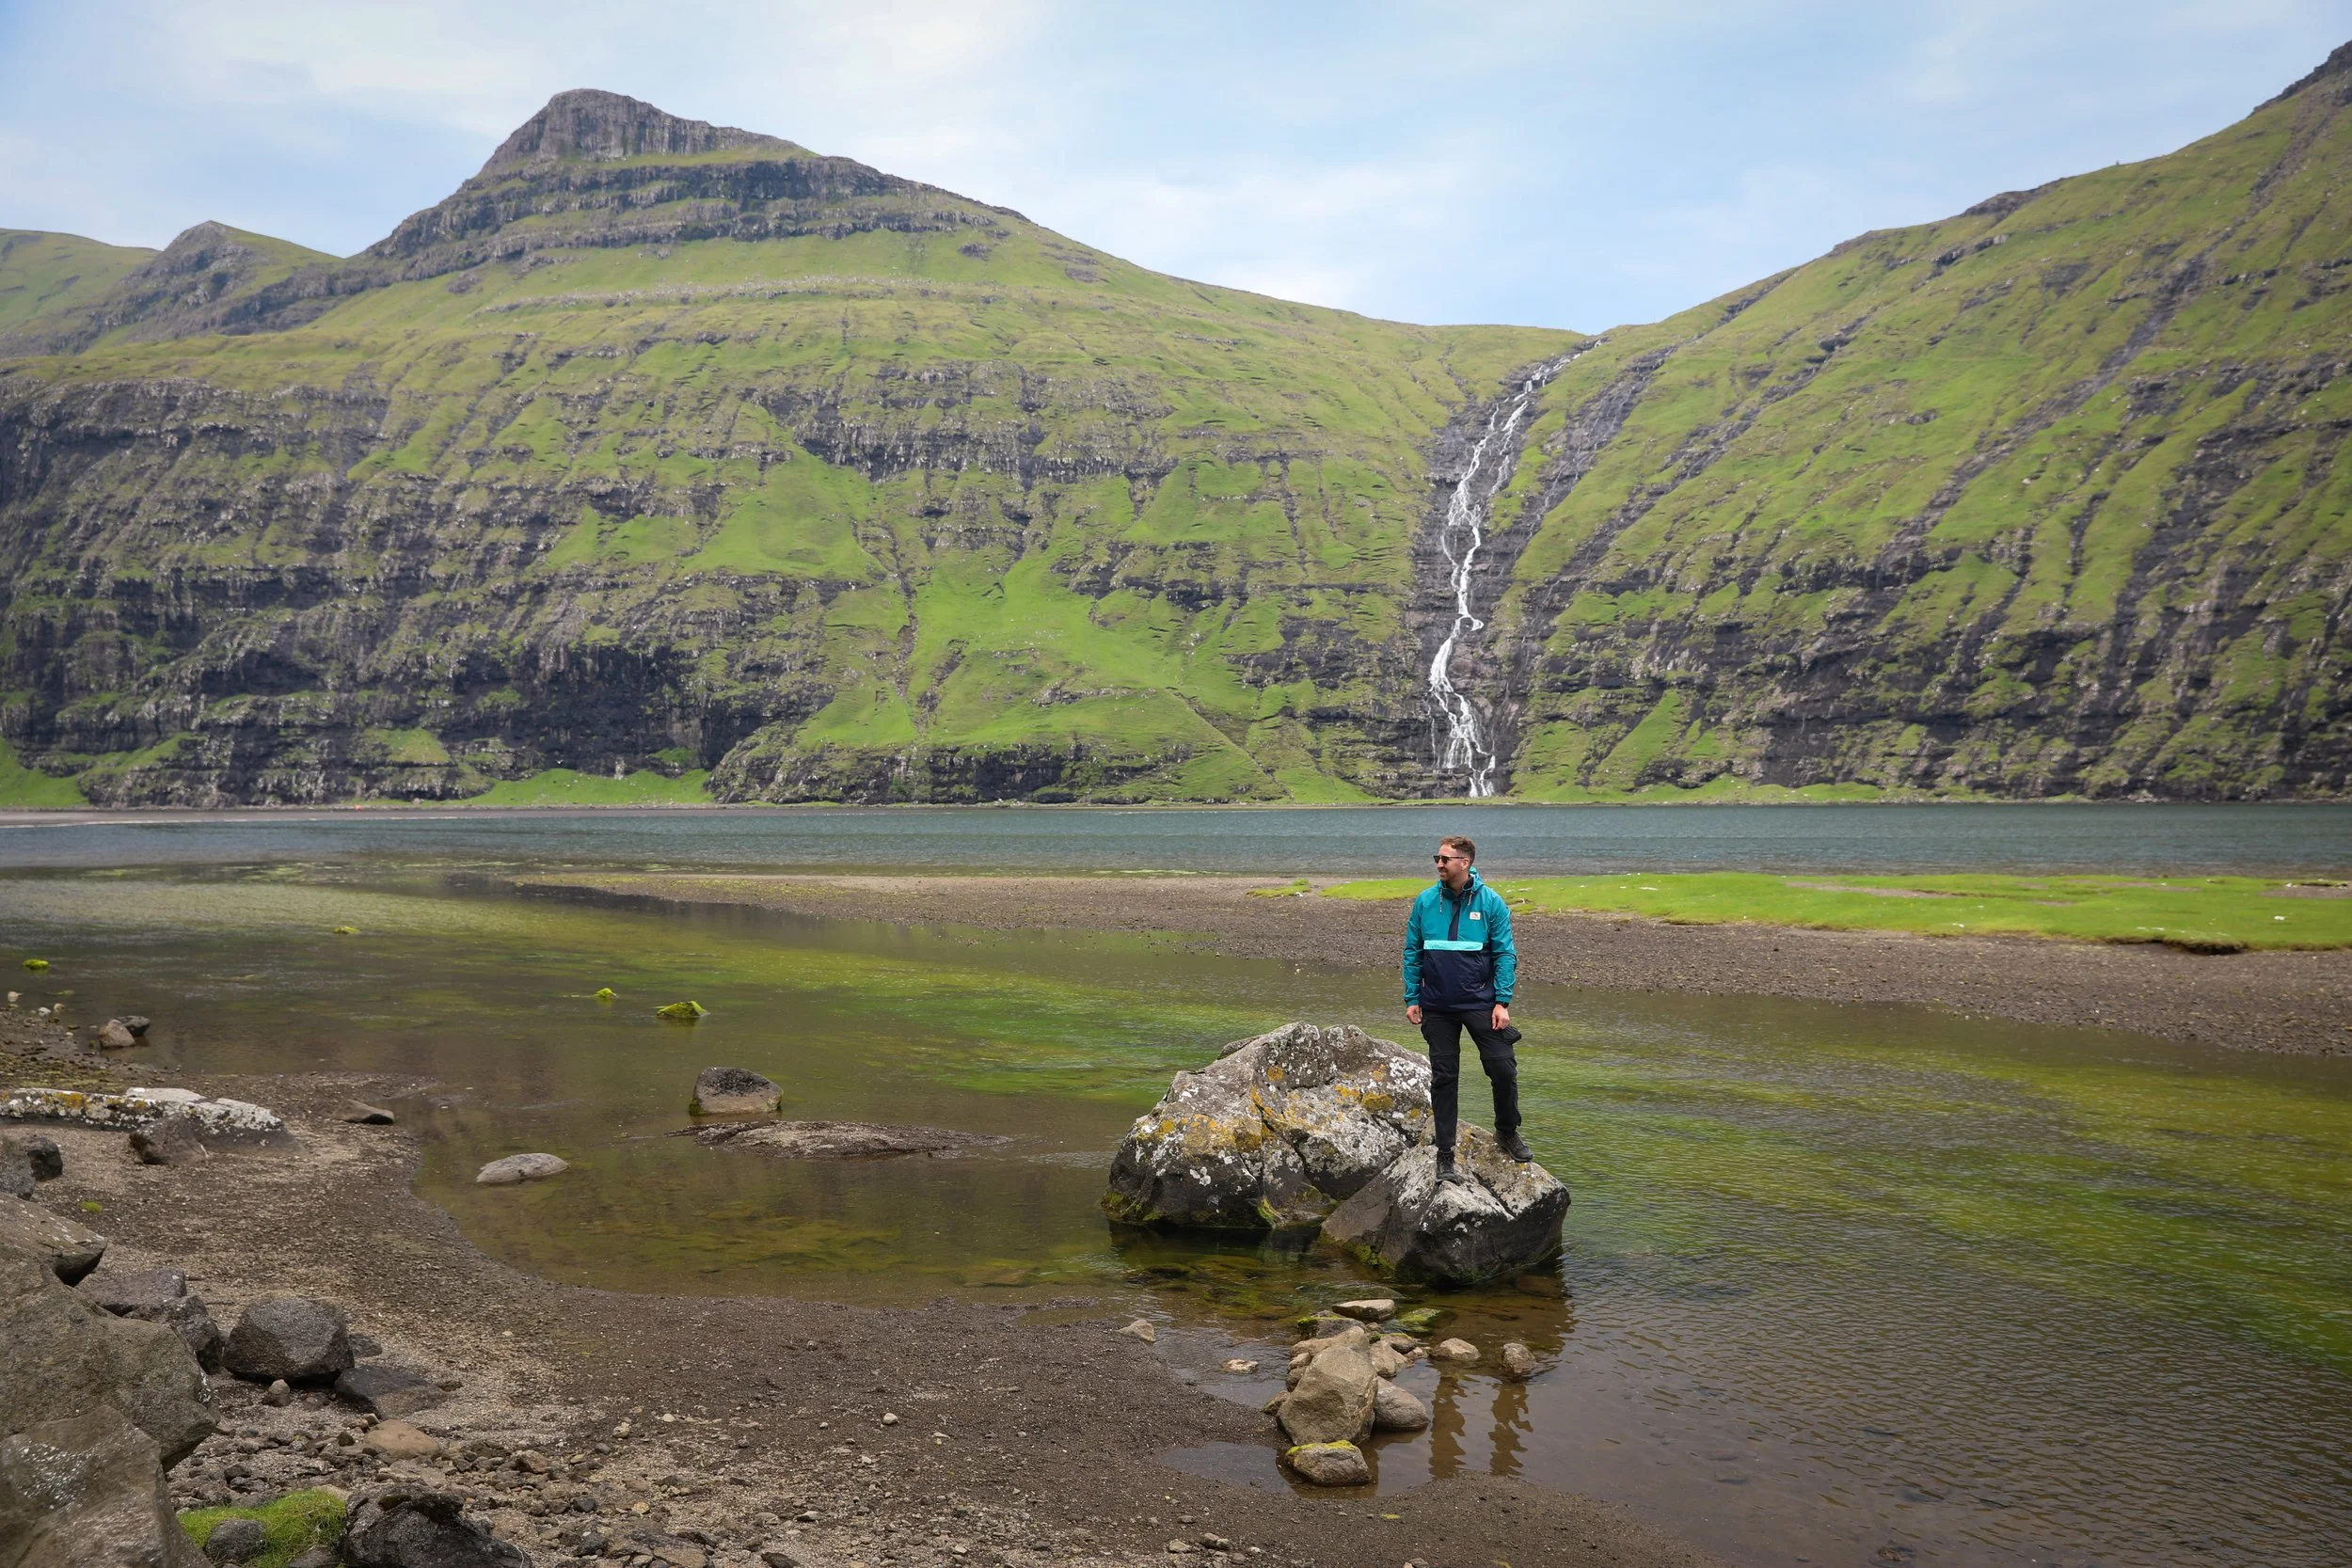
Step into the dramatic landscapes of Saksun, where a turf-roofed church, a tidal lagoon and a black-sand beach sit beneath the rugged mountains of Streymoy. This guide will help you plan your visit to one of the most distinctive places in the Faroe Islands, with practical details on what to see, getting around the village and how the tides shape access to the shore.